Showing posts with label Matchy Matchy. Show all posts

Tuesday, February 14, 2012

Bucket Labels

In my random spurts of free time and desires for matchyness, I decided to add a little life and color to my kitchen by adding nice labels to my simple buckets.
 In a previous curtain venture, I added the curtains to give a little life, but it was time for a little more. We like to get our food in bulk, so we have many a buckets in our kitchen. So to add a little life and niceness to them I  .. . .
 simply mod podged a scrap book paper, and then a construction paper on. Then when it was dry I wrote on with chalk what item of food was in the bucket. Who says you need chalk board paint anyway?
 Then since we have weird limited room in our kitchen, a bucket became our trash can a while ago, so I also labeled it too.
 Then on top of our fridge I have these fun random tin buckets that I used to hold my recipe books, and I also wanted to change things up a little for them so I  . . ..
 Painted them and mod podged a quote on to them (and then in more ambitious moods I also moved the fridge to a new location).
 The smaller can: "Let your Faith be Bigger than your Fear."
 And the bigger can: "Yesterday is history, tomorrow is a mystery, but today is a gift, that is why it is called the Present."
 Then I also have these fun jars in courtesy of my sister April (who has also been around here on this lovely blog :), and I also wanted to add a little to them too. So I . . . .
 Again mod podged construction paper, and then when it was dry, again wrote with chalk for the food that is inside the jar. And then also labeled on my tall white sugar containers, just for fun
And last but not least. We also have a small trash container on our counter for random small trash when we are doing dishes or cooking, which is just an old ice cream bucket. Sometimes it can be a little confusing to some that it is in fact a trash can, so I thought it would be fun to label it as well.


So there you have it, my fun labeling ventures. And now you know, you don't always have to divulge into buying chalkboard paint because a mod podged construction paper works wonders! Hope you have a happy Tuesday, a Happy Valentines Day, and last but not least, a Happy Arizona's 100th Birthday (I am Arizona native, so I just have to wish it a good one!)!!

Thanks for stopping by, until next time!

Saturday, January 21, 2012

Painted Rug!

Yep, you read that right, this post is about our rug, that I painted! Much thanks again to Pintrest I saw this cute rug paint job from the Idea Room, you can check it out here.

I don't know that I am as brave to go with such bold designs and colors as the Idea Room went with on her rug. I just love my matchy matchy, and if I were to do one thing in an intense new look, I'd want to revamp the whole environment to make it match. So for the time being, I just painted our rug much more simply and to match how the environment currently is set up. Plus, I am not always the best with using stencils and I would be really nervous about messing something like this one up, since once it's ruined, there's no turning back. Another plus in my wanting to paint this rug, is that it's an older one and has some stains on it, so me painting it gave it a nice new "make-over" sort of look!

Okay, so enough jabbering and on to showing. Here are some before, during and finished pictures of my newly painted rug!

I didn't have time to do minor touch up editing on the pictures, so just enjoy as is! :)
 See the first rug that has the brown on the sides? Well this was the look I was going for, so that we could have matching rugs. The rug under our table in the distant is the one I painted.
 So I took the table and chairs off (for obvious reasons), put newspapers underneath to help keep paint from going everywhere. See how not so pretty those stains are? I wanted to hide most of them!
 But to make it still match the other rug I couldn't hide all of the stains, oh well. I put tape down to make sure I wouldn't end up going too crazy in my painting! :)
 I should have took a picture after each coat, but this is after my second coat of paint. And just a side note if you try this at home: The first coat I just painted right on, but it was getting a little of a stiff kind of feel ( go figure, since it's paint after all). And I still wanted the rug to feel somewhat soft-ish. So the second coat I watered it down a lot, so it more like stained the rug with the brown, and it gave it this look. Also another side note if you try this at home, it became very wet (from watering it down), so I put plastic bags underneath the painted part to keep it from bleeding to the regular carpet!
 Since it was so wet and was taking forever to dry, I hung it on our chairs, it took about a total of 24 hours to completely dry before I could lay it back down.
 Now its all down, and lovely modeled and accompanied by my little princess.
And even better, it is matchy matchy!!


Now as a wonderful new little side note, I am getting another new helper with this blog. One of my sisters, April, will be joining in as an author for this blog. I have shared some of her goodness before, but now she'll be a more official post-er on here too. She has a much more busier life than me with her family of 4 kids, college, and now just got a job, so her appearances will not be as frequent as mine, but it will still be great to have her appearance once in a while with her fun great ideas! And I will let her introduce herself a little more when she'll be able to squeeze in a post!

Well that's all for this week! Thanks again for stopping by! And come join me next week for some new decor I made and some super yummy banana treats (these are probably by far a new favorite treat and I can't help but make them at least once a week now!!).

Until next time!!

Wednesday, November 16, 2011

Fall stuff

I know the feel and sort of "idea" of Fall is fast becoming behind us and is moving very much closer to a more Winter/Christmas feel (especially here with all our lovely snow), but I have finally finished all my "Fall Decor" that I wanted to make this year, just in time to start making my Winter decorations, which I am super excited to get cracking on. But of course won't actually put any of it up until at least AFTER Thanksgiving. There is a time and a place for things, and I am one for strongly believing that holidays/seasons fit into those categories. Speaking of, I saw these two pictures on Facebook, and I just had to share:


So, there. I have officially finished my Fall decor just in time to change it here in a few weeks, but oh well, at least I have something going up my sleeves for next fall!

Ok, enough chatter, on to what I actually came here to show you. . . .

 Remember how I put up this material on my bulletin board?
 And then put some of the same material in a picture frame as a background for my little tree?

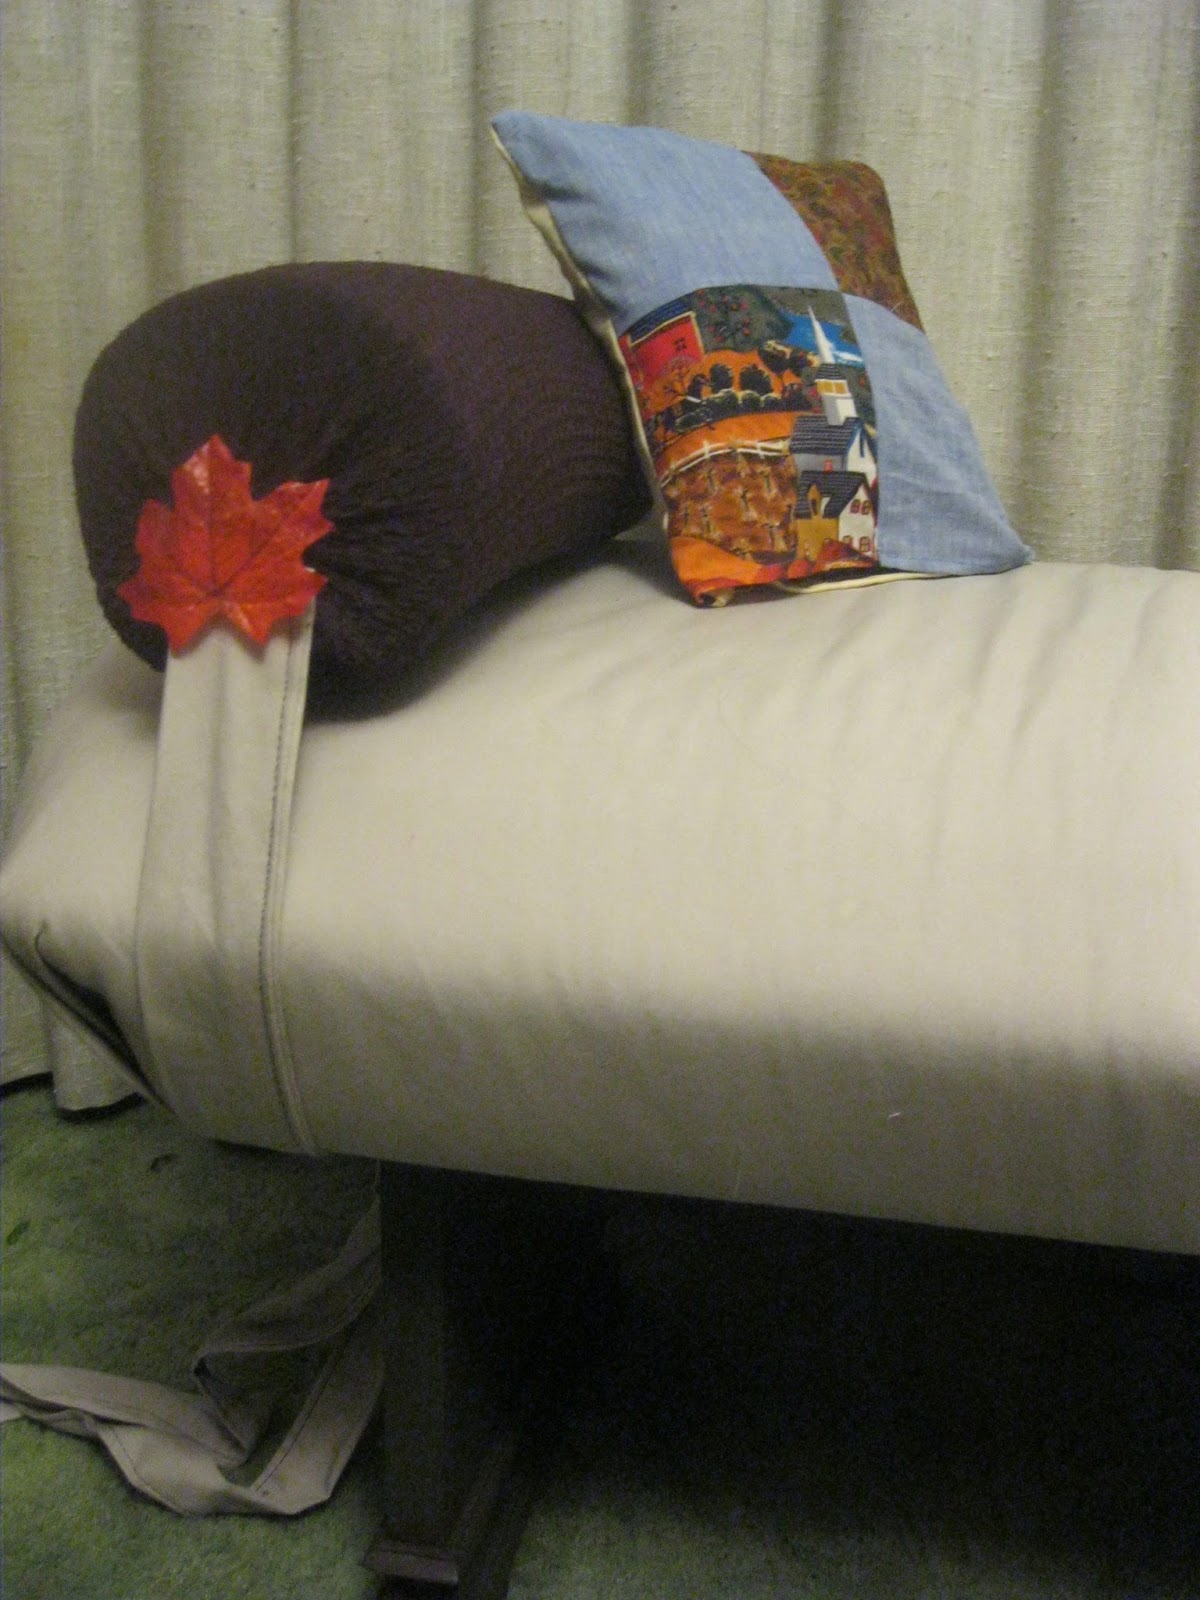
 And then used some of the same material to make pillow covers for my window bench?


Well, to finish it all off, I made. . . .


 Some more matching pillow covers for one couch (have I mentioned I like to be matchy matchy?), and finally, last but not least.. . .

Used my last remaining scraps and put together a little "throw" sort of thing with the matching "fall village" material, and threw in some other fall colors I had around. Then on the reverse side I made it "Christmas" like, so in a few weeks I can just flip it over. And then if we get really bored/ambitious, we might do "Turkey Hand prints" on the blank tan squares, just for fun!

Now I am set and ready for a fun a haul of making random winter decorations on the side. I have also been working on some fun books for my little girl along with some toys, which I will be sure to share soon!

My hubby's birthday is tomorrow, a whoppin 24! And for safety of trying to keep his presents a secret from him, I will show you what I made him for next weeks posts, I already struggle keeping gift secrets from him, I probably shouldn't make it harder on myself, just in case he would randomly look here before then.

So keep in touch for some fun new things ahead, I can tell you are already excited to come back, right?? :)

Well thanks for stopping by, and until next time!!

Friday, November 4, 2011

Yaba Daba Do! (Flinstone Costumes)

Now that Halloween has come and gone I thought I would share with you how it all worked out in putting the lovely costumes together. For starters, here is how our wigs turned out. . . and remember this is my first time trying to make a wig, so please keep kind thoughts, cuz I know they didn't turn out super great :)
First I made these lovely hats, if I were to do a wig again, I would make them a little bigger, and I would have made them into a color that matched the wig's hair better, then. . . .
I wrapped yarn around a pillow several times, tied them off on one end and then cut, to give a nice chunk of "hair". . .then. . .
I tied them on the hat, repeating several times over, the first top layers I made much longer. . .
Then when the top and back area was done, I made smaller layers by wrapping around my hand, like below, and put it in the front bangs area and then on layers underneath
Wrapping away!
Here are some layers underneath. . .see why it would have been a much better idea if I had made the original hat in black? It would have been much less to hide!
The finished product! I did have to trim a little after he had it on, but I still can't get over how he looks more like a Jamaican Fred with the "Dread" like hair.. . .oh well. . .at least. . .
He is super cute! I am so glad I got him, even if he can be a little nerd :)
Then my wig was a little more, well ALOT more tricky because Wilma has her hair in a pony tail. So I tied all my hair chunks on the bottom so I could then pull them back into a pony tail and then made sort ones for bangs as well . . .
Like so, and I cannot even count on both my hands how complicated this was to pull the pony tail back. I know it is deceiving, like it would be just as simple to pull back your own attached hair, but it turned to be much more complicated, I am not sure how to explain, but just take my word for it, if you try this at home, just be prepared for a little more of a challenge (unless I just have issues! :)
Our finished products! I made my outfit of some random white material I had around the house, made a top part and then made the bottom by making panels and sewed them all together. I also made myself some tan colored sleeves so it will still be modest and also so I wouldn't freeze! Again, best part, BY FAR, in making these costumes was I didn't have to hem the bottoms, have I mentioned how I really don't like to hem?
She wasn't so happy at first, but at least she's so cute, right?! This was right before going to my husband's work where we went trick or treating, it was right after her nap but before her snack time, can you tell?  :)
This was after it all, she was much happier and was so excited to see Daddy at work for a few minutes!
Remember these cute little matching slippers I made!? Well silly me made them a little TOO early in the month cuz they wouldn't fit on her feet right before going. I guess the elastic I put in the ankle area was just a little too tight, oh well, at least we just went to his work, indoors, instead of outside all night!
So there you have it! We hope you had a Happy Halloween! We sure had a great time! :)

Until next week!

Monday, September 19, 2011

Welcome Sign II

I am posting a little early this week since I will be out of town this weekend. But this weeks Fall Feature I thought I would share our new little "Welcome Sign" I made. I shared our previous welcome sign stuff in THIS post a while back in the beginning of my Domestic Venture blogging days.

Well since that post, we have moved to the downstairs apartment and I kept the same green sign and I have hung it on our back door like so.. . . . .

 But after this sign being on our door for a good while it was starting to make a grey mark on our door from swing every time we opened and closed (since we mostly use our back door). So I moved the above sign to our less used door (our lovely front door)
And then I made a new welcome sign that hangs just to the side of our back door. Here is how I put it together. . .
We had this nifty shell display thing that was in our bathroom, but since I replaced it with this flower clip holder, that I talked about in THIS post. It was just hanging around collecting dust, and with its lovely simple small size I discovered it would work perfect for a back door welcome sign.
 So I took out the shells and printed off some new words to replace the shells as seen below. . .
 Then I painted a lovely "J" for our last names initial, using the same stencils I used to paint our Decor blocks that I painted in THIS post. So now it is matchy matchy as well :) Yeah!

I know it isn't much, and maybe most people wouldn't even notice it when they come, but I like to have welcome signs and it was fun to make, so there you have it!

I hope you have a lovely Monday, and a lovely rest of your week, thanks for stopping by!

I am still not sure what I will be sharing next week, but I will get it together and it'll be good, trust me, so don't forget to come by :)

Friday, September 16, 2011

Decorative Blocks

I don't know about you, but I love going to second hand stores. The idea of "one man's treasure, another man's junk" rings true for me all the time, except that I like to find the treasure in the junk :)

In one of my recent treasure hunting at our local second hand store I ran across these blocks. They were calling to me each time I passed them, so I couldn't resist to buy them (only $2). They had the following random letters on them: 2 "Os", 3 "Es", 2 "Hs", an "A", a "T", an "R", a "M", and a "V." I am sure the original owner made something out of these letters, but overall I came to the conclusion that there had to be some missing letters because the only words I could come up with were: "Heather Movo" "O Heat Move Her", or "Mother Hove Ae".

I couldn't let a good treasure hunt go to waste, so I put my thinking cap on and figured out some wording I could put together on my own and then just re-paint the suckers.
 Here the blocks preparing for their make-over. . . .
 All ready for their new way of life. . . . and now for the final products. . . .
 Using a stencil packet I got from walmart, I made the first letter initial for our names, M for Michael, W for Whitney, and A for Adalea. . .
 Then I did our last name. . .
 Now for a stepped back look. . .
I racked my brains for hours trying to think of what to do with the last 4 blocks and finally came with up with this- our wedding date. The "est." I did free hand.

Now we have some fun decorative blocks above our living room curtains, I love to make something out of nothing! :) What do you think?

That's all for today join me next week for a new "welcome sign" I made, because I like to change things up every now and again :)

Pin It!