Showing posts with label Canning. Show all posts

Friday, January 27, 2012

Canned Tomatos!

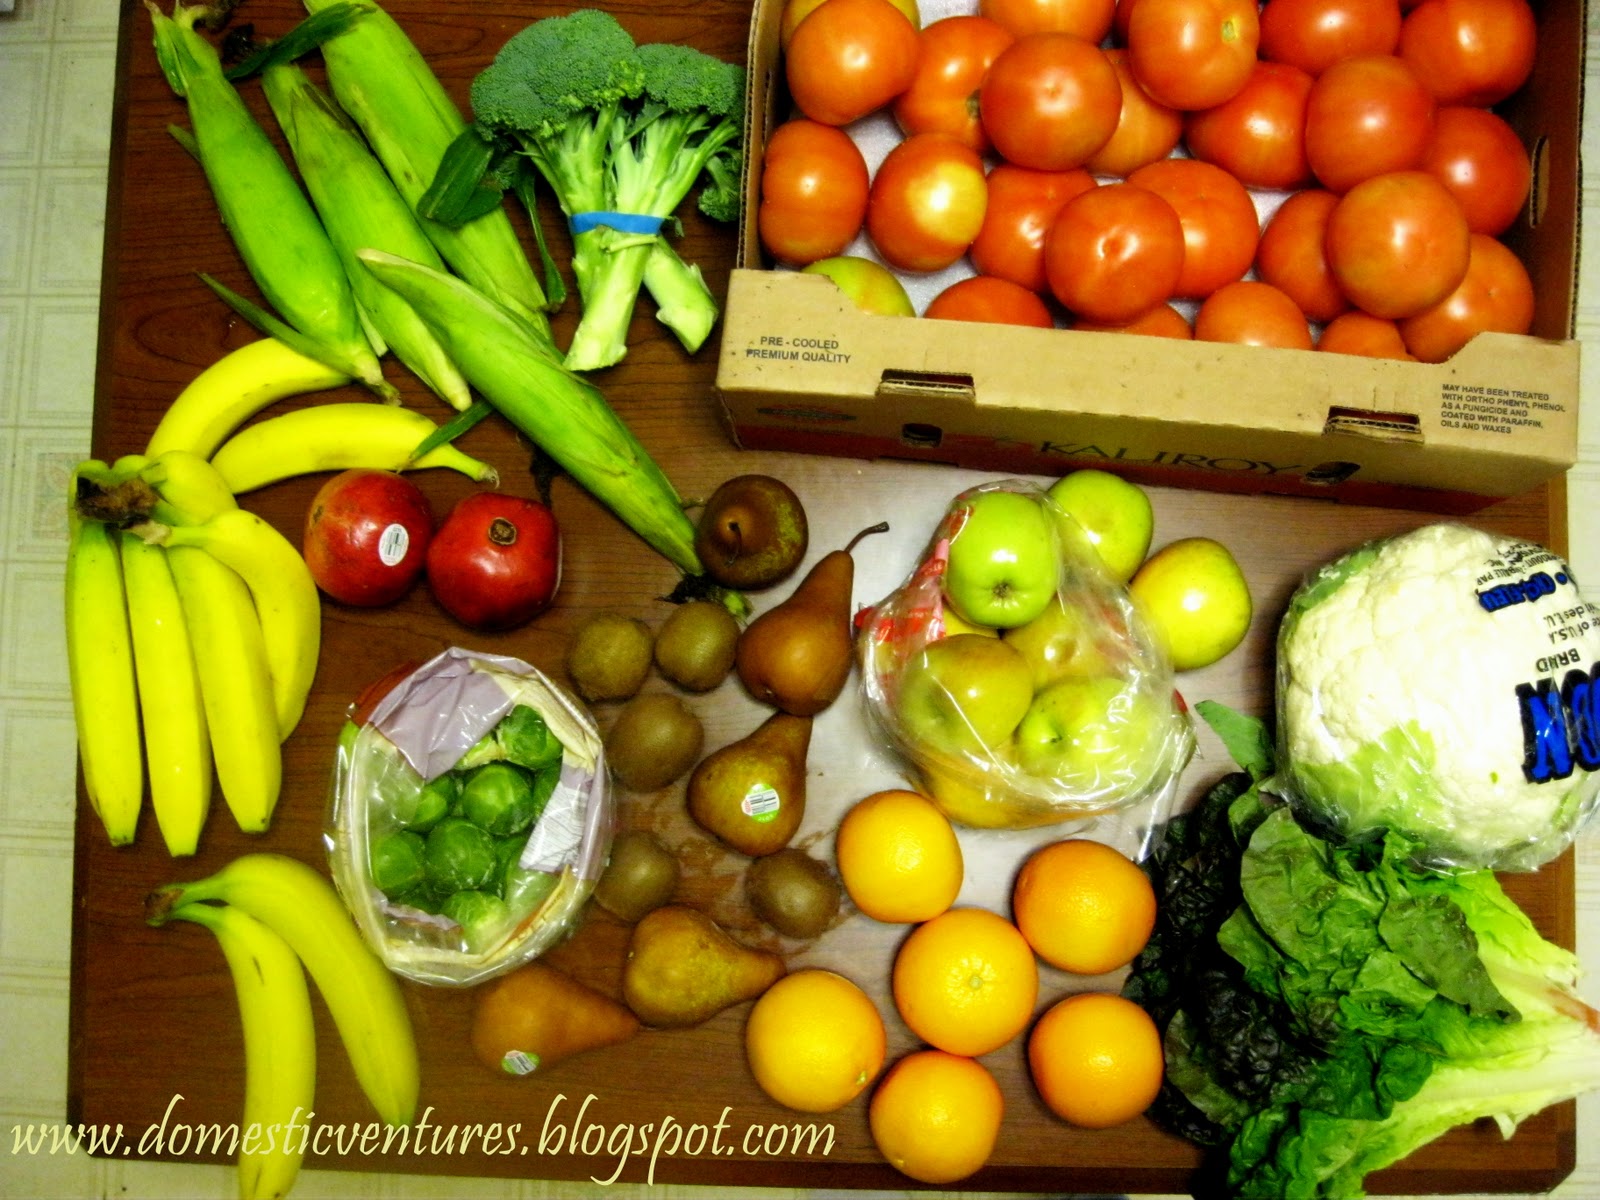
In much thanks to lovely Bountiful Baskets, we got all these lovely goods for $27.50. On a normal week it is only $16.50 (including tax/shipping), but this last week they offered an extra 20lbs of tomatoes for an additional $11, we just couldn't resist. This is also where we got out 25lbs of peaches to make peach jam and just regular canned peaches, and also accumulated enough oranges to make orange marmalade. I am telling you, these guys are the best, and I love getting our produce from them. period.

So we pulled out the good ol canning gear and canned (why do they call it canning when they are really in jars after all? Oh well...) those yummy-nesses. We love tomatoes in their many shapes, forms, purees, sauces and salsas; so it took us a little while to figure out just exactly what we were going to do with them. But after much debate we figured we'd get our most/best use if we did about half in diced form and half in tomato sauce. We didn't add anything extra other than the usual lemon juice it asked for, so that it would be in a simplest form, easy to change around for future meals. Either or both could easily be used for spaghetti sauce, pizza sauce, salsa, tomato soup, tomato drink (which Michael loves, and I just have a hard time wrapping around it being so yummy to just drink it straight), etc. . .the list could go on of all the things we could use these basic levels of canned tomatoes. All you have to do is add the right seasoning and you'd be set!

And I will have to always give forever thanks to my good sister Keri (from Desire 2 Create) and her husband Isaac, because they are the ones that initialy got me excited about canning. My very first canning experience was in their home, making yummy salsa while we watched/listened to General Conference. Good times, good fun, so thank you muchly, canning is a wonderful blessing in our lives!


So if you dare to see, here is the lovely goodnesses in picture form: . . ..

And we've already transformed one of the jars of diced tomatoes into salsa, we just added a little more lemon juice, salt, pepper, garlic and onion powder, and little bit of parsley (if we had them on hand I would have put real garlic and real onions, but the powders still worked to add nice flavor). But you could really add things however you want, for whatever taste you'd want, I love how versatile it is! Maybe in future posts I will actually show the salsa and them some homemade chips we made to go with it, yum, good old chips from scratch!

It isn't too hard to find canning recipes, google can take care of you for that. But if you want the recipe/directions we used, we got it straight from the "Ball Blue Book of Preserving" that came with our water bath canner when we bought it and I found an online sort of version you can go here.

Anyway, thanks again for stopping by! Hope you have a splendid day with much yumminess!

Monday, August 15, 2011

Can, Can, can you do the Can Can?

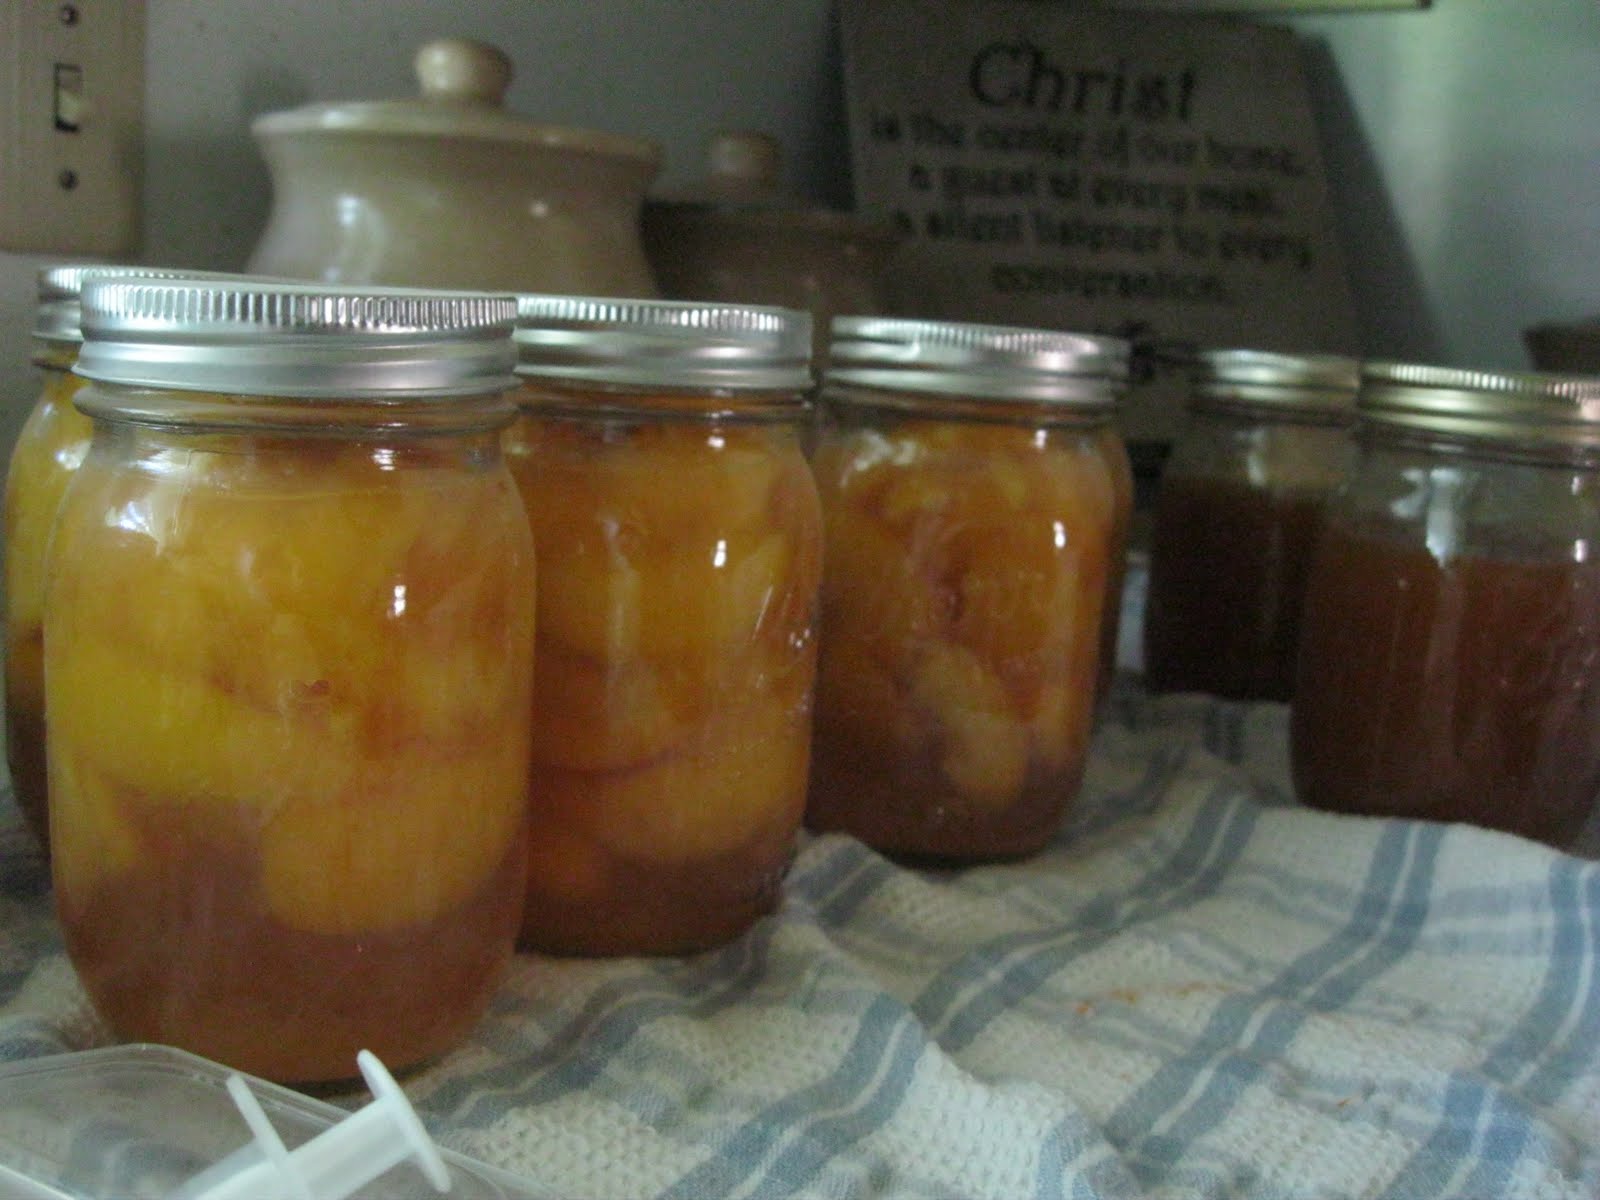
We did some more canning! This is our second go at it. Our first time was the lovely Orange Marmalade we did earlier this year when oranges were more in season. But this go at it we did some peaches! We did this little venture a little while ago, but I have been a little busy and slacking and haven't been able to post on it till now. We got 25lbs of peaches for about $12-15 (I am sorry, but I really can't remember the exact amount). And we got them through Bountiful Baskets, as one of their extra bonus sides. If you haven't heard of it you should really check them out, we LOVE getting our produce from them!

So here is some fun photos from our round two canning experience:

Here are the lovely things, oh so yummy and ready to go!
 After much pealing, slicing and dicing and preparing, they are now REALLY ready!
 Jars all ready and set!

 And there they go, formulating into yummy canned peaches!
 We also made some peach jam- oh so yummy! Did I mention this was so yummy!?
 The finished products!
 Then we had so many peaches and they were going bad fast, so we pureed some and froze them in little cubes for my little girl to eat as well
 Then we also diced some into little mushy bit sized cubes so that when she is a little older and is more into finger foods she can eat these too (we froze them as well so they will last)
 Then to more officially use up these yummy peaches and keeping them from going bad, we made some yummy homemade ice cream and. . . .
Peach cobbler to go with it! It is was super delightful!

Anyway, that's it for today. Thanks for stopping by on this lovely Money Saving Monday!

Until next time!. . . . .

Wednesday, April 27, 2011

Favorite Oatmeal Muffins!

One of my favorite things about being graduated from college but my husband still isn't is that we still get to be close to the college- I can have the benefits of the college without being tortured by them by being one of their students :)

Well this lovely school offers community classes, usually 1-2 night classes that offer great fun or advice without strapping you down with homework- you just get to go, learn, have fun and then your done! Last year they offered a one night class called "Meals on a Dollar a Day." The teacher for this little class was Janet Huff, author of "Basic Essentials Cookbook"- which more details can be found HERE, or by clicking on her link on the left hand side of my blog. In her cookbook she has over a thousand different recipes that are great because they are not only yummy, but they are super healthy because it consists of trying to use grains, lentils and the like in their simplest healthiest forms before preservatives and processes have ruined their value. Anyway- long story short, she has yummy recipes and she taught this class. Not only did she write this cookbook but she came up with a 30 day-dollar a day plan that is not only cheap, but provides yummy healthy meals. She heard of someone taking on this challenge before her but their meals consisted of a lot of Ramon or mac and cheese. Though those foods might be somewhat yummy and are very cheap- as for health benefits this plan wasn't very realistic so she wanted to come up with the same plan but make it healthy. So with lots of work, prayer and dedication she was able to put a plan together and they are filled with GREAT yummy healthy recipes! For more details about this plan and the recipes you can go HERE.

Again long story short (sorry for all the long stories! :) One of my all time favorite recipes that she has in this plan are her yummy Oatmeal Muffins- can you say DE-lish!?

Even though I learned of this recipe a while ago, I made them again last week and thought I would share the wealth (especially since I actually took a picture this time!). For this recipe you can click on the above link and click on "Cowboy Chowder" and it is the side dish that goes with it, or you can click HERE, or you can just read below:

Favorite Oatmeal Muffins by Janet Huff
1/4 cup dry milk powder
1 cup dry quick oatmeal (we use regular oats and they work just fine too!)
1 cup water
1 T. vinegar
-----------------
1 egg
2 T. sugar
1/3 cup oil (we like to do half oil and half apple sauce- replacing oil with apple sauce is a nice simple way to make it a little more healthy and it doesn't change the end result that much-hardly noticeable!)
-----------------
1 and 1/4 cup of unbleached flour**
1/2 tsp baking soda
1/2 tsp. sea salt
1 tsp. baking powder

Preheat oven to 400 degrees. Grease a 12-muffin tin. In a large bowl: mix dry milk and oatmeal. Add water, vinegar; let sit a few min. Then add egg, sugar, oil; stir. Add flour, baking soda, salt, baking powder. Stir all with a fork JUST to moisten. DO NOT over mix. Spoon batter evenly in greased muffin tins. Bake 15-20 min. Done when tops bounce back to touch. Makes one dozen.

**I like to use 1 cup unbleached flour + 1/4 cup whole wheat flour for more grains/nutrition.

So there you have it! And here is a lovely picture as promised:
Don't those look super yummy!? Just looking at them makes me want to make them again! :)
 One of my favorite things about these muffins, besides them tasting super good, is they can go with just about ANY meal and I also recently discovered they taste super good with the marmalade I made back in venture #9:
Remember this fellow? If not you can refresh your memory HERE and read all about it! :)

Another great muffin recipe from Janet Huff in this meal deal-o is her CORN BREAD MUFFINS which also tastes super yummy with the marmalade.

Anyway, long story short, I made some yummy muffins, I shared them with you here, and now I think you should try the recipe out- you won't regret it!

Until next time!....

Thursday, February 17, 2011

Orange Marmalade


Yes that's right- we made some Marmalade! We did this a few weeks ago, but haven't had a chance to share till now. This is our first official time of using our water bath caner- all by ourselves (we had some basic lessons once before this venture in canning salsa with family last year). I wasn't sure how this was gonna work out, but with all these oranges we got, I wanted to try something! So here it was! It was lots of fun (lots of work!!) and I think it turned out great, Michael didn't like it as much, he said it had too much of sour zest sort of taste, but I loved it! And it was a fun first time canning experience!
Did you know you use the WHOLE orange for it?- like pealing and all!! I had no idea, but it was pretty cool!

The lovely mixture, ready to pour into the jars!

My lovely handsome helper! :)

The finished product!


Oh so yummy!!

This goes great on any sort of bread, but I found out today it tastes especially well on yummy homemade cornbread!

Here is the recipe that we used:

Orange Marmalade

Recipe courtesy Alton Brown, 2009

Prep Time: 45 min
Inactive Prep Time: 24 hr 0 min
Cook Time: 1 hr 0 min
Level: Intermediate
Serves: 10 (8-ounce) jars

Ingredients

  • 1 3/4 pounds oranges, 4 to 5 medium (we ended up using about 10 smaller oranges)
  • 1 lemon, zest finely grated and juiced
  • 6 cups water
  • 3 pounds plus 12 ounces sugar
  • Special Equipment: 10 (8-ounce) canning jars with rings and lids, funnel, tongs, ladle, and 12-quart pot

Directions

Wash the oranges and lemon thoroughly. Cut the oranges into 1/8-inch slices using a mandolin, removing the seeds as you go (we used our food processor slicer and it worked just as great!). Stack the orange slices and cut them into quarters. Place the oranges into an 8-quart stainless steel pot. Add the lemon zest and juice and the water to the pot, set over high heat and bring to a boil, approximately 10 minutes. Once boiling, reduce the heat to maintain a rapid simmer and cook, stirring frequently, for 40 minutes or until the fruit is very soft.
While the fruit is cooking, fill a large pot (at least 12-quart) 3/4 full with water, set over high heat and bring to a boil. Place 10 (8-ounce) jars and rings, canning funnel, ladle, and tongs into the boiling water and make sure the water covers the jars by at least an inch. Boil for 10 minutes. Turn off the heat, add the lids and leave everything in the pot until the marmalade is ready.
Meanwhile, place a small plate in the freezer. Increase the heat under the orange mixture to return to full boil. Add the sugar and stir the mixture continually, until it reaches 222 to 223 degrees F on a deep-fry or candy thermometer, and darkens in color, approximately 15 to 20 minutes. You may need to adjust the heat in order to prevent boil over. Test the readiness of the marmalade by placing a teaspoon of the mixture onto the chilled plate and allowing it to sit for 30 seconds. Tilt the plate. The mixture should be a soft gel that moves slightly. If mixture is thin and runs easily, it is not ready.
Remove jars from the water and drain on a clean towel. Place a canning funnel onto the top of 1 of the jars and ladle in the marmalade just to below the bottom of the threads of the jar. Repeat until all of the mixture has been used. The amount of marmalade may vary by 1 to 2 jars. Wipe the rims and threads of the jars with a moist paper towel and top each with a lid. Place a ring on each jar and tighten.
Return the jars to the pot with boiling water, being certain that they don't touch the bottom of the pot or each other. (If you don't have a jar rack, try a round cake rack, or metal mesh basket. Even a folded kitchen towel on the pot bottom will do in a pinch.) Add additional water if necessary to cover the jars by at least an inch. Boil for 10 minutes. Using canning tongs, carefully remove the jars from the water, place in a cool dry place and allow to sit at room temperature for at least 24 hours before opening. Once open, store in the refrigerator. Unopened marmalade will last for up to 6 months.

Anyway I hope you have a yummy- possibly marmalade eating day!

Until next time....

Pin It!