I love Halloween time, it is really just so fun to me. But I guess the more modern take on it is what thrills me, not so much the gory gloom and doom of it that goes way back in its making. I guess it comes down to I love being creative and dressing up, and who doesn't love candy? Then with my husband's family we have taken on a new Halloween tradition that we eat pizza and candy and watch some sort of Halloween movie after the trick or treating is done for the night. I love the fun factor of it all.
Well since I am about to pop, with a wee little one growing inside me, I thought I would get an early start on sharing our costumes, just in case this little girl wants to grace her presence before the actual fun Halloween day. We went to a Halloween carnival last week, so we at least got to share our get-ups at least once, hopefully we will still get one more chance next week.
So long story short, and back to the title of this post, here is what we did. In my browsing on pinterest, I came across this, and knew that would be a perfect theme for our costumes this year, and would be very reasonable to get together in my lazy and awkward state.
So here is how it all worked:
1. I googled different images that we wanted for skeletons and stomach areas. For my little girl, we thought it would be fun to put an "apple" in her tummy, since she loves to eat them. We also did a juice box, but free handed it from our own memories.
2. Get some hand freezer paper, which can be found in most grocery stores with the plastic wrap and wax paper and stuff. It makes great stencils. We could have printed this apple on paper and then traced it on the freezer paper, but because of its simple design, we just free handed it on the freezer paper and saved us some printer ink!
Then we did an ice cream cone for my husband's stomach. Our life is just not complete without ice cream. I also free handed this since it is a very simple design.
Then for my stomach, we did print this. I placed it underneath the freezer paper and traced it. It is best to write on the non shinny side of the freezer paper, especially since that is the side that you will want to use to iron on to the clothes later.
Again, for saving on printing, I free handed the rib cages, and made rough estimates to make sure it would fit for each of our rib cage sizes. Ours don't look exactly like this one, but it gave me a start of how I wanted ours to look.
Then lastly, we found an image for our arms and legs. I know this isn't entirely biologically correct, but I am lazy, and it isn't only one night, one holiday, so I didn't really care. But I used the basic look of these bones and did rough sketches for all our arms and legs.
3. Then after you have traced or drawn all your bones on the freezer paper, using an exact-o knife, I cut out the shapes. The baby took the longest, for obvious reasons, and I actually didn't cut out all the little details in full scale, because I didn't have the patience. I will explain later how I made up for that.
4. After they are all cut, you iron on the parts to the clothing. We got our black clothes from our local thrift store. Make sure they are ironed on really well to keep the paint from bleeding out of the stencil.
5. Then you paint away! Depending on the texture of the clothing, some needed more coats of paint than others, but for the most part I did two coats of white paint, and then topped it with a coat of glow in the dark paint.
And wall-ah! There you have it! Here is a stepped back look of our costumes (sorry, I hadn't finished my hubby's legs yet while taking this picture, but you get the idea).
Then for a fun close up look at the baby in my belly. It looks more detailed here right? Well after I was done painting (and the paint was dry of course), I went back with a permanent black marker and then used the above skeleton baby pic as my guide and drew in the details. I drew the eye, and underneath the chin, and then the hallow parts of the rib cages and around the legs. Before all this touch up, it kind of looked like a yellow baby blob. Then I don't have it pictured here either, but I sewed a little bow on the top of it's head, since it is a little girl!
And there you have it! So if you are stumped for last minute Halloween costumes, this is always an easy out, and it is was a blast to put together!
Hope you have a wonderful rest of your day and thanks for stopping by!
Sorry my posting hasn't been entirely consistent lately, my hubby recently changed jobs and started a new semester in school, and well when his schedule becomes chaotic, so does mine. But things are looking much more steady and consistent now, so I should be too :)
To start off my once again consistency, I thought I would share in on a little of my first Baby shower I had the wonderful honor of throwing last week. It was a great bundle of fun! We didn't do your typical baby games and treats, so I thought I would share my little goods if you ever need a good idea.
Much thanks to pintrest, I saw this cute Craving table idea and knew I wanted to try it! Since our Mommy to be is expecting a boy, and they love sports, I thought it would be fun to run with a sport sort of theme, so my table looks much different than the original, but still fun. Then to add a little personal touch, for each category I asked the Mommy what sort of things were her favorite, and then got those things for those areas. It was lots of fun!
Then for a cheap and frugal perspective, I was able to get all of the trays from the dollar store, including the cute "popcorn" bags, and the utensils too. Then for the "What are you Craving?" sign, all I did was put green paper in a picture frame, and on the outside of the glass I wrote with with dry erase marker, so I can re-use this sign for many other fun things.
Then for a little closer look at all the goods. I also had a little fun with melted chocolate, and spelt out the little babe's name for added decoration and a yummy treat for the Mommy to take home.
Oh and the table cloth, also from the dollar store, is like a little green soccer field, with scotch tape as the middle line.
For the "chewy peanut butter bars" that are on the left, I used this lovely Recipe. And on the right I just made rice crispy treats in the shape of footballs and baseballs, and then put melted chocolate on them for the sticking marks
Then for the lovely sour, we made Raspberry Sherbet punch, which all it included was 1 Sprite 2 litter, 1 half gallon of Raspberry Sherbet Ice cream, and then added Pineapple juice to taste, it was super yummy! Then for the fun stand that it's on, all I did was use one of my candle stick holders, put in some fun sport toys, and hot glued it to the bowel. When the night was over, I gave it a little nudge and the bowel popped right off, ready to be used again in which ever way I'd like.
I did the same thing with the candle holders and bowels for all the bowel in the back, it gave a nice height depth to the table, and didn't cost me extra!
Then instead of doing games, we had fun decorating onsies and bibs! We just used fabric pants and markers, or cut material and glued them on with liquid stitch. Sorry I didn't take a before picture of our little decorating station, but at least you can tell we had lots of fun with it!
And when we were all done it made for fun decoration. And now the little guy will have lots of personal onsies! And I also bought them in all sorts of sizes, not just new little sizes, so he can hopefully wear them for the first year or so of his life!
Then for a little fun, we stashed all the presents in my little girl's red wagon, it was fun how it sort of matched in with the little boy, sporty theme.
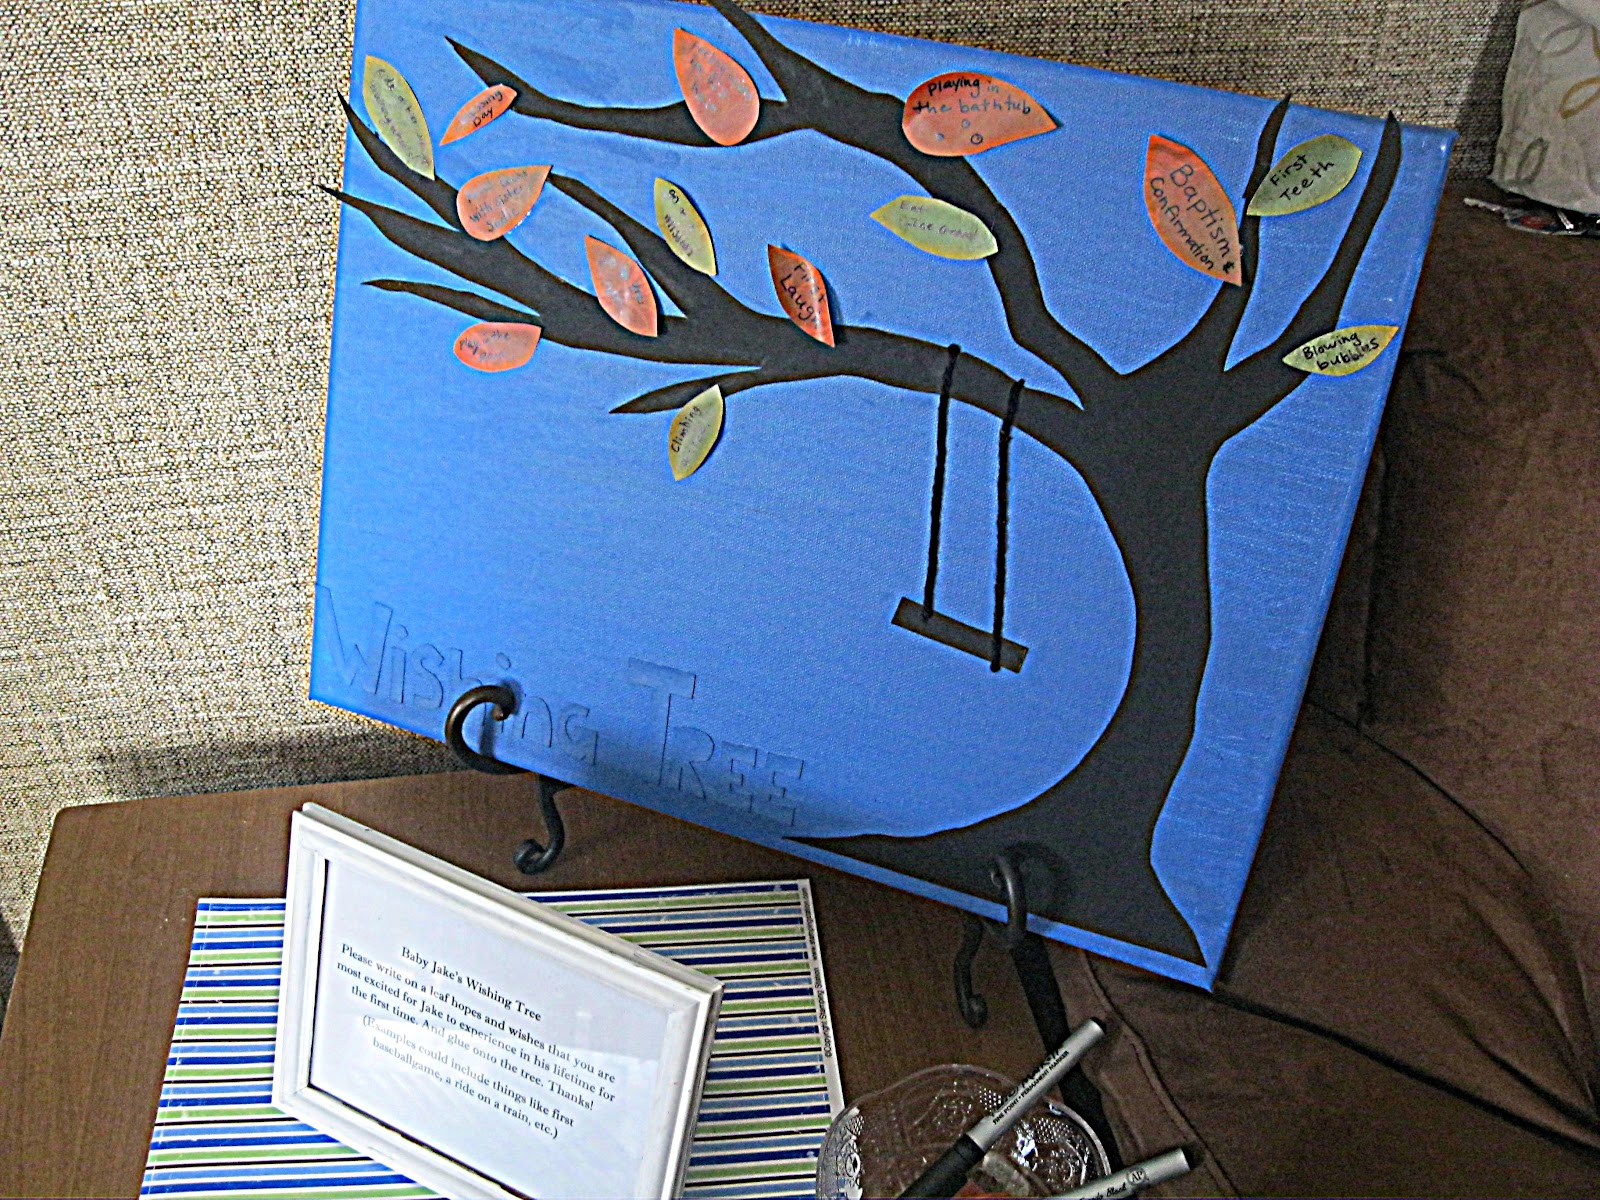
Then for a finishing touch of the baby shower fun, I put together this wishing tree, which I got the idea for from this Website. I painted a canvas blue, then cut, painted black, and glued the cardboard tree, and then cut several little leaves. Then throughout the shower guests could go write on a leaf and glue it on. They wrote down things they are excited for the little guy to experience for the first time, we had a lot of fun writing down things like "riding a bike" "drinking cream soda" or "tasting ice cream".
Overall it was lots of fun! I am glad I had the opportunity! And now if I ever do another one, I know exactly how I am planning it out again because we all had a blast! :)
I thought it would be fun this year to have my little girl all dressed pretty for this special Easter Sunday. So instead of forking a ton of money on a little dress, I put one together.
I love those dresses that has flower petals in tulle, so I did just that.
Using another one of her dresses as a guide, I laid it on top and cut a few inches above the waist line to make sure it would be the right length
Then again using the same dress, I cut out the bottom part of the dress, I folded the dress and the material so that it would be easier to cut it all out in one go, also I cut out the front and back at one time, but folding again (so it's folded 2 times total, once to do front and back, once to make sure it is symmetrical and easier to cut)
I wanted this to have a lot of pleats and fluff, so I cut a bunch extra. Then to give you an idea of how much I cut, I used my tape measure.
And then here is about how long it is on the top. If you try this at home, I don't think you would need an exact amount, especially if you want a lot of fluff too, just make sure you have a bunch extra, beyond the regular dress.
Then for the top part of the dress, I wanted this cute flower and butterfly stuff. So I folded it around 8inch, enough to cover the area of the top part. This way you cut out the front and back piece in one shot.
Here I laid the dress on the material, to cut out the top part
I started to cut one side, with sleeve and neck, and then about half way cutting it out....
I then folded it over, and use the first cut part as a guide to cut the rest, so that it is all even and symmetrical
Here is the finished cut out top part. But I want a wider neck area, so I folded it, to make it even again, and cut
Giving me this here.
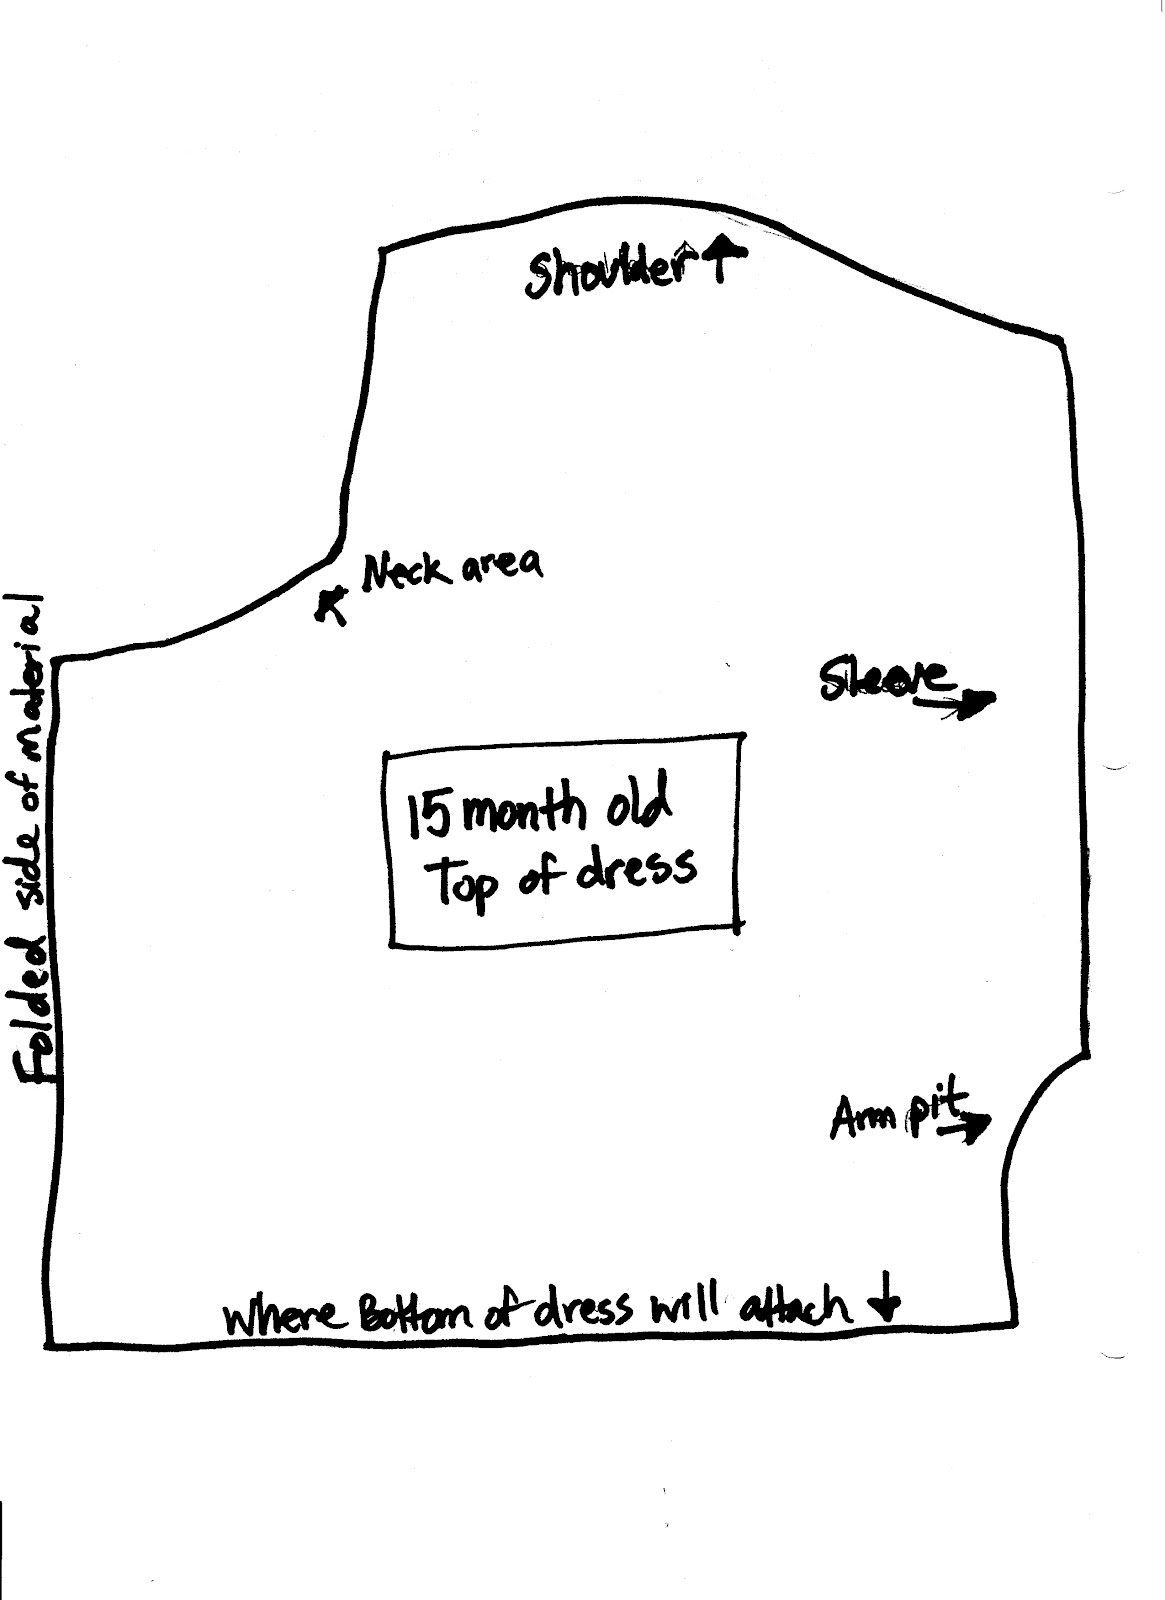
In my Giveaway survey that I had, I had a request for more detailed measurements, so I put together a rough pattern of the top part, this is with it being folded, which is what you would do with the material, then when you open the material after the cut, it will be the full view. I hope this helps, it is a venture in of itself for me to think of actual measurements and such when it comes to sewing, I was raised on "eye-balling it!" For a PDF version of this pattern in Google Docs, you can go HERE.
I also wanted to have inside lining for the top of the dress, so it would give me a nice neck line, so I used the flower print as as guide to cut out the purple
Then I sewed the top shoulder areas of the front and backs on both the purple and flower print, where my finger is pointed, remember always sew right sides together!
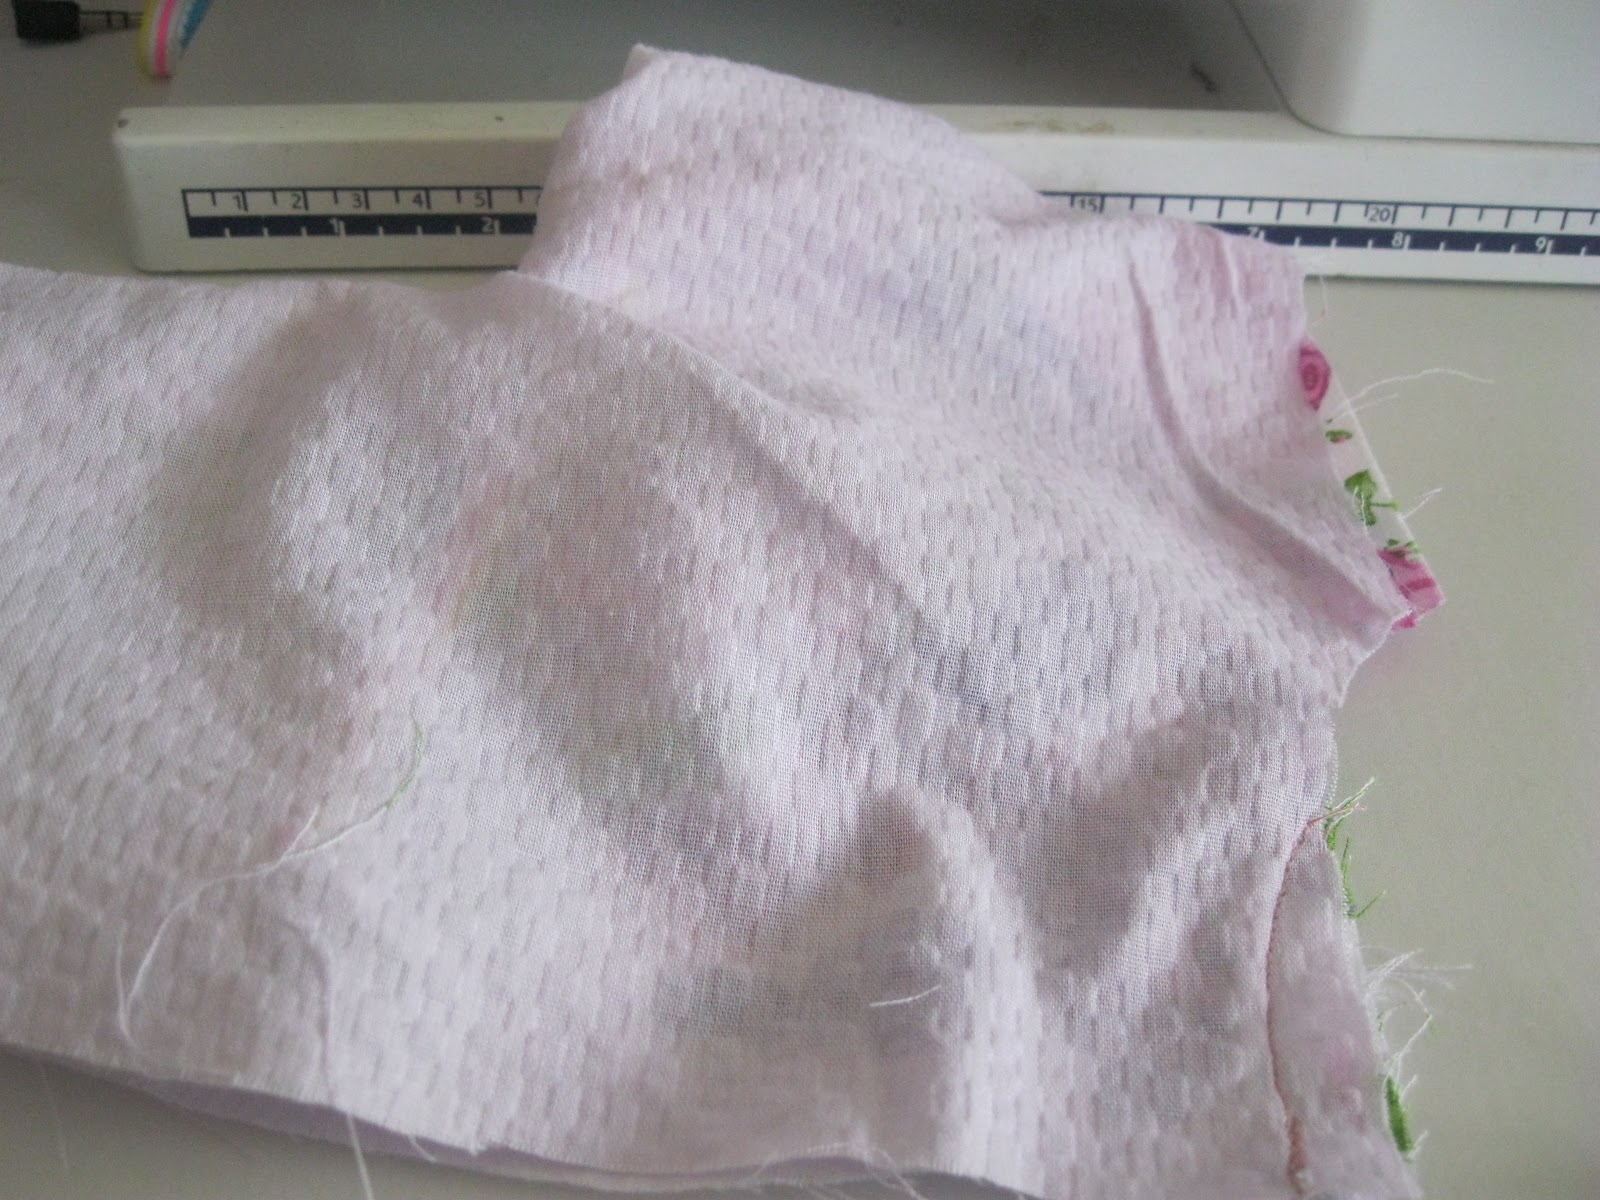
When they are sewn and opened up, it should look like this. Then again putting right sides together, I sewed the circular neck areas together
After it's sewed and you put the pieces ride side out, it should look similar to this, to make it more smooth, I ironed it flat.
Then to give the top a little touch of cute bunching, I sewed some elastic on the inside of the flower print like so. To make it bunch, sew the top part with a regular stitch, then when it is sewed well at the start, pull on the elastic and hold, so that when you are down sewing, it will pulled the flat material in a bunched look
I also did it for the sleeves, so I sewed some elastic on the seams of the shoulders (I hope that makes sense...)
Then to help the dress fit well, I also made ties, so I cut strips about 1 and half inch thick, and as long as I thought I would need to tie, then folded them, right sides together, and sewed, like so.
To turn them right side out, I put a safety pin on one side of the end, then
put the safety pin inside the tub, and used the safety pin as a way to grip and pull the material through
Here is what it looks like as you start to pull through on the other end
The finished look of pulling it through, I also ironed these, so they would have a nice flat look.
Then back to the top, I sewed the sides up and the bottom of the sleeves, like so
Here is what it looks like after sewing the sides
Then I flipped it right side out again, and then sewed the ties on on the back, like so
Before attaching the top to the bottom, here is a good point to make sure the top is actually going to fit, so far so good!
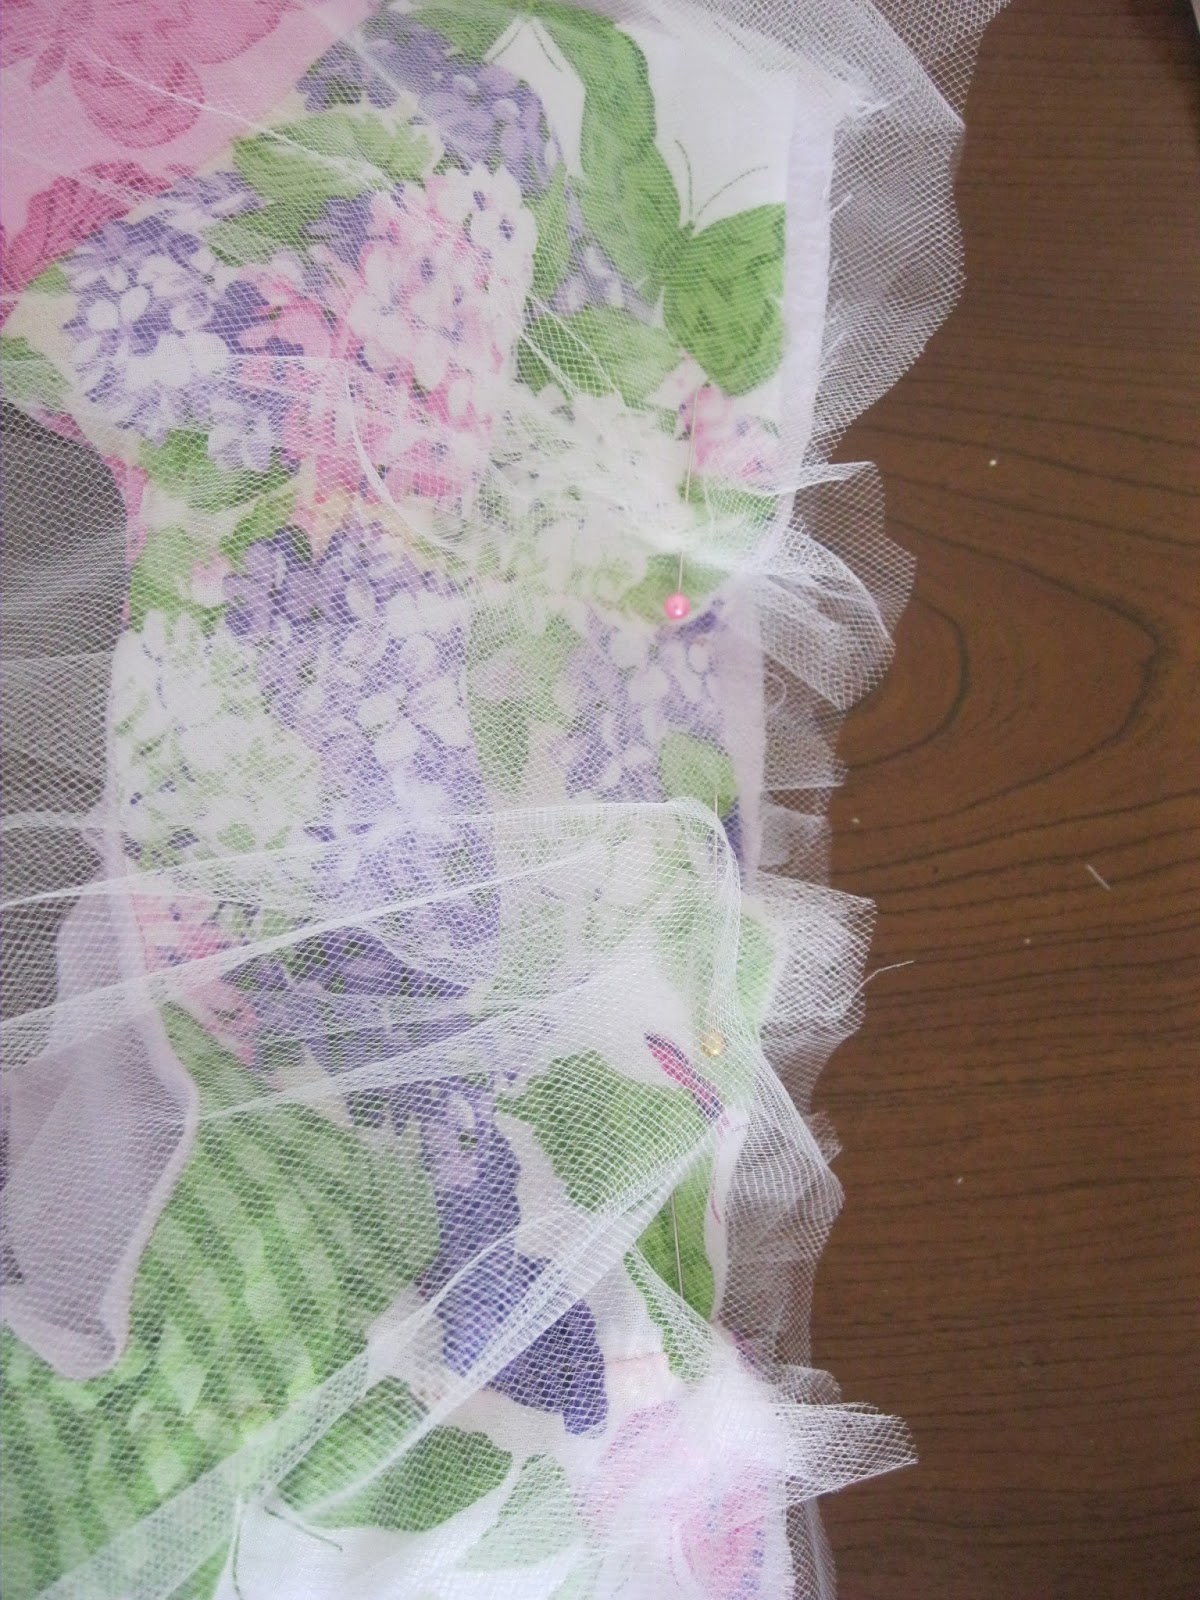
Then to attach, I pinned in a random pleating manner, the bottom (first I did the tulle with flowers) to the top, making sure right sides are together
Here you can see the pleats pinned
Then again, making sure the right side is inside, I pinned the purple layer outside of the tulle. To not let random pins get lost, I re-used the same pins used on the tulle, but just held them in place as I re-used them. Before I attached the tulle or bottom purple, I sewed the sides, so they made a complete circle on the bottom
Here is an inside look of them pinned, and ready to be sewn together. After I sewed them I hemmed the bottom of the purple layer, the sleeves, and the ends of my ties. And wall-ah, it is finished!
Here is her finished dress! The front
And the back.
And last but not least, of course on the little princess, ready for this Special Easter Sunday! I found a lovely pink tie my husband gets to wear to match, and I am still in the process of making a matching skirt for myself out of the same material as her top piece. A post on that will soon follow!
Now for one last finishing touch on this Easter post, here is a lovely Easter Video, about the wonderful real meaning of the season, enjoy and happy Easter!