If you are in the mood for a real fast easy re-purposing craft, then this is the one for you. Ever since we switched to a queen bed our sheets will never stay on through the night. By morning time they are all bunched up and off the bed and it is about to drive me crazy. So if you have this problem too, this is also another winner.
First I tried looking around locally just to buy the things, but I couldn't ever find them. Then just googling them, they seem to come across really pricey as you can see HERE. They were ranging from $50-$170 just for these little guys. I am not sure why. So my next best option, make it myself! Or maybe that should have been my first best option. Oh well.
UPDATE:
So apparently my googing skills aren't the very best. And thanks to the better skills of my sister, there are these at Amazon for around $5. So if you aren't up for a domestic challenge, you can buy them here too.
As you can see there really isn't much to it. I could have probably made this from scratch, but really, it was much easier to do it this way (and probably cheaper too!)
I found a pair of suspenders from our local thrift store. Only $2, and that's it!
I cut the straps to look like so, and cut the extra set of clips to be sewn on the ends like so...
Just sew them down, so you have clips for both ends
And that's that! Clip them on the sheets and look forward to countless nights of sheets no longer coming off, I personally can't wait! For this project I only made two clips simply because we only have the problem on the top of the bed, if it ever becomes a problem on the end of the bed, then I know what to do now!
Thanks for stopping by! Hope you have a wonderful weekend!
So I saw This darling A-Frame tent from "Cakies" blog, on Pinterest one day, and knew I must try. So I finally did, and now I will share with you. But since I am horrible at step by step photos when I am making things, I will try to explain things from my already finished project. Or if all else fails with this, you should just go to the original blog I got the idea from, because they gave great step by step instructions.
The original used a twin sheet, so they were able to find dowels that long, I didn't get that lucky, so I just hemmed my material to the length of the dowel across, then fit as long to fit on both sides.
Maybe it worked great for the original post, but when I did this part, it didn't fit very tight, so we bought these little clip things to help hold the dowel and frames into place better. We got them at our local hardware store.
Then the original post didn't add these as well, bu for more durable features, we thought we should add them. We just screwed dowels on the inside of the frames to give it more support. Then it also helped with making ties for the material, and could tie it down all the way across to hold it in place. I liked the ties more than the elastic like they did on the original post. But I am sure both would work great.
Then one last feature, I sewed a loop at the top to run the dowel through to also hold it in place better.
It has worked like a charm and my little girl loves it! And the best part is it fold away flat nicely for when we aren't using it.
Only small disclaimer for this project if you try it at home....it turned out to be a little more pricey than I thought this little project would be. The most expensive stuff was the molding that we used for the frame, just for that it was around $20, maybe we could have shopped around and found a better deal, but the lazy in me was content with what we found. Then if you have to buy material instead of using stuff you already have, then that can add up too. But maybe in the long run it will be worth it since I can see it being use for many years and many children to come!
I have been meaning to post this, but I just have had some many other goods I wanted to share I let myself get carried away, and now it is almost a month past Easter. Oh well, at least this little sewing project doesn't have to be something you can only make for Easter.
So remember my cute little girl in her cute little Easter Dress? Well I made a skirt to match. I love this pattern/style of a skirt, it is so easy to make. Maybe I am getting a little carried away with this statement, but I think just about anyone could make it and you wouldn't need a pre-made pattern.
Okay, so I kind of used this older skirt as a pattern (remember when I shared more on it HERE). But Even though you might not have a skirt like this to start with, I think any skirt would do.
The idea of this skirt is to make panels, or sections and them sew them together until you get a complete circle. So if you have a skirt that has a good length you'd want, use that as your guide, then fold it about four times, and in a triangle sort of shape (not exactly triangular, but at least make it so it is skinnier at top and a little bigger on bottom to give yourself a more flared look). The idea of using another skirt as your guide is to make sure you cut it the right length, if you think you can figure it out without the guide then you are all set.
After cutting out the first panel, I cut out 5 more, and used the first cut as my guide for the rest, to make sure they were all the same size. If you do use one of your skirts, make sure to cut a little more extra on bottom to allow for seams.
Sorry for the bunching on the side, my little girl was trying to "help" me. But here I have all the panels sewed together, making sure you sew right sides together. Then to complete the circle, you take one edge, line it up with the opposite edge, still have right sides together, so that the outside of the skirt will be inside of the circle. (I hope that makes sense) Then sew the last side making a complete circle, or your skirt complete.
Then a little trick I noticed on pintrest, you can use the bottom of an old shirt as the top brim for a skirt. Which I think is a brilliant idea, because I HATE sewing in zippers. So here I cut the amount I wanted for the band.
Made sure it fit well around my waist.
Then pinned it to the top of the skirt, having right sides together. Then sewed it on.
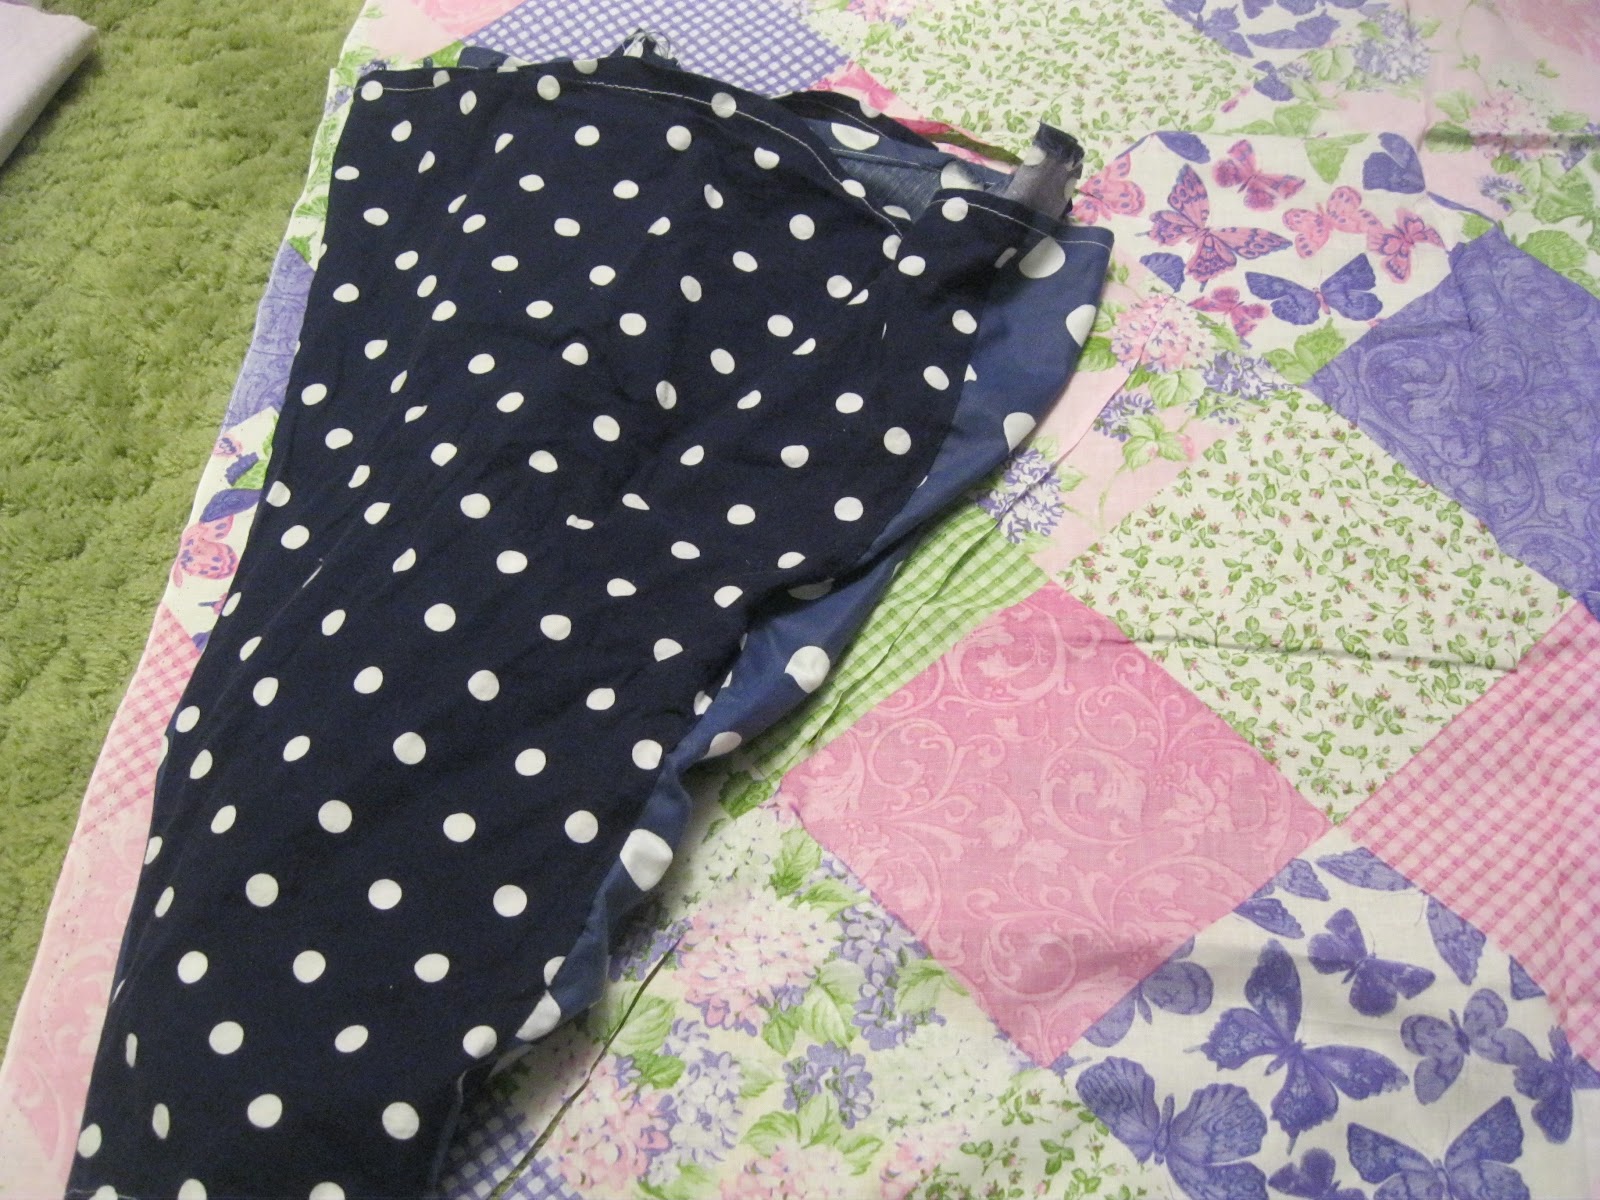
Then I had a little extra tulle from my girl's dress, so I add a little fluff on the bottom, but I don't normally add stuff to this kind of skirt, so if you make this, it's all in your own desires which way to go :)
And wall-ah! The finished skirt, complete to match my little girl.
And now me already ready and wearing it. I was going to get a full on picture with me and my little girl together, but the day was just crazy and my husband was busy with church responsibilities, so it just never came together. But it was fun having a little matching buddy for the wonderful Easter Sunday.
Well that's all for now. I hope you have a wonderful day! And again sorry if I didn't explain this process better, let me know if you have questions!
I thought it would be fun this year to have my little girl all dressed pretty for this special Easter Sunday. So instead of forking a ton of money on a little dress, I put one together.
I love those dresses that has flower petals in tulle, so I did just that.
Using another one of her dresses as a guide, I laid it on top and cut a few inches above the waist line to make sure it would be the right length
Then again using the same dress, I cut out the bottom part of the dress, I folded the dress and the material so that it would be easier to cut it all out in one go, also I cut out the front and back at one time, but folding again (so it's folded 2 times total, once to do front and back, once to make sure it is symmetrical and easier to cut)
I wanted this to have a lot of pleats and fluff, so I cut a bunch extra. Then to give you an idea of how much I cut, I used my tape measure.
And then here is about how long it is on the top. If you try this at home, I don't think you would need an exact amount, especially if you want a lot of fluff too, just make sure you have a bunch extra, beyond the regular dress.
Then for the top part of the dress, I wanted this cute flower and butterfly stuff. So I folded it around 8inch, enough to cover the area of the top part. This way you cut out the front and back piece in one shot.
Here I laid the dress on the material, to cut out the top part
I started to cut one side, with sleeve and neck, and then about half way cutting it out....
I then folded it over, and use the first cut part as a guide to cut the rest, so that it is all even and symmetrical
Here is the finished cut out top part. But I want a wider neck area, so I folded it, to make it even again, and cut
Giving me this here.
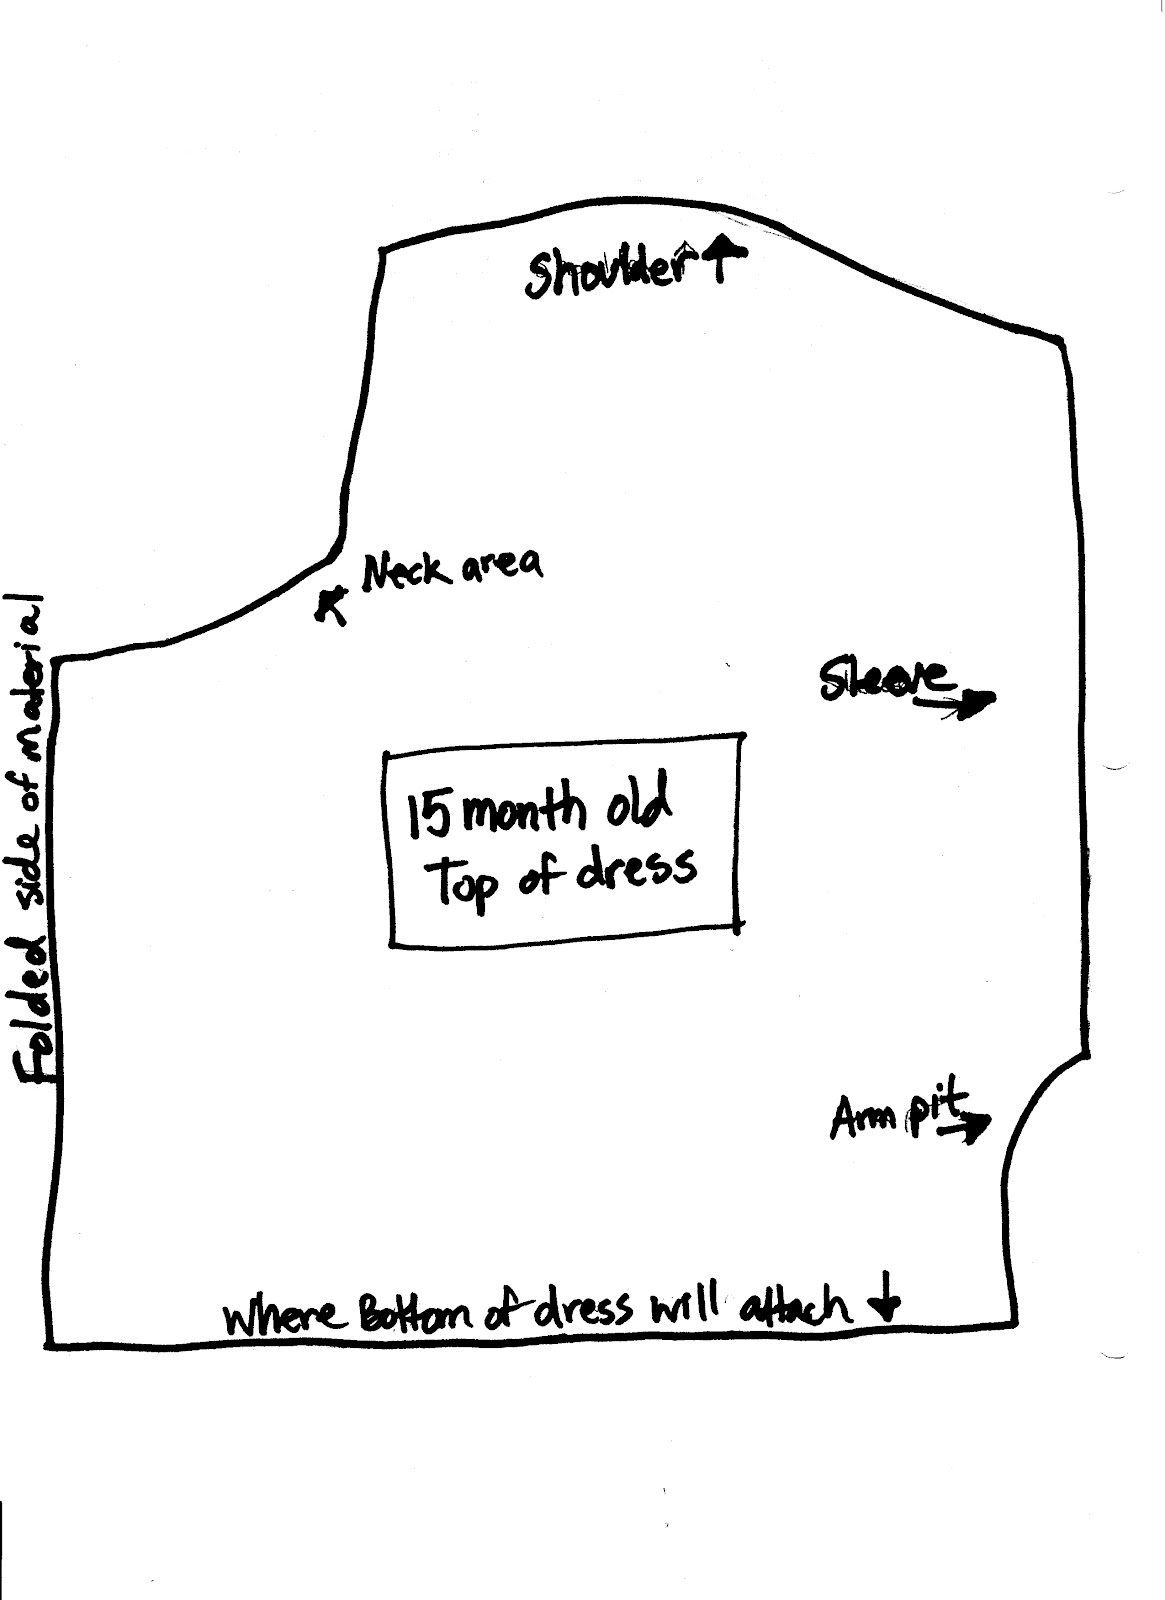
In my Giveaway survey that I had, I had a request for more detailed measurements, so I put together a rough pattern of the top part, this is with it being folded, which is what you would do with the material, then when you open the material after the cut, it will be the full view. I hope this helps, it is a venture in of itself for me to think of actual measurements and such when it comes to sewing, I was raised on "eye-balling it!" For a PDF version of this pattern in Google Docs, you can go HERE.
I also wanted to have inside lining for the top of the dress, so it would give me a nice neck line, so I used the flower print as as guide to cut out the purple
Then I sewed the top shoulder areas of the front and backs on both the purple and flower print, where my finger is pointed, remember always sew right sides together!
When they are sewn and opened up, it should look like this. Then again putting right sides together, I sewed the circular neck areas together
After it's sewed and you put the pieces ride side out, it should look similar to this, to make it more smooth, I ironed it flat.
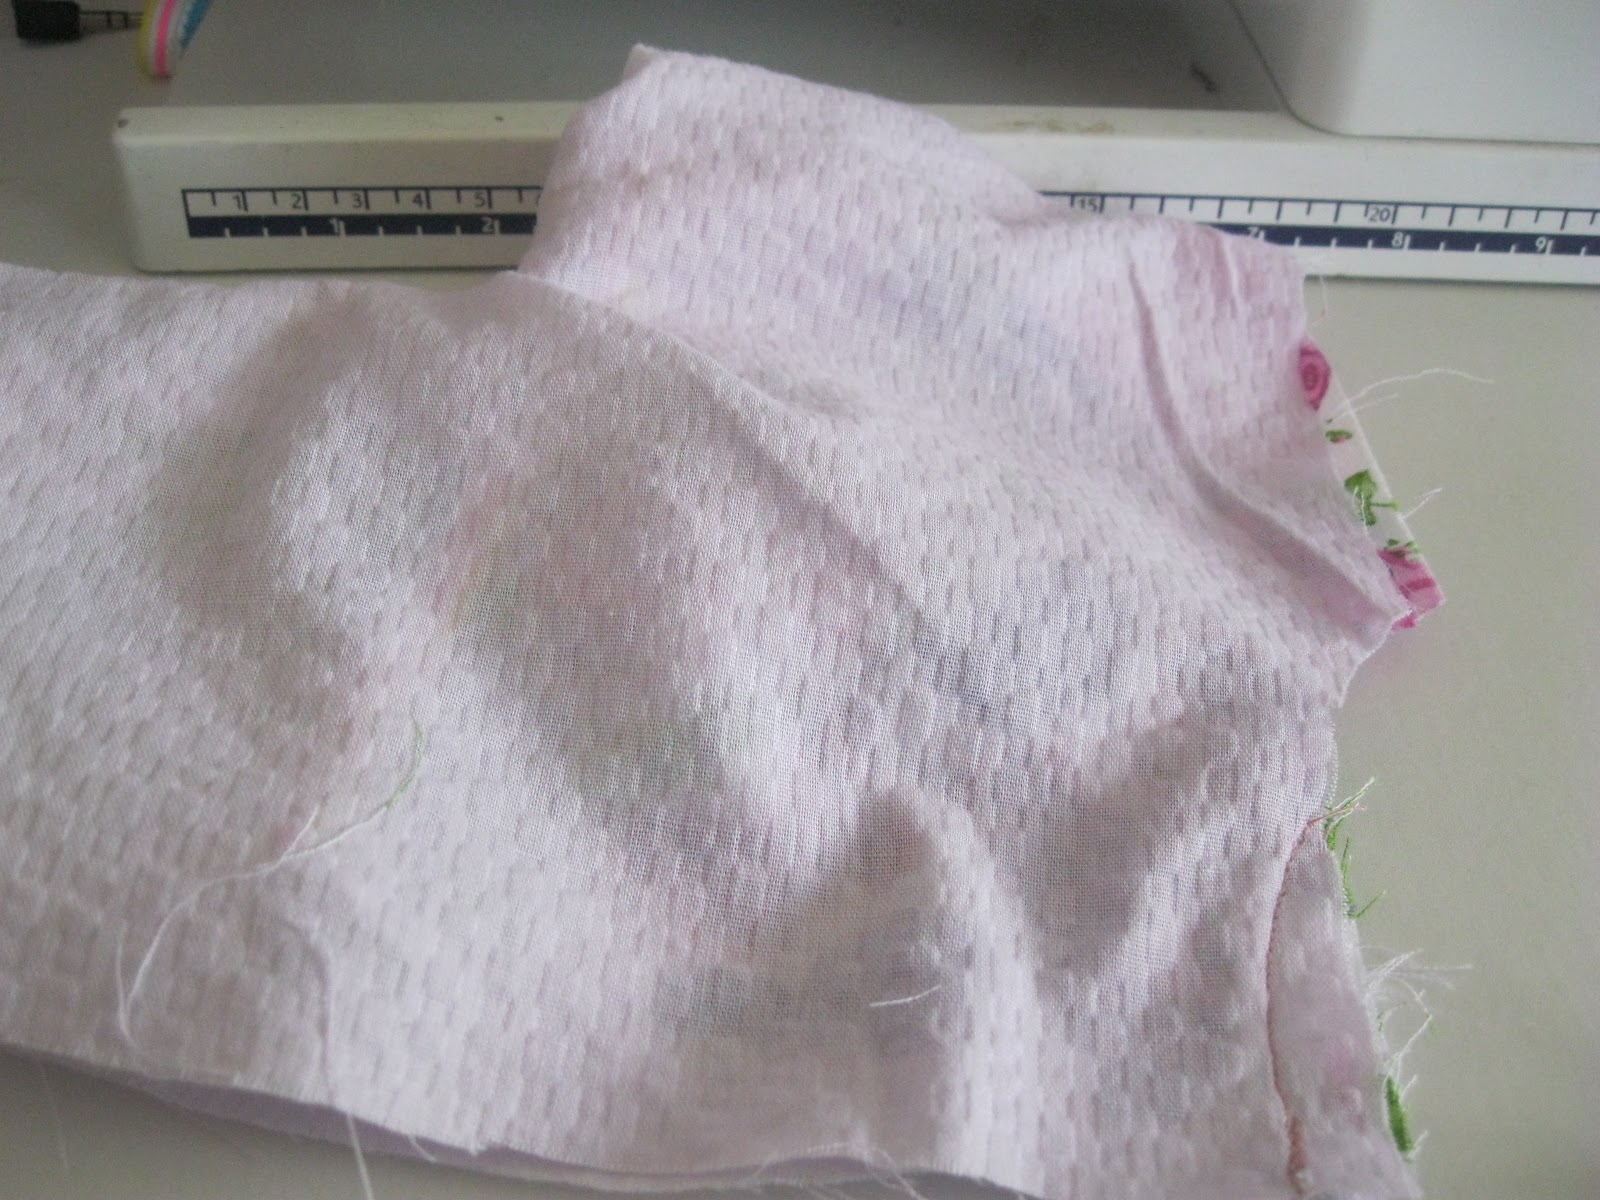
Then to give the top a little touch of cute bunching, I sewed some elastic on the inside of the flower print like so. To make it bunch, sew the top part with a regular stitch, then when it is sewed well at the start, pull on the elastic and hold, so that when you are down sewing, it will pulled the flat material in a bunched look
I also did it for the sleeves, so I sewed some elastic on the seams of the shoulders (I hope that makes sense...)
Then to help the dress fit well, I also made ties, so I cut strips about 1 and half inch thick, and as long as I thought I would need to tie, then folded them, right sides together, and sewed, like so.
To turn them right side out, I put a safety pin on one side of the end, then
put the safety pin inside the tub, and used the safety pin as a way to grip and pull the material through
Here is what it looks like as you start to pull through on the other end
The finished look of pulling it through, I also ironed these, so they would have a nice flat look.
Then back to the top, I sewed the sides up and the bottom of the sleeves, like so
Here is what it looks like after sewing the sides
Then I flipped it right side out again, and then sewed the ties on on the back, like so
Before attaching the top to the bottom, here is a good point to make sure the top is actually going to fit, so far so good!
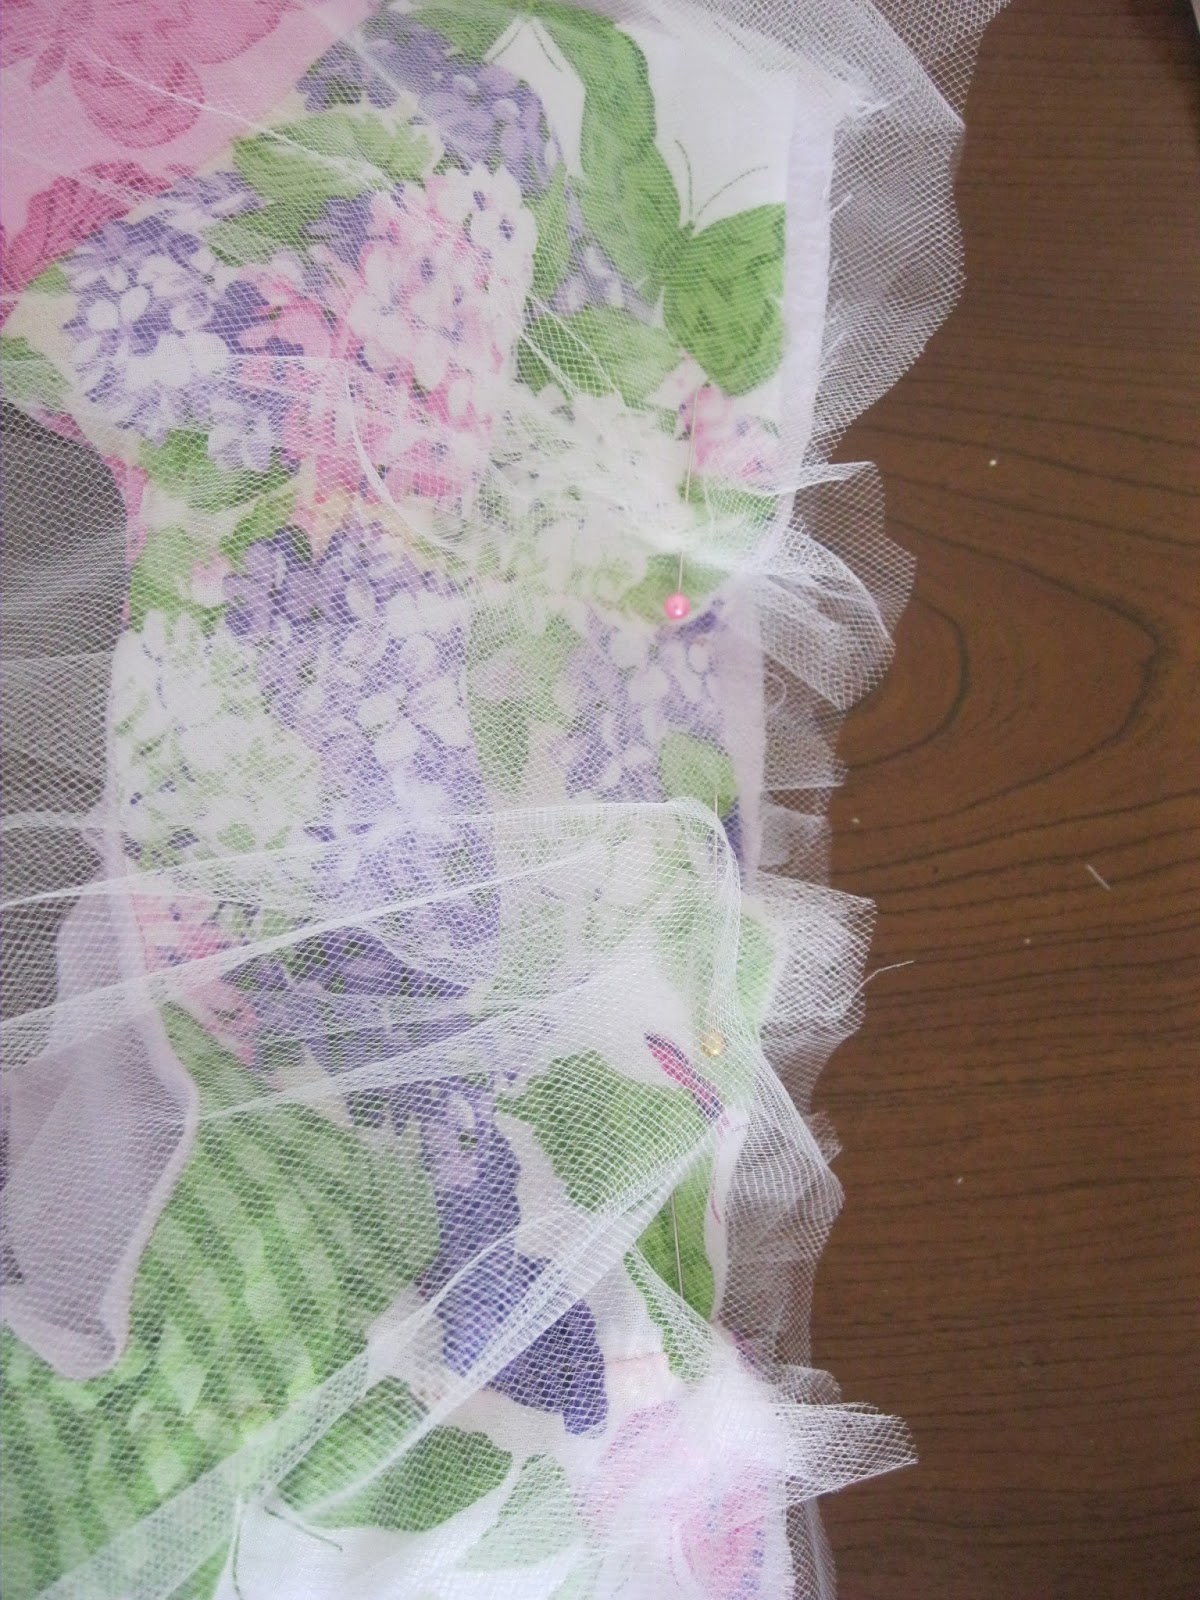
Then to attach, I pinned in a random pleating manner, the bottom (first I did the tulle with flowers) to the top, making sure right sides are together
Here you can see the pleats pinned
Then again, making sure the right side is inside, I pinned the purple layer outside of the tulle. To not let random pins get lost, I re-used the same pins used on the tulle, but just held them in place as I re-used them. Before I attached the tulle or bottom purple, I sewed the sides, so they made a complete circle on the bottom
Here is an inside look of them pinned, and ready to be sewn together. After I sewed them I hemmed the bottom of the purple layer, the sleeves, and the ends of my ties. And wall-ah, it is finished!
Here is her finished dress! The front
And the back.
And last but not least, of course on the little princess, ready for this Special Easter Sunday! I found a lovely pink tie my husband gets to wear to match, and I am still in the process of making a matching skirt for myself out of the same material as her top piece. A post on that will soon follow!
Now for one last finishing touch on this Easter post, here is a lovely Easter Video, about the wonderful real meaning of the season, enjoy and happy Easter!