So I saw This darling A-Frame tent from "Cakies" blog, on Pinterest one day, and knew I must try. So I finally did, and now I will share with you. But since I am horrible at step by step photos when I am making things, I will try to explain things from my already finished project. Or if all else fails with this, you should just go to the original blog I got the idea from, because they gave great step by step instructions.
The original used a twin sheet, so they were able to find dowels that long, I didn't get that lucky, so I just hemmed my material to the length of the dowel across, then fit as long to fit on both sides.
Maybe it worked great for the original post, but when I did this part, it didn't fit very tight, so we bought these little clip things to help hold the dowel and frames into place better. We got them at our local hardware store.
Then the original post didn't add these as well, bu for more durable features, we thought we should add them. We just screwed dowels on the inside of the frames to give it more support. Then it also helped with making ties for the material, and could tie it down all the way across to hold it in place. I liked the ties more than the elastic like they did on the original post. But I am sure both would work great.
Then one last feature, I sewed a loop at the top to run the dowel through to also hold it in place better.
It has worked like a charm and my little girl loves it! And the best part is it fold away flat nicely for when we aren't using it.
Only small disclaimer for this project if you try it at home....it turned out to be a little more pricey than I thought this little project would be. The most expensive stuff was the molding that we used for the frame, just for that it was around $20, maybe we could have shopped around and found a better deal, but the lazy in me was content with what we found. Then if you have to buy material instead of using stuff you already have, then that can add up too. But maybe in the long run it will be worth it since I can see it being use for many years and many children to come!
I saw this brilliant idea on THIS blog, Handmade by Stacy, and knew that I must give it a try. We like to store all our DVDs in a folder with plastic protector sleeves so that they are are all in once place, so that leaves us with a ton of empty cases, thus this project seeming all the more appealing.
We love all the Toy Story movies, (and actually have all of them, so I used some of the pictures from the movie covers for this cover), so I thought I would make this coloring case along that sort of theme.
As Stacy shows it, you first need to cut out the circle part. I didn't have a fancy plastic mat to protect the outer plastic sleeve of the case, so I just used cardboard, but still needed to be a little extra careful that I didn't cut through that too.
Finally got it all cut out
Then I cut cardboard and glued it on the insides, I used old cereal and cracker boxes, and made them the above dimensions
Then I used regular construction paper, and glued the little Toy Story cut outs to it, I made it the above dimensions
And slide it in.
For the left side I just googled Disney print-ables and came across a few, made sure they fit the dimensions, printed, laminated, and it is set to go! For the right side, I just got some scrap material I had laying around, and hot glued it all together (can you tell that my crayon pocket is an old shirt cuff?) Then my favorite about these coloring pages and such is that I used Dry Erase Crayons, so that the same pictures can be colored over and over again. I bought them on Amazon Here, but I have recently seem them at Walmart (even our Non-Super Walmart) and it is much cheaper mostly because you don't have to pay shipping! I love these crayons because I never have to worry about them drying out, and they come off pretty easy!
Now I can't wait to start making lots of other goods with these cases, my creativity streaks are just bubbling with excitment for the next ones!
So there you have it! Hope you have a great long weekend!
It has been so fun to watch my little girl grow, especially as of late seeing how much more coordinated and curious she is becoming. Back in college I got my associates in Professional Preschool Education and a Bachelors in Child Development. And as much as we covered things on younger children, my real hands on work ended up being the preschool age realm.
Now I know my little girl is still a ways from being that official preschool age of 3-5, but it has been fun to see how she is becoming more and more curious with playing with things and exploring them in realms that I learned in college.
So long story short, I thought it would be fun to put together a Sensory Table for my girl like we always had for the children in preschool. They were always a hit in my classes, because they loved feeling and exploring with their hands. Their senses at these young ages are so alert and ready to explore, so having things in a more contained environment (a table or bucket) can not only be fun for the kiddo, but for the adult, because then there isn't as much mess.
I saw these cute tables at Amazon, here and here, but as much as they looked great and fun, they also looked way out of my price range. So then I went to my next best option- the thrift store!
I found this watermelon wooden basket thing for $2, and it has worked great, having the bigger, currently unused toys below, and it turned out to be the perfect dimensions to fit these little pink buckets neatly inside. When my little girl was born, she had her first bath in one of these little pink buckets in the hospital, and when you go home, they let you keep the bucket. Well I also saw lots of these at the store, I guess new local parents didn't feel a need to keep them. I probably didn't entirely "need" to get them all, but I thought it wouldn't hurt to get them just in case they brake, or to use for other variety of things. Long story short, the little buckets were only 50cents each!
Then I found a little packet of summer "Sand toys" at the dollar store. She scooped those beans in and out of the small red bucket for close to an hour, and she loved every second of it!
Since I hate wasting food (even the dry stuff, we actually don't buy canned beans, we use the dry ones for our cooking, because they are lots cheaper and healthier!), I saved these beans in an empty #10 can, and we will only use them for her to play with. I plan on using these beans over and over, so that way they get a good use out of them, and they aren't entirely being wasted after one playing use. I think I will do the same with Rice and maybe even Flour (I know, a little risky, but I think she would LOVE playing with flour, and feeling the textures, and just having so fun!).
Then since the watermelon basket was wood, I didn't want it to over do it's wear with water getting on it, so I found this random metal cage thing for $1, which works great for when she wants to do more water sensory fun. I think she had fun with the idea of playing with water and her bath toys without actually taking a bath (even though she loves baths, I think she liked the change!)
So total, with everything I bought for this fun little adventure in sensory explorations, I only spent $6, including the new toys. And she couldn't be more content loving this new set up!
Sure beats the $40 plus from the tables on Amazon especially since all these items are pretty compact-able and easy to stow away when they aren't in use, where the fancy official ones looked big and bulky, and I don't think I would know where to put it!
Now if you try this at home, I know you won't be able to find the exact set-up that I have, but stretch your mind a little, be a littel creative, and if you really want something for your kid, I know you could figure it out with random odds and ends either in your own stash of things, or putting things together at the thrift store. If you do, it will feel great saving the money, and letting your kid have a blast playing and exploring with their senses!
I thought it would be fun this year to have my little girl all dressed pretty for this special Easter Sunday. So instead of forking a ton of money on a little dress, I put one together.
I love those dresses that has flower petals in tulle, so I did just that.
Using another one of her dresses as a guide, I laid it on top and cut a few inches above the waist line to make sure it would be the right length
Then again using the same dress, I cut out the bottom part of the dress, I folded the dress and the material so that it would be easier to cut it all out in one go, also I cut out the front and back at one time, but folding again (so it's folded 2 times total, once to do front and back, once to make sure it is symmetrical and easier to cut)
I wanted this to have a lot of pleats and fluff, so I cut a bunch extra. Then to give you an idea of how much I cut, I used my tape measure.
And then here is about how long it is on the top. If you try this at home, I don't think you would need an exact amount, especially if you want a lot of fluff too, just make sure you have a bunch extra, beyond the regular dress.
Then for the top part of the dress, I wanted this cute flower and butterfly stuff. So I folded it around 8inch, enough to cover the area of the top part. This way you cut out the front and back piece in one shot.
Here I laid the dress on the material, to cut out the top part
I started to cut one side, with sleeve and neck, and then about half way cutting it out....
I then folded it over, and use the first cut part as a guide to cut the rest, so that it is all even and symmetrical
Here is the finished cut out top part. But I want a wider neck area, so I folded it, to make it even again, and cut
Giving me this here.
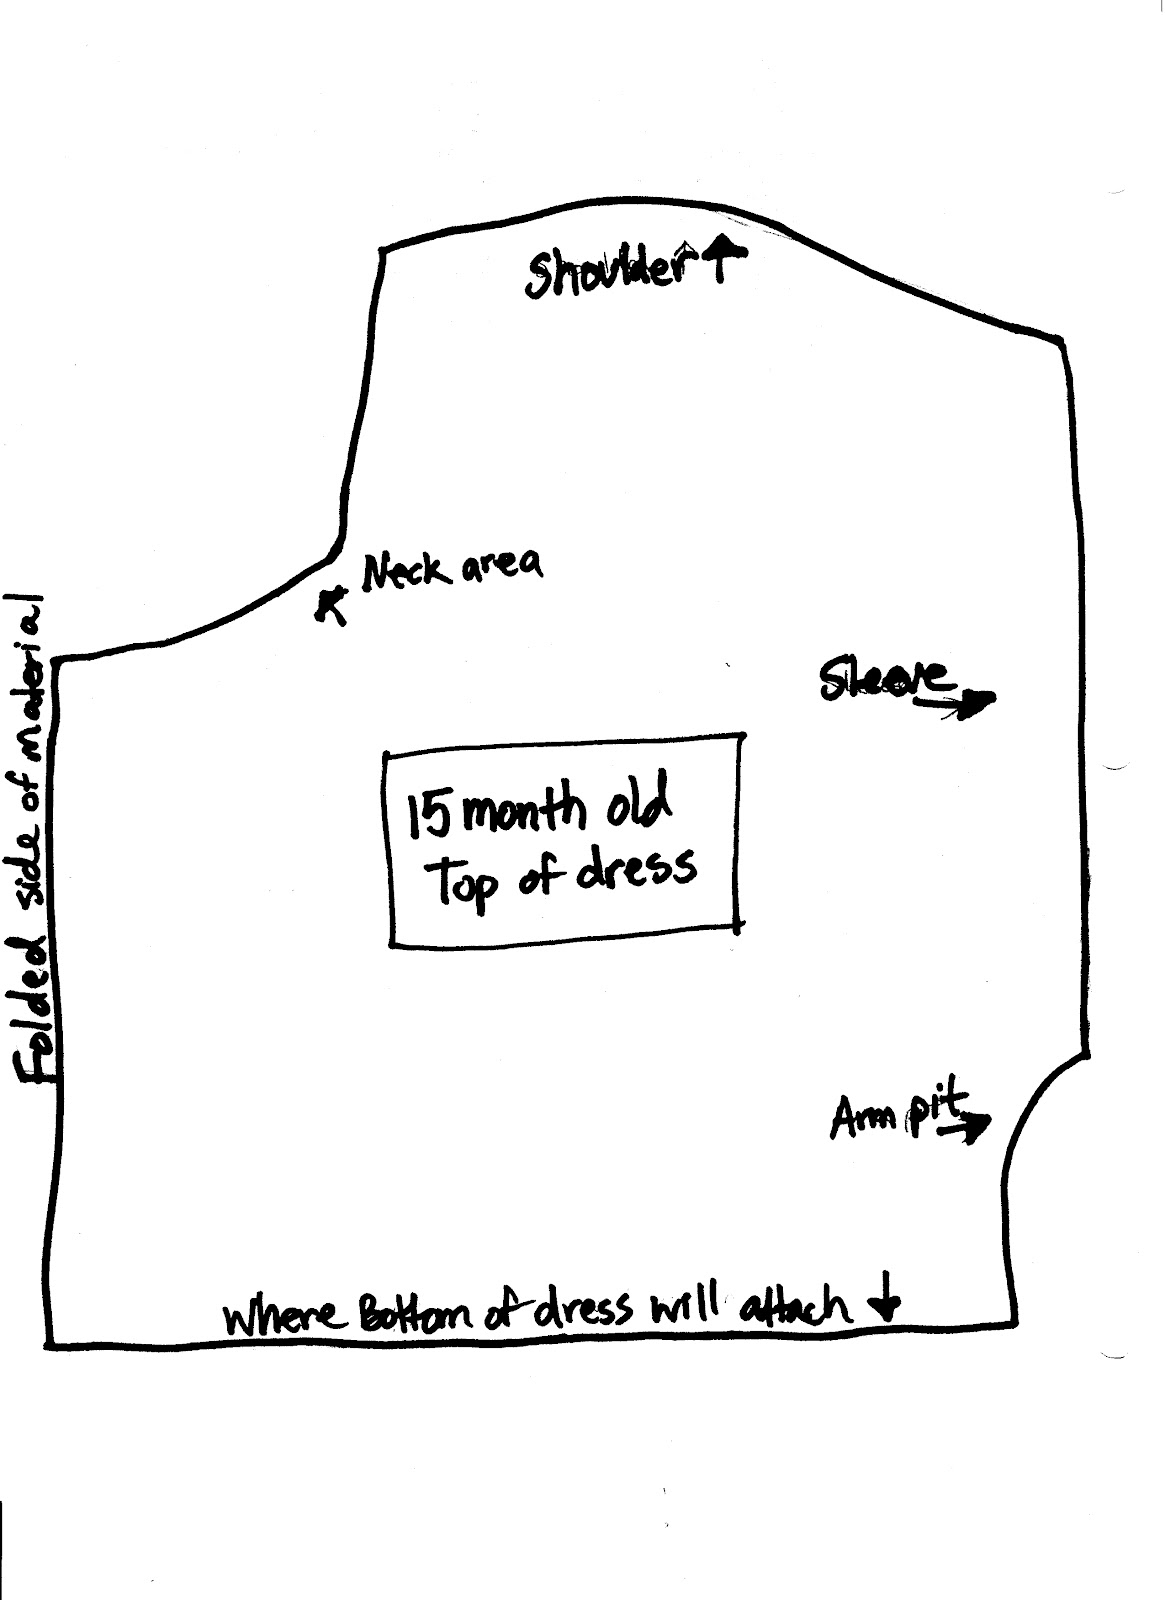
In my Giveaway survey that I had, I had a request for more detailed measurements, so I put together a rough pattern of the top part, this is with it being folded, which is what you would do with the material, then when you open the material after the cut, it will be the full view. I hope this helps, it is a venture in of itself for me to think of actual measurements and such when it comes to sewing, I was raised on "eye-balling it!" For a PDF version of this pattern in Google Docs, you can go HERE.
I also wanted to have inside lining for the top of the dress, so it would give me a nice neck line, so I used the flower print as as guide to cut out the purple
Then I sewed the top shoulder areas of the front and backs on both the purple and flower print, where my finger is pointed, remember always sew right sides together!
When they are sewn and opened up, it should look like this. Then again putting right sides together, I sewed the circular neck areas together
After it's sewed and you put the pieces ride side out, it should look similar to this, to make it more smooth, I ironed it flat.
Then to give the top a little touch of cute bunching, I sewed some elastic on the inside of the flower print like so. To make it bunch, sew the top part with a regular stitch, then when it is sewed well at the start, pull on the elastic and hold, so that when you are down sewing, it will pulled the flat material in a bunched look
I also did it for the sleeves, so I sewed some elastic on the seams of the shoulders (I hope that makes sense...)
Then to help the dress fit well, I also made ties, so I cut strips about 1 and half inch thick, and as long as I thought I would need to tie, then folded them, right sides together, and sewed, like so.
To turn them right side out, I put a safety pin on one side of the end, then
put the safety pin inside the tub, and used the safety pin as a way to grip and pull the material through
Here is what it looks like as you start to pull through on the other end
The finished look of pulling it through, I also ironed these, so they would have a nice flat look.
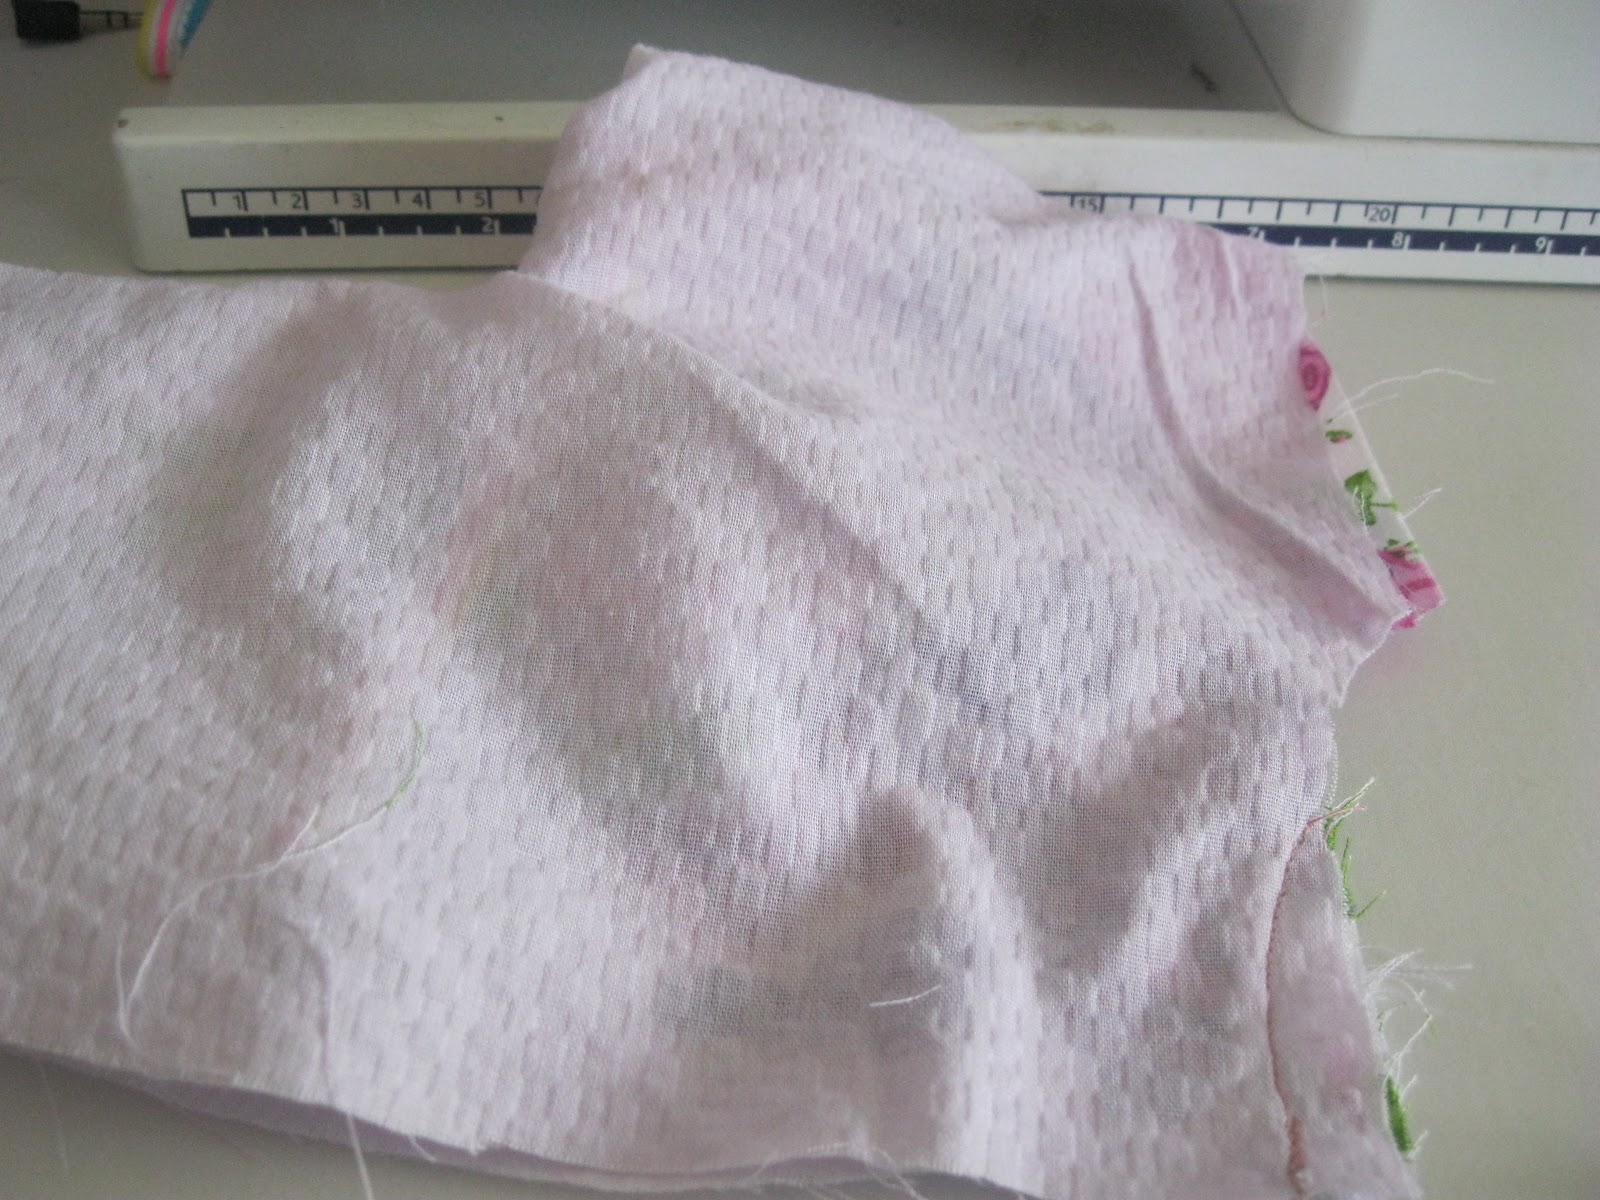
Then back to the top, I sewed the sides up and the bottom of the sleeves, like so
Here is what it looks like after sewing the sides
Then I flipped it right side out again, and then sewed the ties on on the back, like so
Before attaching the top to the bottom, here is a good point to make sure the top is actually going to fit, so far so good!
Then to attach, I pinned in a random pleating manner, the bottom (first I did the tulle with flowers) to the top, making sure right sides are together
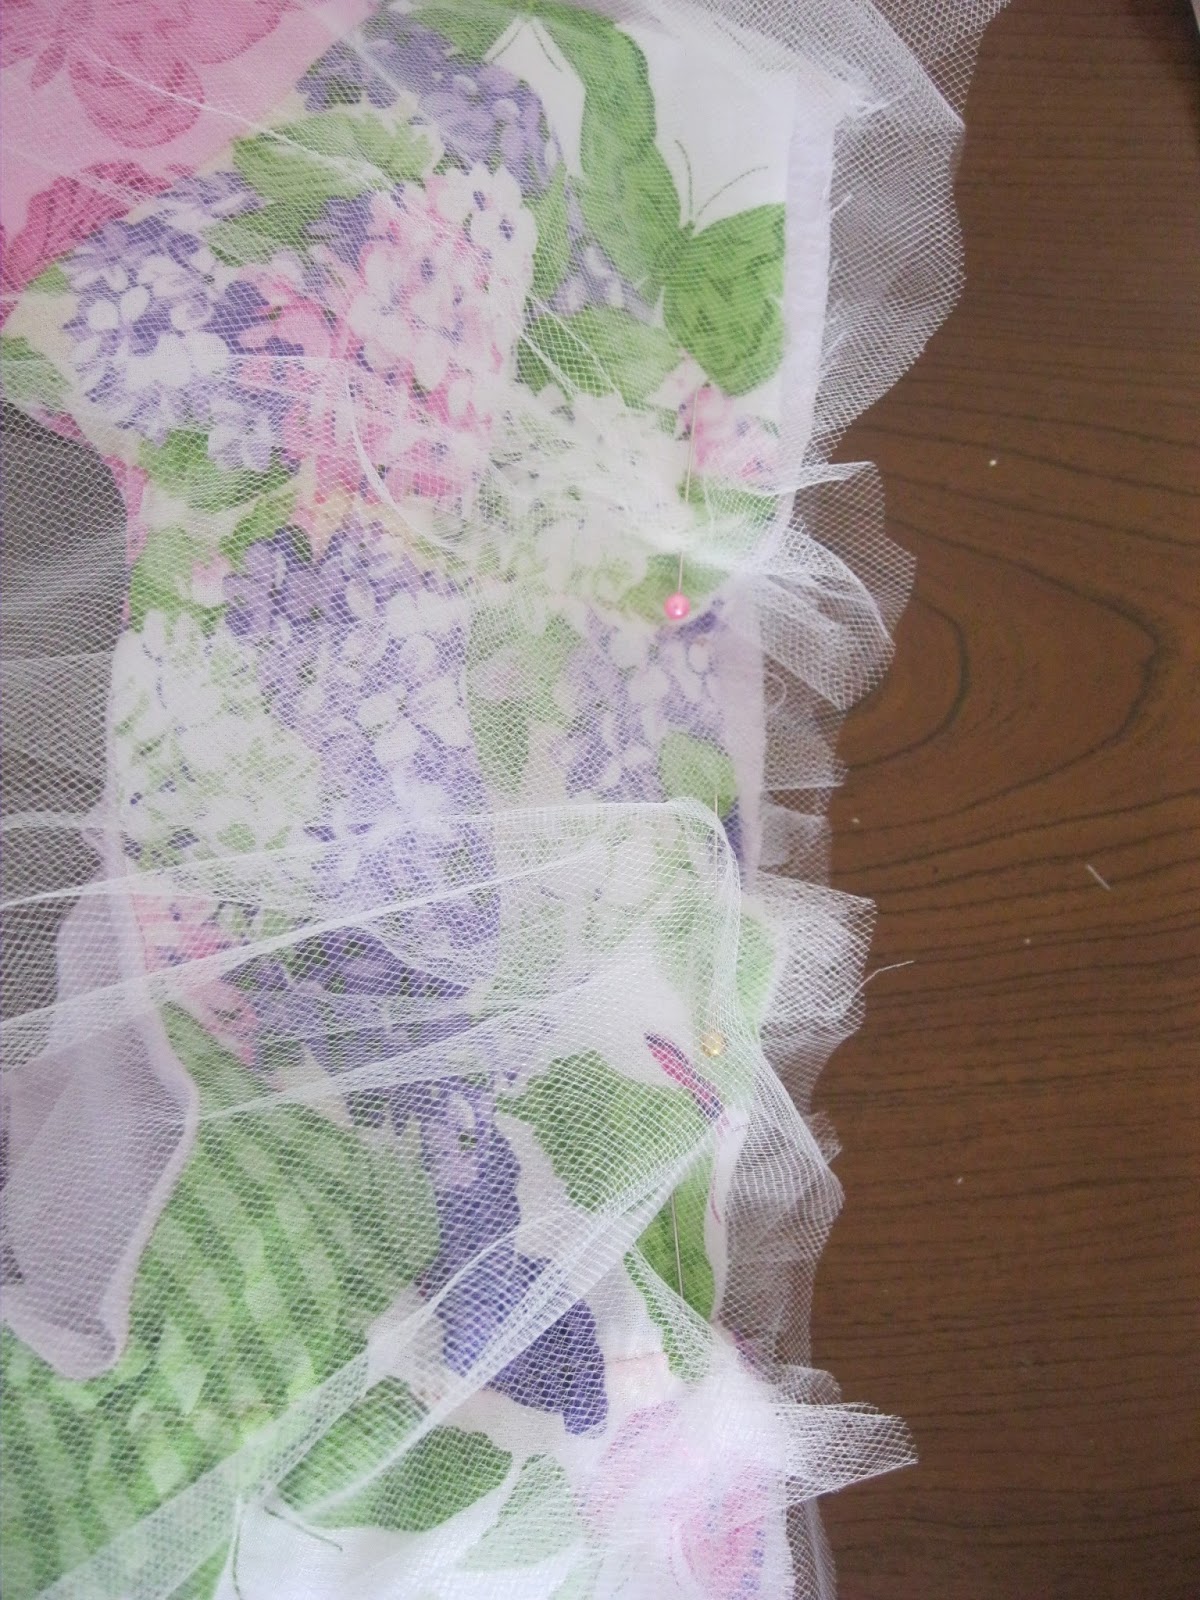
Here you can see the pleats pinned
Then again, making sure the right side is inside, I pinned the purple layer outside of the tulle. To not let random pins get lost, I re-used the same pins used on the tulle, but just held them in place as I re-used them. Before I attached the tulle or bottom purple, I sewed the sides, so they made a complete circle on the bottom
Here is an inside look of them pinned, and ready to be sewn together. After I sewed them I hemmed the bottom of the purple layer, the sleeves, and the ends of my ties. And wall-ah, it is finished!
Here is her finished dress! The front
And the back.
And last but not least, of course on the little princess, ready for this Special Easter Sunday! I found a lovely pink tie my husband gets to wear to match, and I am still in the process of making a matching skirt for myself out of the same material as her top piece. A post on that will soon follow!
Now for one last finishing touch on this Easter post, here is a lovely Easter Video, about the wonderful real meaning of the season, enjoy and happy Easter!