I have been meaning to post this, but I just have had some many other goods I wanted to share I let myself get carried away, and now it is almost a month past Easter. Oh well, at least this little sewing project doesn't have to be something you can only make for Easter.
So remember my cute little girl in her cute little Easter Dress? Well I made a skirt to match. I love this pattern/style of a skirt, it is so easy to make. Maybe I am getting a little carried away with this statement, but I think just about anyone could make it and you wouldn't need a pre-made pattern.
Okay, so I kind of used this older skirt as a pattern (remember when I shared more on it HERE). But Even though you might not have a skirt like this to start with, I think any skirt would do.
The idea of this skirt is to make panels, or sections and them sew them together until you get a complete circle. So if you have a skirt that has a good length you'd want, use that as your guide, then fold it about four times, and in a triangle sort of shape (not exactly triangular, but at least make it so it is skinnier at top and a little bigger on bottom to give yourself a more flared look). The idea of using another skirt as your guide is to make sure you cut it the right length, if you think you can figure it out without the guide then you are all set.
After cutting out the first panel, I cut out 5 more, and used the first cut as my guide for the rest, to make sure they were all the same size. If you do use one of your skirts, make sure to cut a little more extra on bottom to allow for seams.
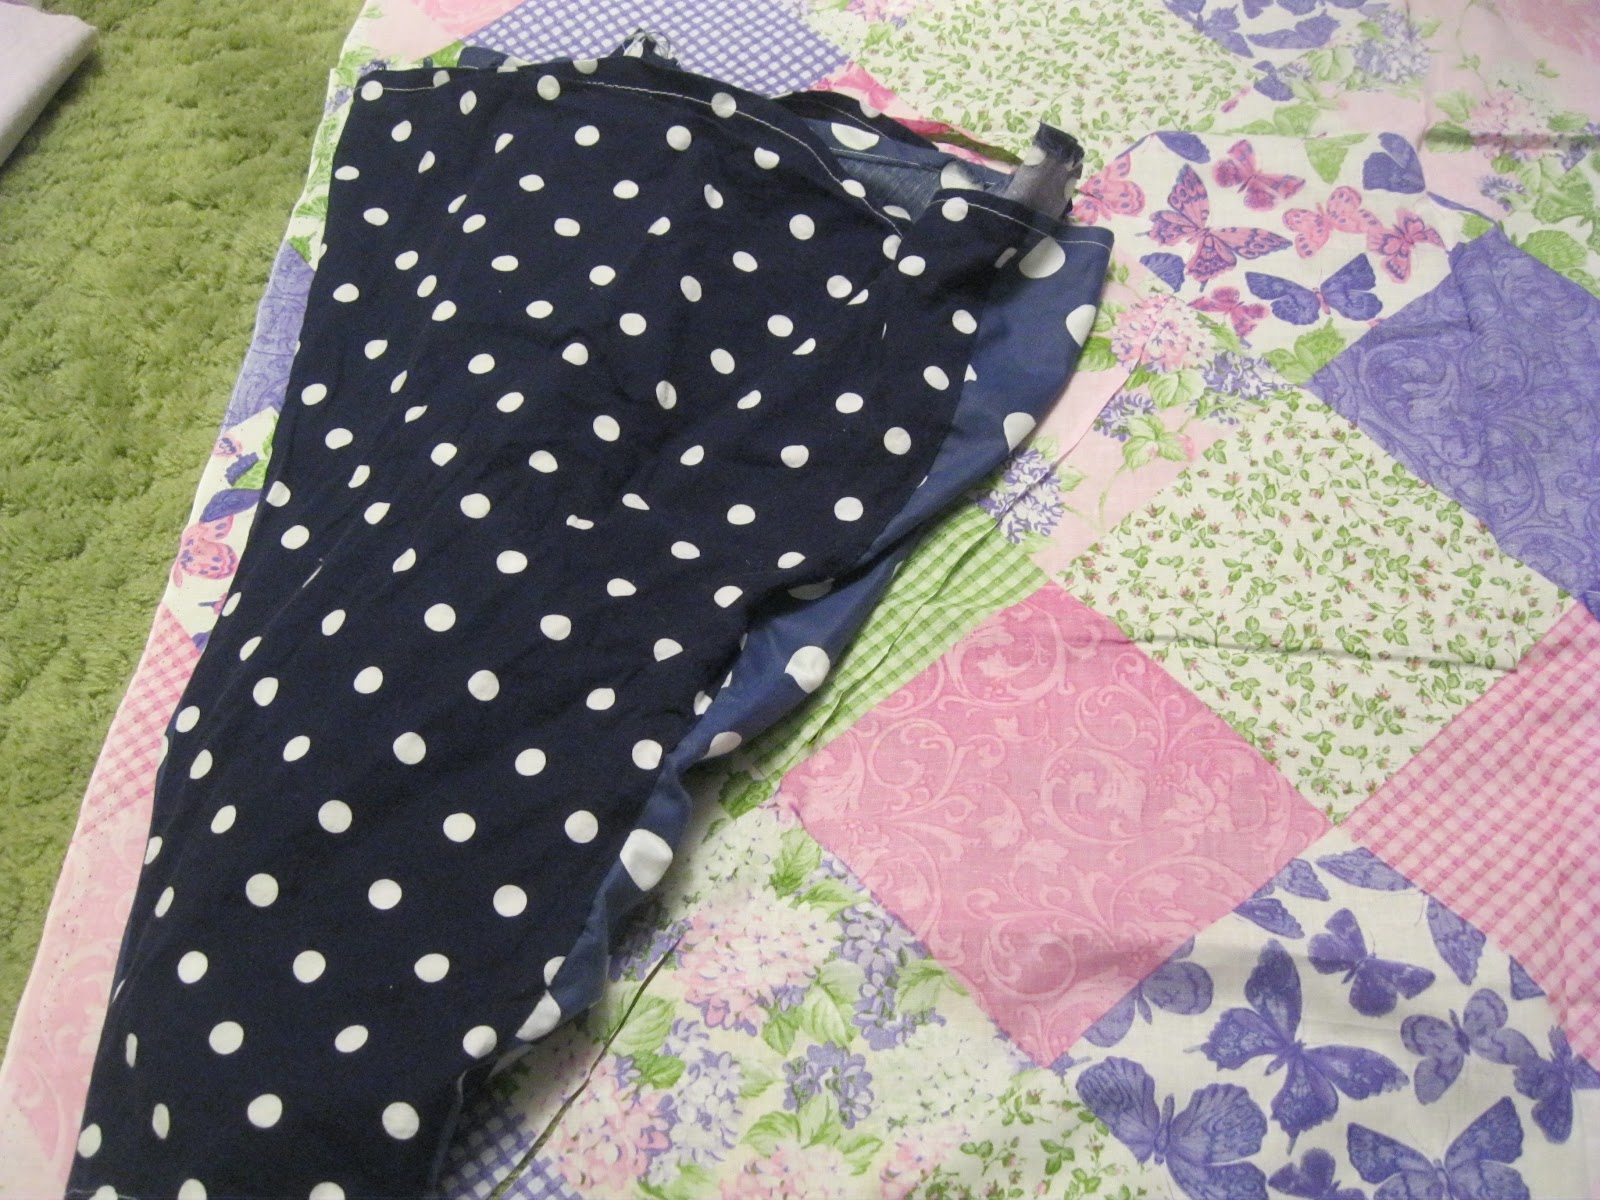
Sorry for the bunching on the side, my little girl was trying to "help" me. But here I have all the panels sewed together, making sure you sew right sides together. Then to complete the circle, you take one edge, line it up with the opposite edge, still have right sides together, so that the outside of the skirt will be inside of the circle. (I hope that makes sense) Then sew the last side making a complete circle, or your skirt complete.
Then a little trick I noticed on pintrest, you can use the bottom of an old shirt as the top brim for a skirt. Which I think is a brilliant idea, because I HATE sewing in zippers. So here I cut the amount I wanted for the band.
Made sure it fit well around my waist.
Then pinned it to the top of the skirt, having right sides together. Then sewed it on.
Then I had a little extra tulle from my girl's dress, so I add a little fluff on the bottom, but I don't normally add stuff to this kind of skirt, so if you make this, it's all in your own desires which way to go :)
And wall-ah! The finished skirt, complete to match my little girl.
And now me already ready and wearing it. I was going to get a full on picture with me and my little girl together, but the day was just crazy and my husband was busy with church responsibilities, so it just never came together. But it was fun having a little matching buddy for the wonderful Easter Sunday.
Well that's all for now. I hope you have a wonderful day! And again sorry if I didn't explain this process better, let me know if you have questions!
I thought it would be fun this year to have my little girl all dressed pretty for this special Easter Sunday. So instead of forking a ton of money on a little dress, I put one together.
I love those dresses that has flower petals in tulle, so I did just that.
Using another one of her dresses as a guide, I laid it on top and cut a few inches above the waist line to make sure it would be the right length
Then again using the same dress, I cut out the bottom part of the dress, I folded the dress and the material so that it would be easier to cut it all out in one go, also I cut out the front and back at one time, but folding again (so it's folded 2 times total, once to do front and back, once to make sure it is symmetrical and easier to cut)
I wanted this to have a lot of pleats and fluff, so I cut a bunch extra. Then to give you an idea of how much I cut, I used my tape measure.
And then here is about how long it is on the top. If you try this at home, I don't think you would need an exact amount, especially if you want a lot of fluff too, just make sure you have a bunch extra, beyond the regular dress.
Then for the top part of the dress, I wanted this cute flower and butterfly stuff. So I folded it around 8inch, enough to cover the area of the top part. This way you cut out the front and back piece in one shot.
Here I laid the dress on the material, to cut out the top part
I started to cut one side, with sleeve and neck, and then about half way cutting it out....
I then folded it over, and use the first cut part as a guide to cut the rest, so that it is all even and symmetrical
Here is the finished cut out top part. But I want a wider neck area, so I folded it, to make it even again, and cut
Giving me this here.
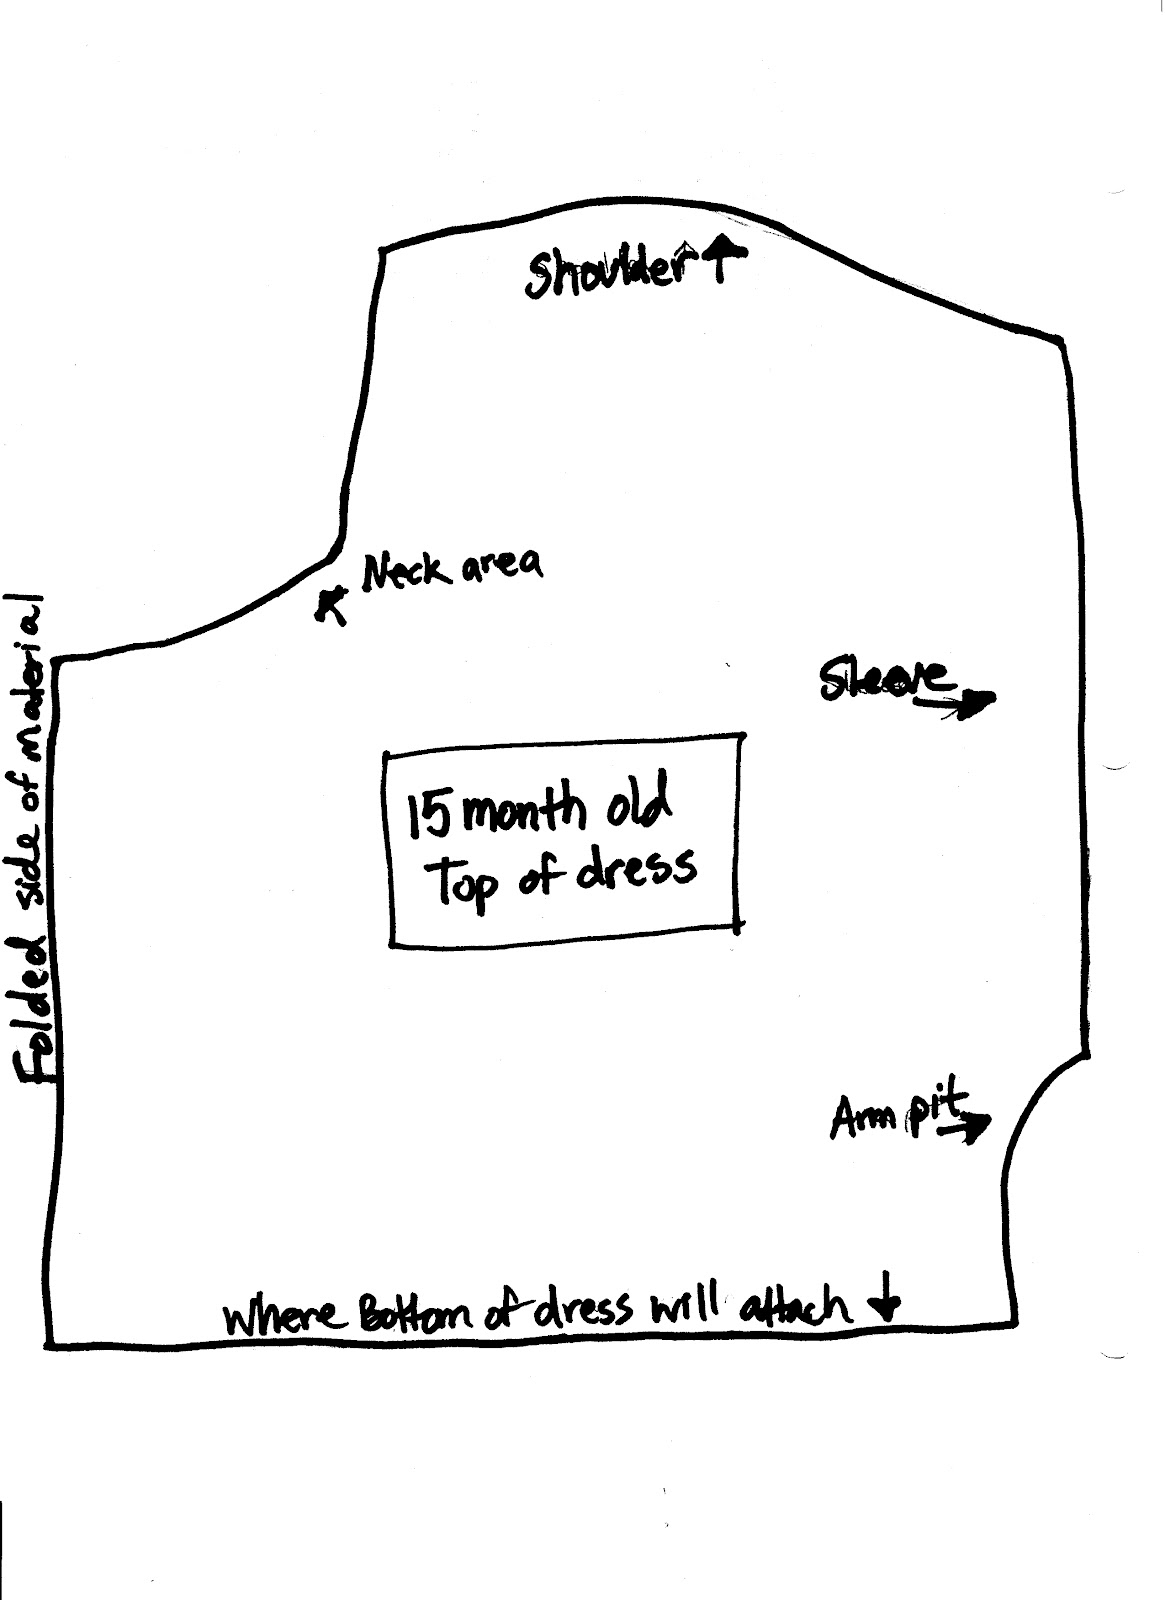
In my Giveaway survey that I had, I had a request for more detailed measurements, so I put together a rough pattern of the top part, this is with it being folded, which is what you would do with the material, then when you open the material after the cut, it will be the full view. I hope this helps, it is a venture in of itself for me to think of actual measurements and such when it comes to sewing, I was raised on "eye-balling it!" For a PDF version of this pattern in Google Docs, you can go HERE.
I also wanted to have inside lining for the top of the dress, so it would give me a nice neck line, so I used the flower print as as guide to cut out the purple
Then I sewed the top shoulder areas of the front and backs on both the purple and flower print, where my finger is pointed, remember always sew right sides together!
When they are sewn and opened up, it should look like this. Then again putting right sides together, I sewed the circular neck areas together
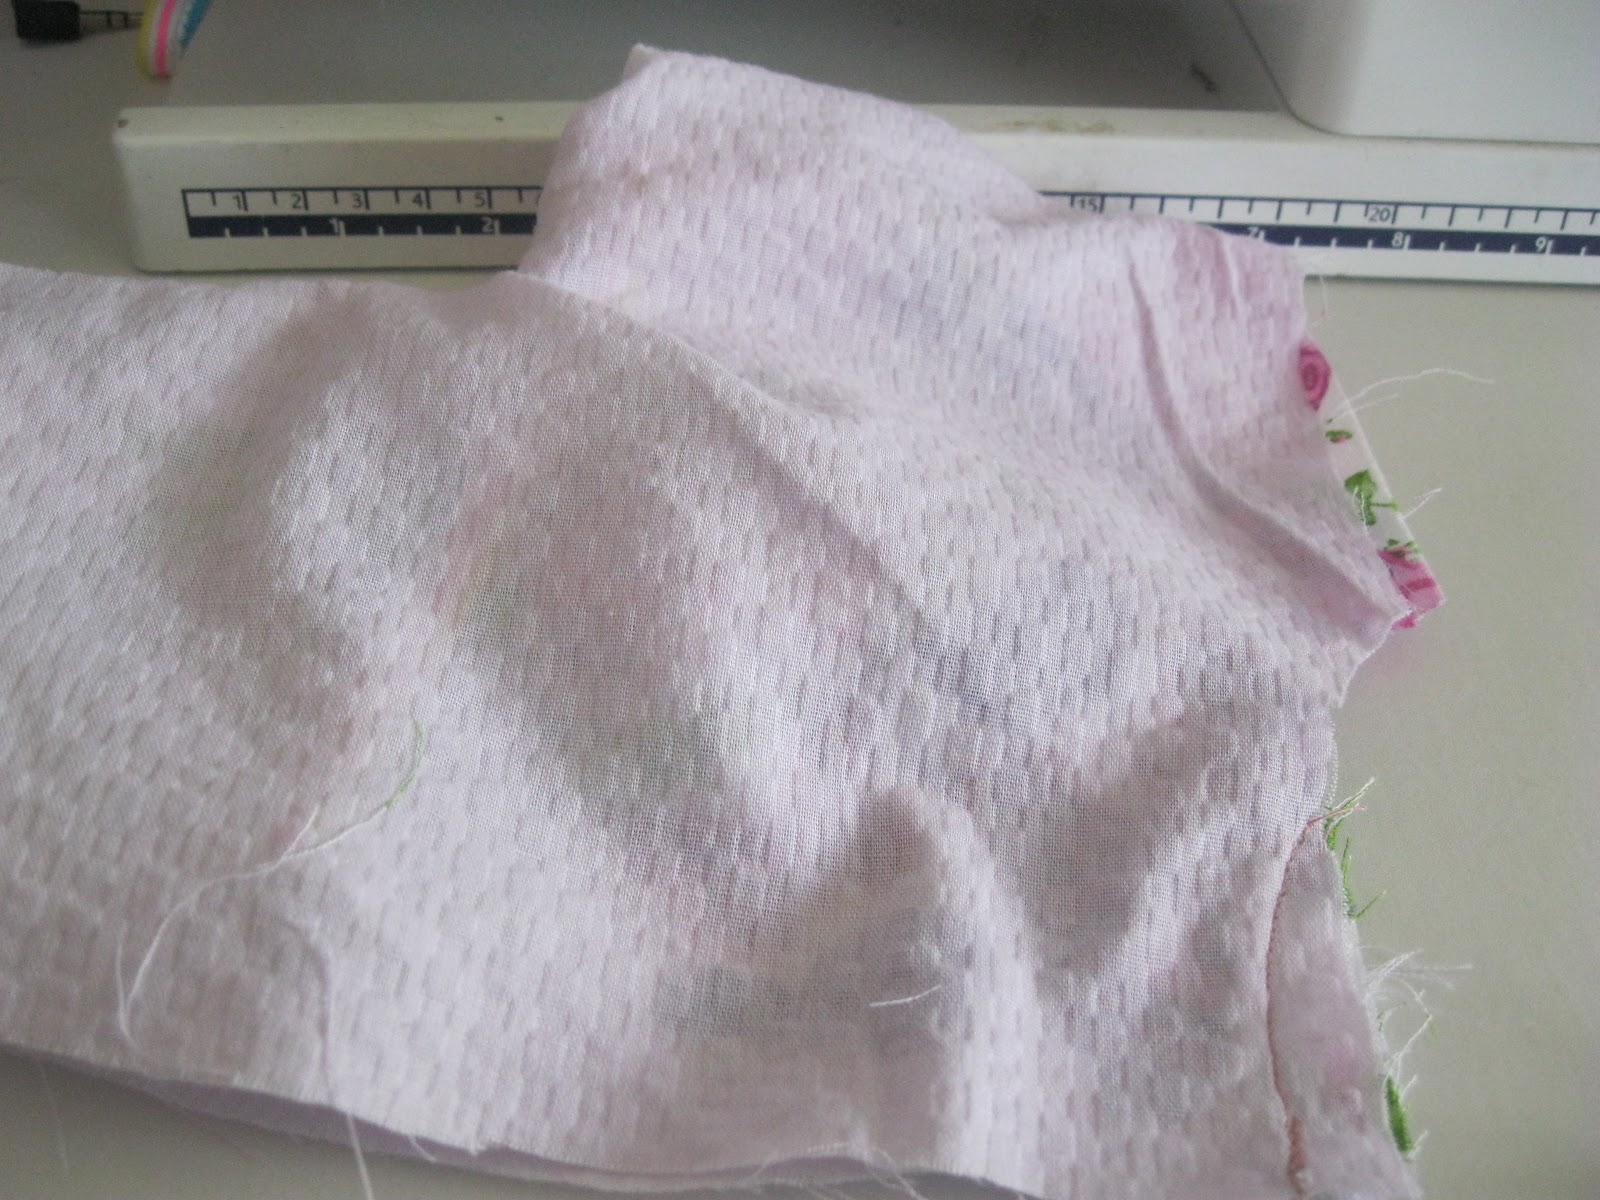
After it's sewed and you put the pieces ride side out, it should look similar to this, to make it more smooth, I ironed it flat.
Then to give the top a little touch of cute bunching, I sewed some elastic on the inside of the flower print like so. To make it bunch, sew the top part with a regular stitch, then when it is sewed well at the start, pull on the elastic and hold, so that when you are down sewing, it will pulled the flat material in a bunched look
I also did it for the sleeves, so I sewed some elastic on the seams of the shoulders (I hope that makes sense...)
Then to help the dress fit well, I also made ties, so I cut strips about 1 and half inch thick, and as long as I thought I would need to tie, then folded them, right sides together, and sewed, like so.
To turn them right side out, I put a safety pin on one side of the end, then
put the safety pin inside the tub, and used the safety pin as a way to grip and pull the material through
Here is what it looks like as you start to pull through on the other end
The finished look of pulling it through, I also ironed these, so they would have a nice flat look.
Then back to the top, I sewed the sides up and the bottom of the sleeves, like so
Here is what it looks like after sewing the sides
Then I flipped it right side out again, and then sewed the ties on on the back, like so
Before attaching the top to the bottom, here is a good point to make sure the top is actually going to fit, so far so good!
Then to attach, I pinned in a random pleating manner, the bottom (first I did the tulle with flowers) to the top, making sure right sides are together
Here you can see the pleats pinned
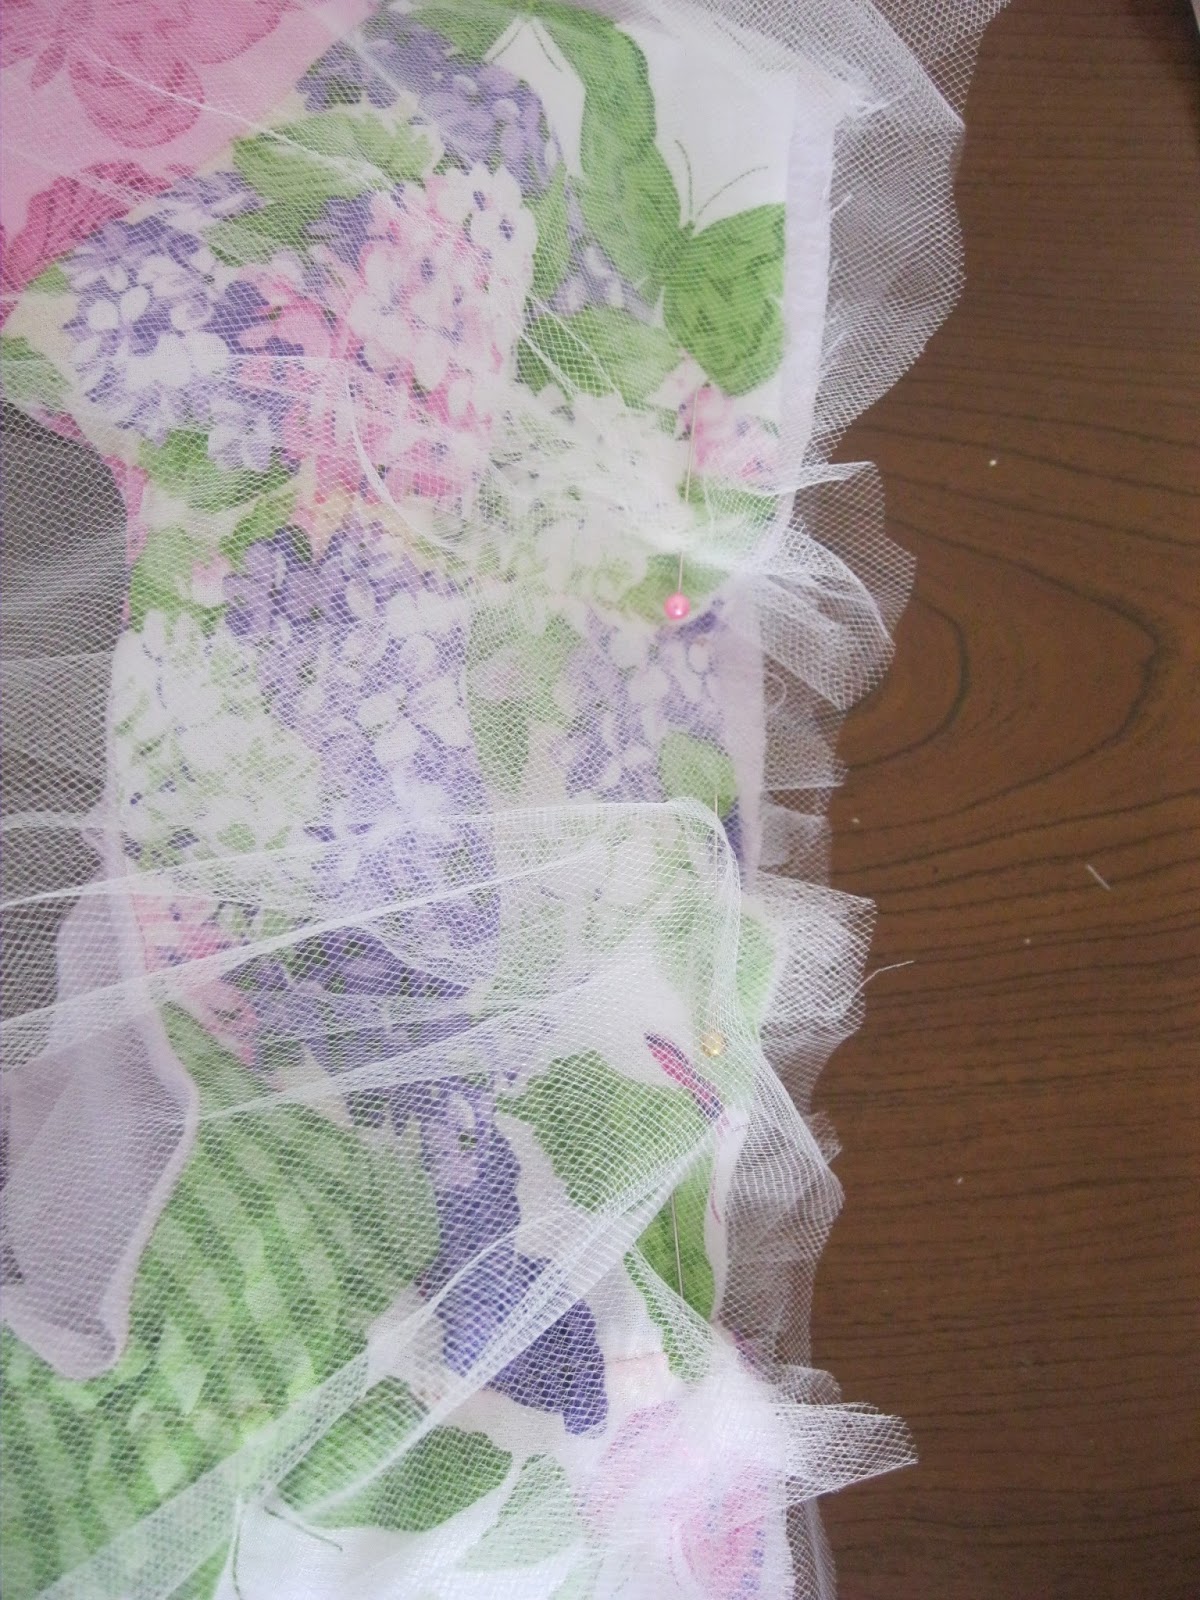
Then again, making sure the right side is inside, I pinned the purple layer outside of the tulle. To not let random pins get lost, I re-used the same pins used on the tulle, but just held them in place as I re-used them. Before I attached the tulle or bottom purple, I sewed the sides, so they made a complete circle on the bottom
Here is an inside look of them pinned, and ready to be sewn together. After I sewed them I hemmed the bottom of the purple layer, the sleeves, and the ends of my ties. And wall-ah, it is finished!
Here is her finished dress! The front
And the back.
And last but not least, of course on the little princess, ready for this Special Easter Sunday! I found a lovely pink tie my husband gets to wear to match, and I am still in the process of making a matching skirt for myself out of the same material as her top piece. A post on that will soon follow!
Now for one last finishing touch on this Easter post, here is a lovely Easter Video, about the wonderful real meaning of the season, enjoy and happy Easter!
Time is crunching! Don't forget to join the giveaway if you haven't already, click at the top tab, or go HERE.
I know we still have a few weeks away, but I thought I would share a little early on goods in the Easter world.
Remember last year when I made my 12 Eggs for the "Easter Story", and stored them in this
Lovely old oatmeal container? Well this year, I finally decorated it,
Somewhat, I think it still needs something, but what I did here was add pictures of Christ from old church magazines. Maybe I will still add more to it, we'll see, but at least for now it no longer looks edible!
Then this year I also ventured into making a new wreath. It is finally getting warm here and it felt right to change my old winter wreath for something that said "happy spring" is here!
This was a very simple wreath, and I was able to scrounge items from around the house and didn't need to buy anything, which is always a great feeling!
The "J" for Jacob, is just card stock paper, I just free-handed and cut, but if you are worried about making it not straight or uneven, I am sure you could type and print a more accurate letter, and if you wanted it still to be white, then reverse the letter on your computer, print, and cut out, using the backside of the paper (so it is white not black). Then from my earlier egg project, I had a bunch of leftover eggs, that I simple hot glued, along with little beads, and excess flowers.
To give you an idea of what it is all supported on (again, sorry for not taking better before and process of pictures, I really should just glue my camera to one hand so that it is always by me and I won't forget to take more pics!!) The circular shape is half of a large poster board, and also free handed the shape that I wanted, if you wanted a more definite round shape you could probably use a large mixing bowel, or a bucket as a guide to trace with.
Then the leaves are a strand of fun leafy garland (I bought it at a dollar store many years ago, but I am sure you could find one similar there as well) that I staggered and tapped onto the paper, and you can kind of see the tape on the back. I also wrapped the leaves and everything with a little tightening touch of ribbon to help hold it all together.
The little beads are these fun foam ball things. I am not entirely sure what they are called, even where you can buy them since I was given them a while back by someone who didn't know what to do with them. But not to leave you hanging, I am ALMOST positive you could find them at an sort of craft store, like Porters, or Michael's, and maybe even Joann's. They add a nice touch of fun color and feeling of "spring"!
So I spread their "fun" a little more, but adding them to my white stick vases. and maybe if I feel a little more ambitious I might glue some of them on the sticks to make it look like little buds. We'll see.
Then in my own searches of fun Easter sort of activities, I found these various websites that have great ideas of things you can do with old plastic eggs, or just Easter things in general. It is such a special time of year, I want to make it fun and special for my little family.
And last but not least, a touch of a great video, about what our Savior did, which I think it is a great thing to remember this time of year, this Easter season.
Thanks again for stopping by, don't forget to join our 100th Venture Giveaway at the top of the page, or go HERE, only a few days left for your chance to win an adorable apron, or free $10 worth of great books!