Showing posts with label Pillows. Show all posts

Monday, December 5, 2011

DIY Pillow Pet!

For my little girl's early birthday celebration, I graced her with the presence of a new little friend. A pillow pet! Every time we go to the store and pass by the mounds of those things in their little pillow pet cages, she gets all excited and will many times laugh at them. Yes, I could of easily just given in then and bought her one, but if you know me, that wouldn't entirely cut it. It only gave me a challenge, to make one instead, specially and lovingly crafted just for her. So here is her pillow pet story.
 My little girl LOVES anything and everything that is soft and fluffy, so this teddy bear, that we already owned became the initial inspiration, or more like the victim of my little venture.
 I found this decor pillow at the local thrift store for $1, and used the stuffing, then I used my seam ripper and gutted the little guy, through and through. . . .
 With everything taken apart, I laid the pieces out on a smaller pillow to get an idea of how big I wanted this thing to turn out. I also cut some of the shapes to be more square and sew-able, and pieced them all together. I also kept the head intact, since I figured it would still need a nice head to still look like a nice little pet.

After sewing all the pieces together for the back, I used the back as a guide to cut out a tummy front area. I used some soft flannel yellow material that I happened to have, and made the same shape. Then having a decent amount of fluffy left after the gutting, I gave the bear a nice fluffy tummy and paws, and was able to give a nice little tail too. After I sewed all these pieces on the flannel I sewed the front and back together (but wrong side out and left a hole on the side so I could still stuff it). . .
 I also used the yellow flannel to make a little strap to Velcro in the tummy to make it in the "pet" position, and take the strap off the Velcro and it becomes the pillow. . .

 All done and sewed and stuffed, here is the back of the pet. ..
 Then the front of the pet. . .
Now he's a pillow! And to top it all off, my little girl LOVES it! Can't beat that, when your kids actually enjoy the fruits of all your labors!


On side, yet also similar notes. You might not believe it, but I have finally found my way into Pinterest. I have been on the site before just to briefly scan the main page, but was actually somewhat afraid to actually have an account in the fears that I would be stuck there looking at all the amazingness there for all of eternity.. . which I actually did quit a bit of the first day or two of being official. But overall I am glad I joined because there really are such neat and amazing inspiring ideas there, and I can't wait to try a lot of them out (which I have actually tried many so far, so don't worry, I will post more soon!)

So, long story short, in my many lacking abilities to understand things in the technological realm, I am slowly but surely going to try to learn how to connect to my Pinterest account to here aswell, so if you ever find some of these stuff fun and actually shareable, you can do so there too! So be patient with me, I will try to figure this stuff out! (thus the reasons for me making this fun little collage for you at the end, maybe one of these days I can figure out how to make it "pin-able" on there).

And one last final fun note, I also give great thanks to Pinterest for helping me figure out a LONG LONG time curiosty of what "DIY" means. Yes, yes, I know, you'd think I would have figured it out by now, cuz quit simply it is all over the internet, but this crazy accronim generation just picks up and makes new ones all the time, and I am really good a laggering behind. So, long story again, (I guess tonight is a story night). . .I thought it would be fun to put my own little "DIY" on my collage, cuz it is so fun to me to finally know what it means!

In case you have long been lost in this curiousty like me, it means "Do It Yourself!"

Okay, enough for the chitter chatter, thanks again for stopping by, I really appreciate all the visits this ways, it makes me feel all happy inside! And it is also your lucky week, cuz so far I plan on stopping by at least two more times. Yep, that's right, two more! I have some much Christmas stuff going up our sleves I thought I would share them all in case you'd want to try any of them before this wonderful season is over, and it is also a "Sun-Up Saturday" week, where I get to share with you my random and hopefully inspiring thoughts! So don't go too far, cuz I'll be around!

Thanks again for coming by! Until next time!

Wednesday, November 16, 2011

Fall stuff

I know the feel and sort of "idea" of Fall is fast becoming behind us and is moving very much closer to a more Winter/Christmas feel (especially here with all our lovely snow), but I have finally finished all my "Fall Decor" that I wanted to make this year, just in time to start making my Winter decorations, which I am super excited to get cracking on. But of course won't actually put any of it up until at least AFTER Thanksgiving. There is a time and a place for things, and I am one for strongly believing that holidays/seasons fit into those categories. Speaking of, I saw these two pictures on Facebook, and I just had to share:


So, there. I have officially finished my Fall decor just in time to change it here in a few weeks, but oh well, at least I have something going up my sleeves for next fall!

Ok, enough chatter, on to what I actually came here to show you. . . .

 Remember how I put up this material on my bulletin board?
 And then put some of the same material in a picture frame as a background for my little tree?

 And then used some of the same material to make pillow covers for my window bench?


Well, to finish it all off, I made. . . .


 Some more matching pillow covers for one couch (have I mentioned I like to be matchy matchy?), and finally, last but not least.. . .

Used my last remaining scraps and put together a little "throw" sort of thing with the matching "fall village" material, and threw in some other fall colors I had around. Then on the reverse side I made it "Christmas" like, so in a few weeks I can just flip it over. And then if we get really bored/ambitious, we might do "Turkey Hand prints" on the blank tan squares, just for fun!

Now I am set and ready for a fun a haul of making random winter decorations on the side. I have also been working on some fun books for my little girl along with some toys, which I will be sure to share soon!

My hubby's birthday is tomorrow, a whoppin 24! And for safety of trying to keep his presents a secret from him, I will show you what I made him for next weeks posts, I already struggle keeping gift secrets from him, I probably shouldn't make it harder on myself, just in case he would randomly look here before then.

So keep in touch for some fun new things ahead, I can tell you are already excited to come back, right?? :)

Well thanks for stopping by, and until next time!!

Wednesday, August 10, 2011

Pillows

For today's "We-flecting Wednesday" I want to share another little favorite of mine that very much falls into a similar category of favorites as curtains do, like my previous post. I really like pillows. I never really cared so much for them growing up, other than using the one for my head at night. But now that I am older and have my own place I love how they can really add to a room (mostly beds or couches). They can really make the difference in a plain room, or a comfortable, welcoming and inviting room, and I always love a comfy feeling, especially on a couch or bed.

Since decor pillows are well, super expensive in my book, I love to make them. So here are some fun pillows that I have made in the past, and they are still in current use. Some of these I have made more recently, while others we've had for a while.
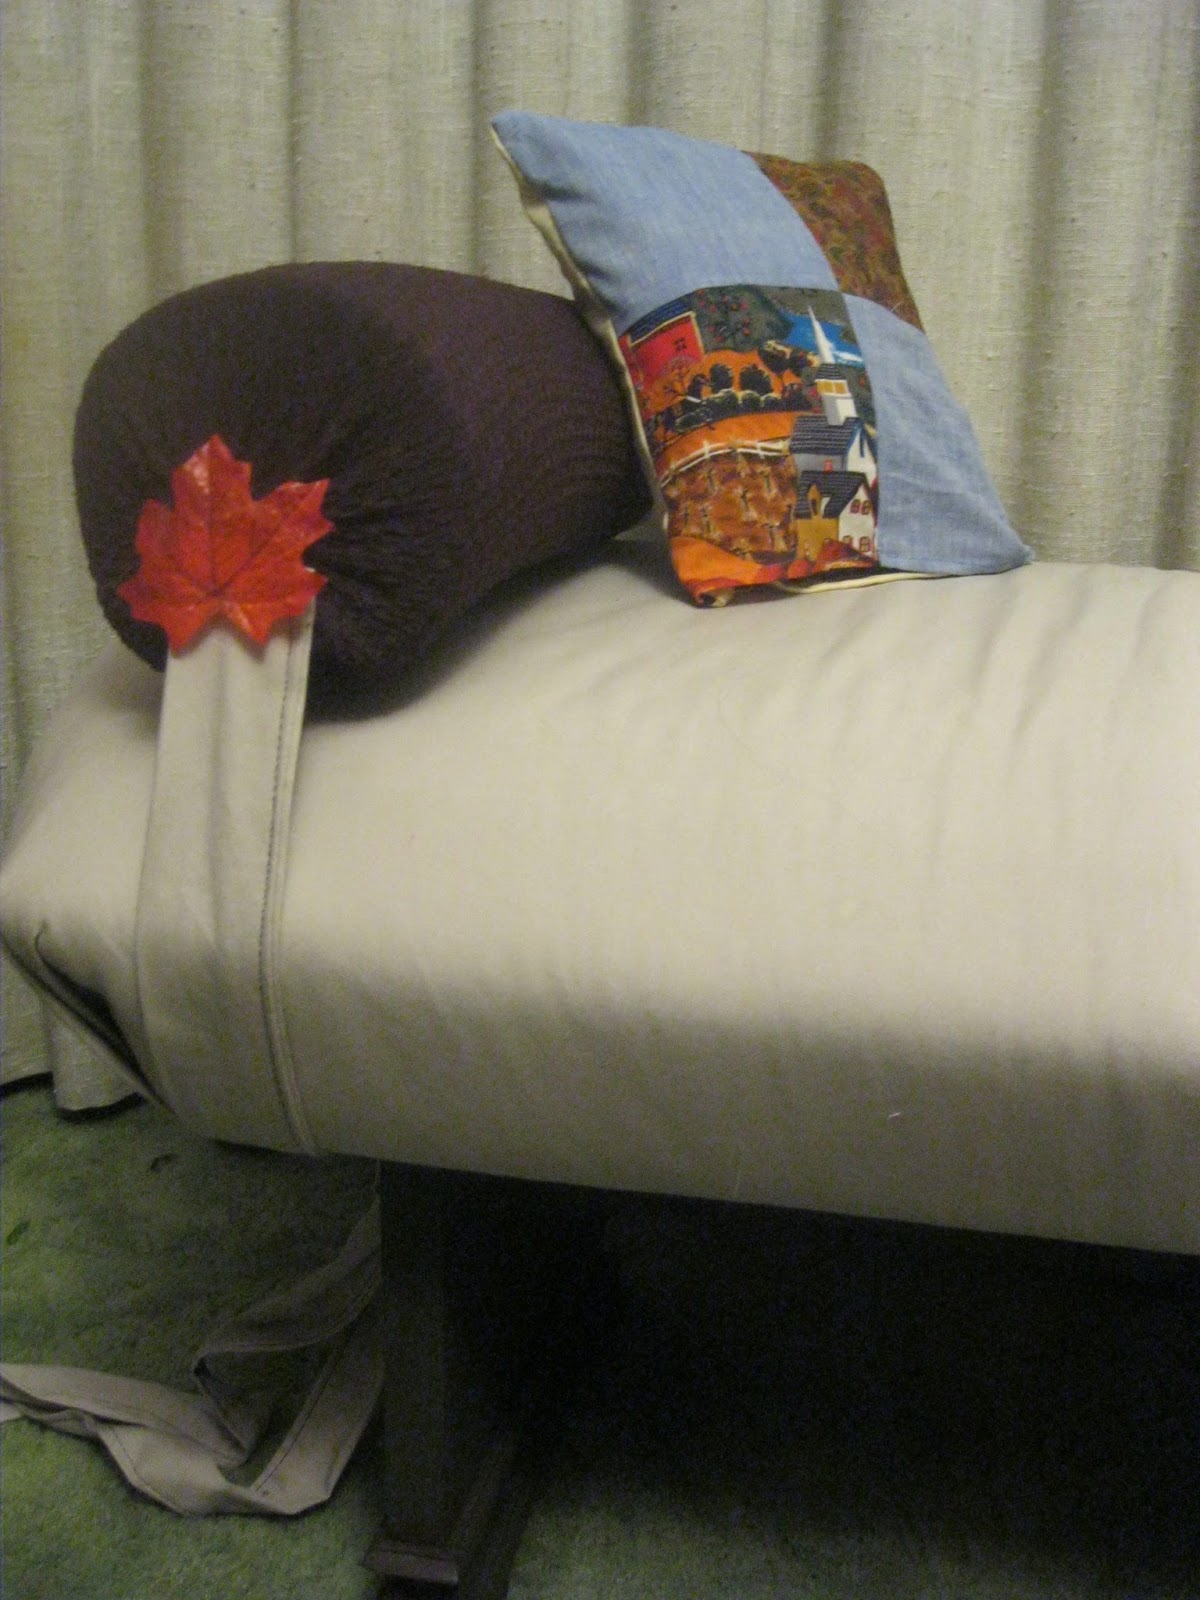
 Remember this lovely bench that my hubby and I put together, back in THIS venture? Well I thought it would be fun to show off these pillows again, since I am on the subject. I love that the pillows can be switched around to different positions to add a little extra variety and change once in a while to the room
 Using the same pillows  seen up above, plus two more of the patched square ones, I like to add them to our couches at times to give them a little color and life, plus.. . . . .
 I like how using the pillows can give our living room a sense of unity and matchy matchy to our couches, even though they don't fully match. We also got two free pillows with the futon (which is the solid brown ones), so mixing them all together adds a nice little touch to the room. I just really like pillows!
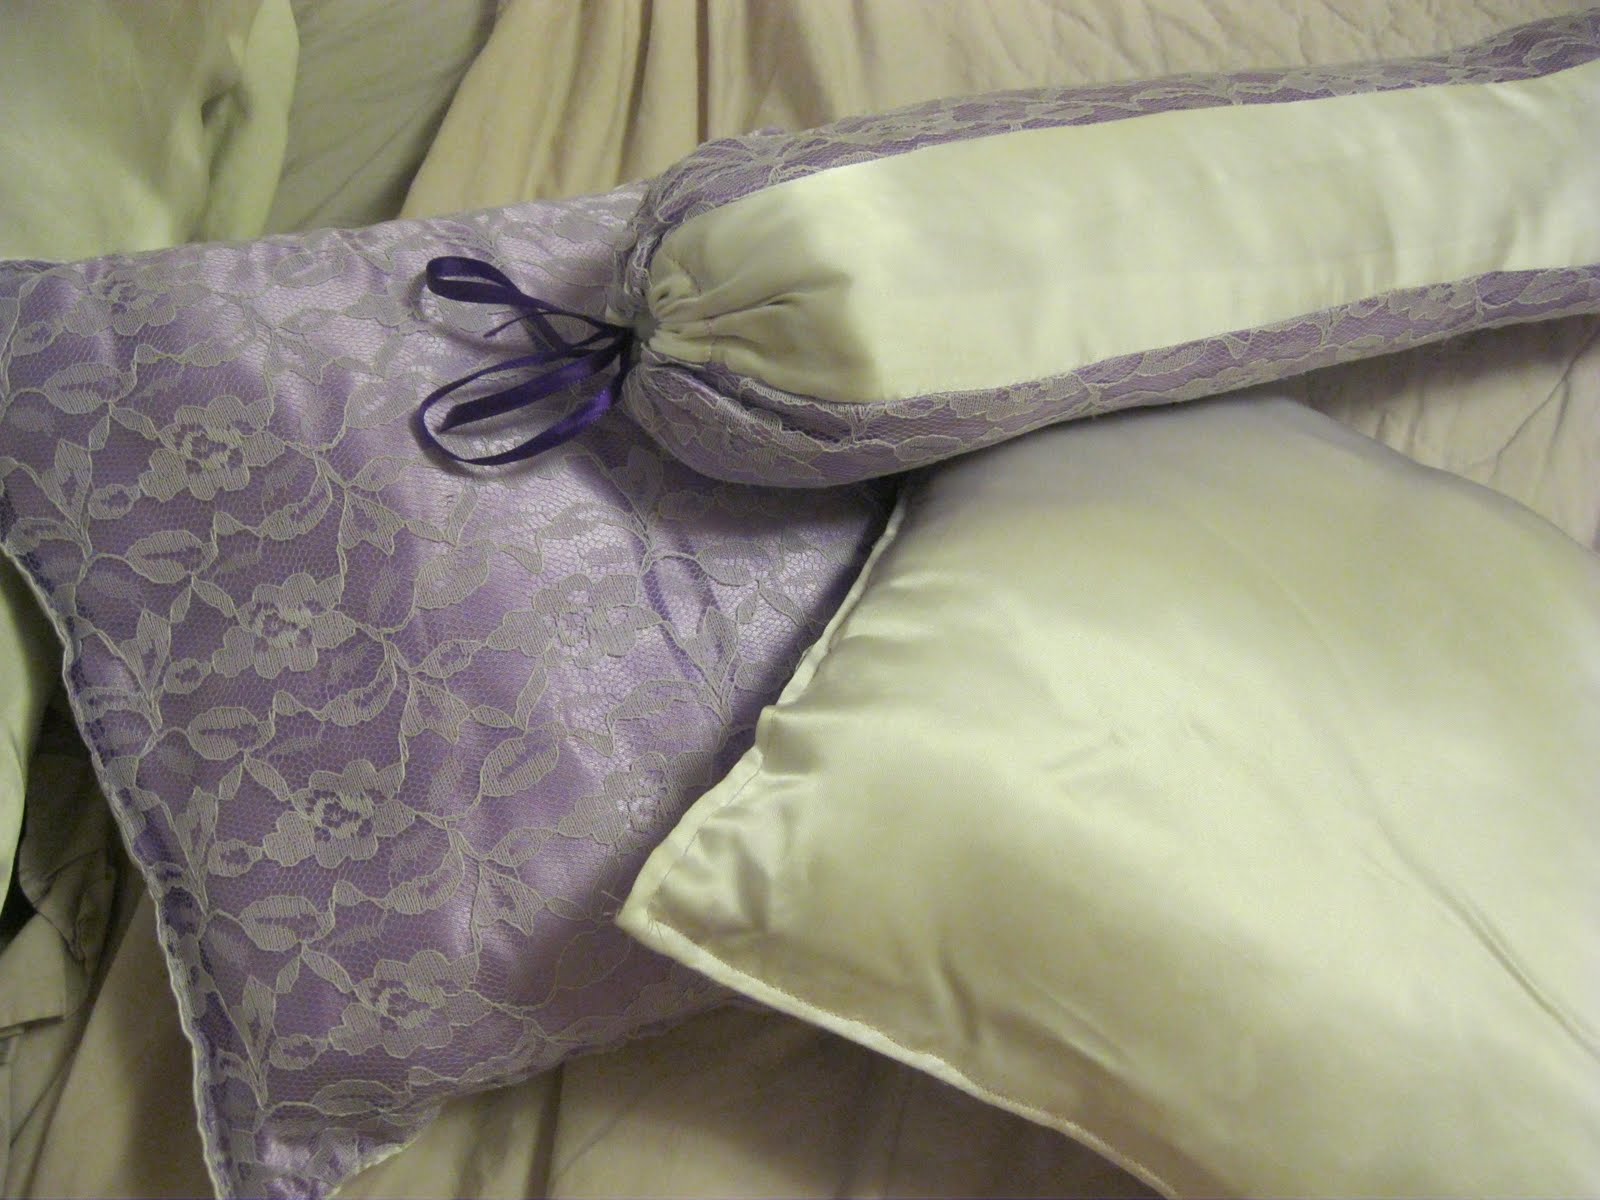
 Then in our bedroom I made these lovely purple ones and the body pillow case, a while ago, and they match the same curtains you saw in the previous post. They aren't super fancy, or super big, but just enough to satisfy my pillow crave and make the bed look that much more complete and nice :)
 Here is a little closer look at them. I really like the long tub like pillows, so easy to make and they also work as a great pillow to rest between my legs when my back is hurting at night, so this one is not just for fancy looks! Yeah for pillows!
Then on a final and less fancy pillow note, check out our own personal pillows! I got a two pack of pillows and decorated the "I love Michael" pillow, and added different things on it for why I love my hubby and then had it on his bed waiting for him that night to greet him with some nice thoughts. Then I also very obviously with a little of inconspicuousness, left the blank pillow case (that soon became my pillow case) along with the left over fabric paints in an area my hubby could see and make one for me so that we would have matchy matchy pillow cases. They are nice reminders why we like each other :) not that we necessarily need a reminder. If you don't have a significant other this could be a fun idea for a little kiddo or a good friend (in a non-creepy stocking sort of way).

So there we have it for this lovely Wednesday. Thanks for stopping by and I hope you have a super great day!

Until next time! . . . .

Monday, July 25, 2011

A weekend of Blis

Well for my lacking "fun find Friday" that I didn't post last Friday, we were busy getting ready for our little trip. We "found" some great discounts and gift certificates and had a great weekend celebrating our 2nd year Anniversary (which won't be till this coming Sun, but who says you can't celebrate a little early?)

Here is some fun pics of our little get away, that was really made possible thanks to my sister April who watched our little girl so we could have a break and enjoy just us!

For most of Saturday we went to the Lagoon, which is a small amusement park, nothing like Disney land, by any means, but is defiantly a lot closer. And because I am BYU-I Alumni, we got $15 off for our tickets because it was Alumni Lagoon day- yeah for discounts!
The lovely train we got to ride that went through a zoo in the park
 Our feet dangling over the fun ski lift thing that went across the whole park. We rode this thing the most, it was nice to be a little lazy and not have to walk across the whole park
 The cool water fountains from up above
 The beginning of a long fun day!
 Can't forget the bumper cars!
 One of the roller coasters we got to ride! And we got the free BYU-I hat at the free alumni lunch, yeah free stuff! (we also got a chap stick that says BYU-Idaho on, wha-ho!)
 And of course we had to go on the meri-go round carousel too- we have some good memories with these things (we did go on the more intense rides too, we aren't total wimps- we just can't take pictures on those rides :)
 Then with some great benefits with Michael's work we got a gift card to stay at the Anniversary Inn in Logan. They have really fun decorated rooms. They are really really pricey, and we might not have gone if we hadn't got the gift card from his work. We stayed in one of the cheaper rooms: "Aphrodite's Court", and they have much more elaborate rooms than this one. But it was still pretty neat. I have always thought it was so fun how hotels fold and wrap their towels :)
 Filling up the lovely jetted tub- it was so wonderful after a long day at Lagoon. Like how the water comes out of the fish's mouth?
 They gave us some complementary Sparkling Apple Cider and some cheese cake (both of which weren't very tasty though- I was very disappointed for as expensive it was)
 And we must not forget the lovely fluffy pillows, there was a lot of them!
Enjoying the fun little water fall they have outside the Inn
 He's so handsome :)
It was a great "Fun Find!" to get to spend the lovely weekend with my best friend with complete and undivided attention!

Hope you have a great day and don't forget to join in my little giveaway for 15 free alligator clips, it ends this Thurs night at midnight! Because I am being a little delayed in my posts I will share the clips I have been working on tomorrow, and then I should be back on track in being more regular in my posting. Sorry for my delays.

Anyway, thanks for stopping by and until next time!. . . .

Thursday, March 31, 2011

Window Seat Bench

We have had this coffee table for a while, and I actually have some sentimental closeness to it because my mother gave it to me. We don't really use it, and it actually gets in the way a lot of the time, but I wasn't ready to let it go because of its sentimental nature, so I changed it up a little and made myself a window seat!

I love windows, I love natural lighting, and I love that this apartment has such big spacious windows to let it all in! Well what a more better place to put a window seat than right in front of this huge lovely windows. It is my alternative for not have a real window seat (ya know like those cool ones that actually indent and even more when they have the cool little cupboard type thing below the cushion- now those are neat, and I really want one in my dream house some day!- but until then, this is what I got) 
So here is the lovely coffee table, it isn't bad, it just needs a change. It worked great for this little project because it is oak, so it is strong and hefty, fully capable to seat people on it

This little project only cost me $15, for what it cost to get the padding. This was a twin size mattress foam, I found it was cheaper to buy the bed foam, than to buy the actually bench/pillow foam from the craft department

I laid it out and cut it to fit- I also added a little of my own extra cotton for a little more padding, especially around sharper edges

With the assistant of my lovely strong husband and staple gun we stapled on this simple tan material. This was the little set-up I had for a few days...but it needed something, and the green legs needed to go, they just don't match the rest of the furniture (and I like Matchy-matchy!)

So I recovered the blue pillows (i had two, even though only one was shown above), so they will be matchy matchy, and then I had some extra foam an made me some round arm like pillows

Getting rid of the green, it is just too bright for my taste :)
The green has been toned down and the pillows are set. With the brilliant suggestion from my husband, I made straps for the arm pillows to help them hold in place, as seen below

I made these cute little flower deal-os with button holes on them so they could be attached, and then I put straps on to tie around. Because they are just buttoned on, I can take them off if I feel like they don't really go

Wall-a! A new little seat to add to our home! I can't decide how I like the pillow arrangements- but I guess that is what great about pillows, is they aren't permanent and they change around as quickly as my fickle mind :)

Hope you enjoyed! I had lots of fun with this one! Thanks for visiting this way and I hope you have a happy-full-of-natural-lighting sort of day!

Until next time....

Pin It!