I thought it would be fun this year to have my little girl all dressed pretty for this special Easter Sunday. So instead of forking a ton of money on a little dress, I put one together.
I love those dresses that has flower petals in tulle, so I did just that.
Using another one of her dresses as a guide, I laid it on top and cut a few inches above the waist line to make sure it would be the right length
Then again using the same dress, I cut out the bottom part of the dress, I folded the dress and the material so that it would be easier to cut it all out in one go, also I cut out the front and back at one time, but folding again (so it's folded 2 times total, once to do front and back, once to make sure it is symmetrical and easier to cut)
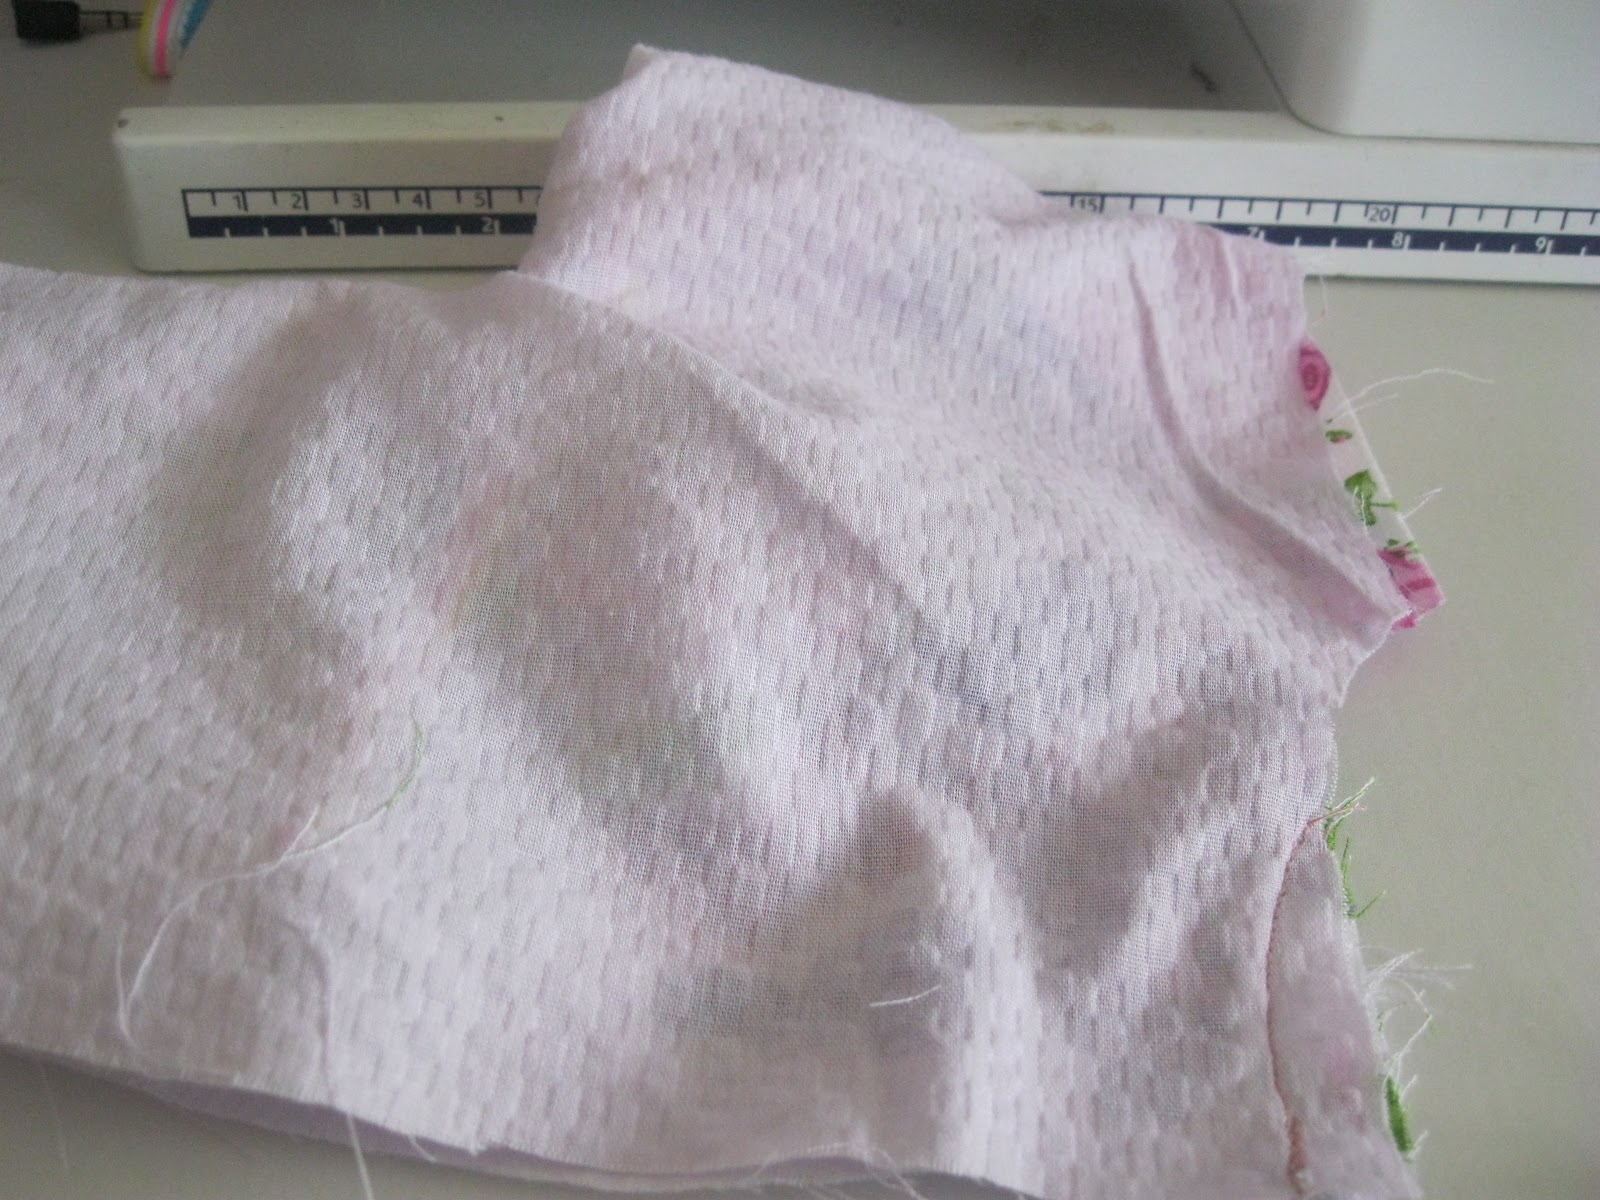
I wanted this to have a lot of pleats and fluff, so I cut a bunch extra. Then to give you an idea of how much I cut, I used my tape measure.
And then here is about how long it is on the top. If you try this at home, I don't think you would need an exact amount, especially if you want a lot of fluff too, just make sure you have a bunch extra, beyond the regular dress.
Then for the top part of the dress, I wanted this cute flower and butterfly stuff. So I folded it around 8inch, enough to cover the area of the top part. This way you cut out the front and back piece in one shot.
Here I laid the dress on the material, to cut out the top part
I started to cut one side, with sleeve and neck, and then about half way cutting it out....
I then folded it over, and use the first cut part as a guide to cut the rest, so that it is all even and symmetrical
Here is the finished cut out top part. But I want a wider neck area, so I folded it, to make it even again, and cut
Giving me this here.
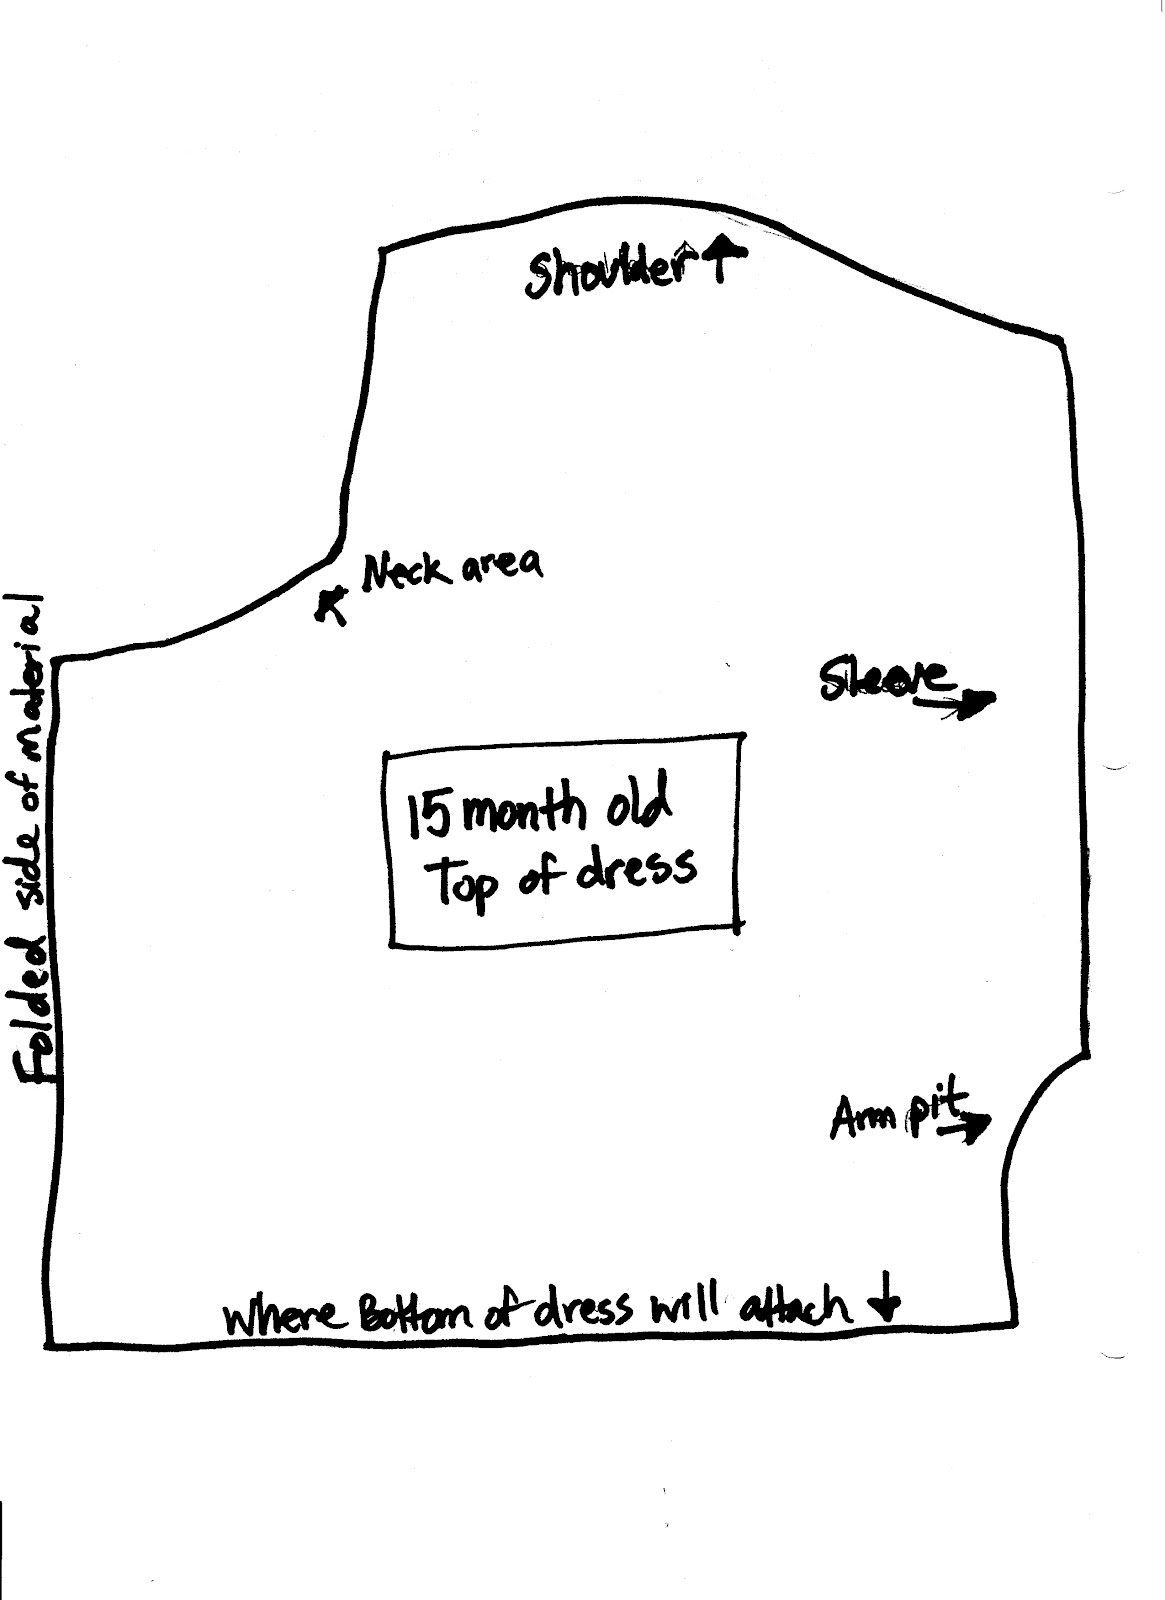
In my Giveaway survey that I had, I had a request for more detailed measurements, so I put together a rough pattern of the top part, this is with it being folded, which is what you would do with the material, then when you open the material after the cut, it will be the full view. I hope this helps, it is a venture in of itself for me to think of actual measurements and such when it comes to sewing, I was raised on "eye-balling it!" For a PDF version of this pattern in Google Docs, you can go HERE.
I also wanted to have inside lining for the top of the dress, so it would give me a nice neck line, so I used the flower print as as guide to cut out the purple
Then I sewed the top shoulder areas of the front and backs on both the purple and flower print, where my finger is pointed, remember always sew right sides together!
When they are sewn and opened up, it should look like this. Then again putting right sides together, I sewed the circular neck areas together
After it's sewed and you put the pieces ride side out, it should look similar to this, to make it more smooth, I ironed it flat.
Then to give the top a little touch of cute bunching, I sewed some elastic on the inside of the flower print like so. To make it bunch, sew the top part with a regular stitch, then when it is sewed well at the start, pull on the elastic and hold, so that when you are down sewing, it will pulled the flat material in a bunched look
I also did it for the sleeves, so I sewed some elastic on the seams of the shoulders (I hope that makes sense...)
Then to help the dress fit well, I also made ties, so I cut strips about 1 and half inch thick, and as long as I thought I would need to tie, then folded them, right sides together, and sewed, like so.
To turn them right side out, I put a safety pin on one side of the end, then
put the safety pin inside the tub, and used the safety pin as a way to grip and pull the material through
Here is what it looks like as you start to pull through on the other end
The finished look of pulling it through, I also ironed these, so they would have a nice flat look.
Then back to the top, I sewed the sides up and the bottom of the sleeves, like so
Here is what it looks like after sewing the sides
Then I flipped it right side out again, and then sewed the ties on on the back, like so
Before attaching the top to the bottom, here is a good point to make sure the top is actually going to fit, so far so good!
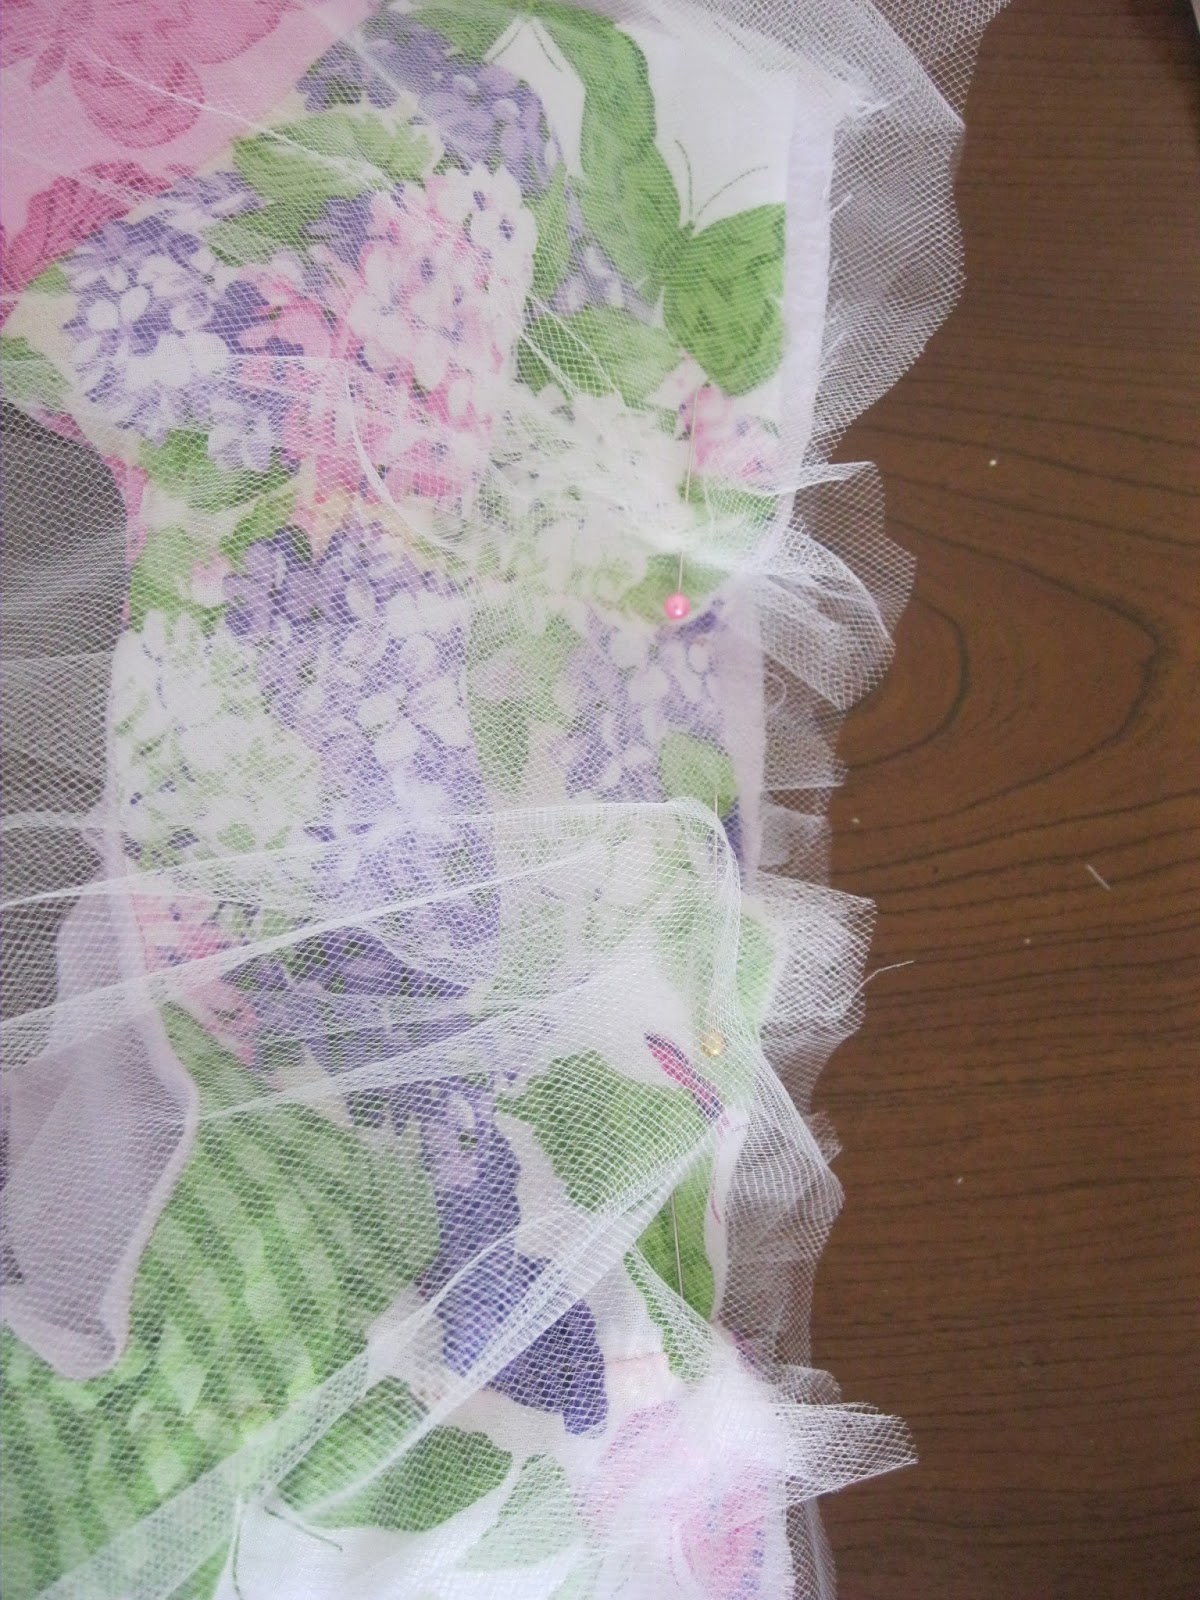
Then to attach, I pinned in a random pleating manner, the bottom (first I did the tulle with flowers) to the top, making sure right sides are together
Here you can see the pleats pinned
Then again, making sure the right side is inside, I pinned the purple layer outside of the tulle. To not let random pins get lost, I re-used the same pins used on the tulle, but just held them in place as I re-used them. Before I attached the tulle or bottom purple, I sewed the sides, so they made a complete circle on the bottom
Here is an inside look of them pinned, and ready to be sewn together. After I sewed them I hemmed the bottom of the purple layer, the sleeves, and the ends of my ties. And wall-ah, it is finished!
Here is her finished dress! The front
And the back.
And last but not least, of course on the little princess, ready for this Special Easter Sunday! I found a lovely pink tie my husband gets to wear to match, and I am still in the process of making a matching skirt for myself out of the same material as her top piece. A post on that will soon follow!
Now for one last finishing touch on this Easter post, here is a lovely Easter Video, about the wonderful real meaning of the season, enjoy and happy Easter!


Wow! It looks wonderful! You still amaze me with your talent! We might need to get together next year so I can make one for Sadie!
ReplyDeleteCute!
ReplyDelete