
Okay, enough side tracking, now on to today's post. This is a very simple, yet a fun little adventure. I have been going through some of my clothes and getting rid of a ton (or at least moving it from my closet to my sewing stash, since I love using old clothes for sewing! ), and I thought it would be fun to make a cape for my little girl out of one of my old T-shirts.
It is super simple, and you don't even have to do any sewing! And depending on how you want it, you might not have to do any or much painting either! It's a fun win win project!
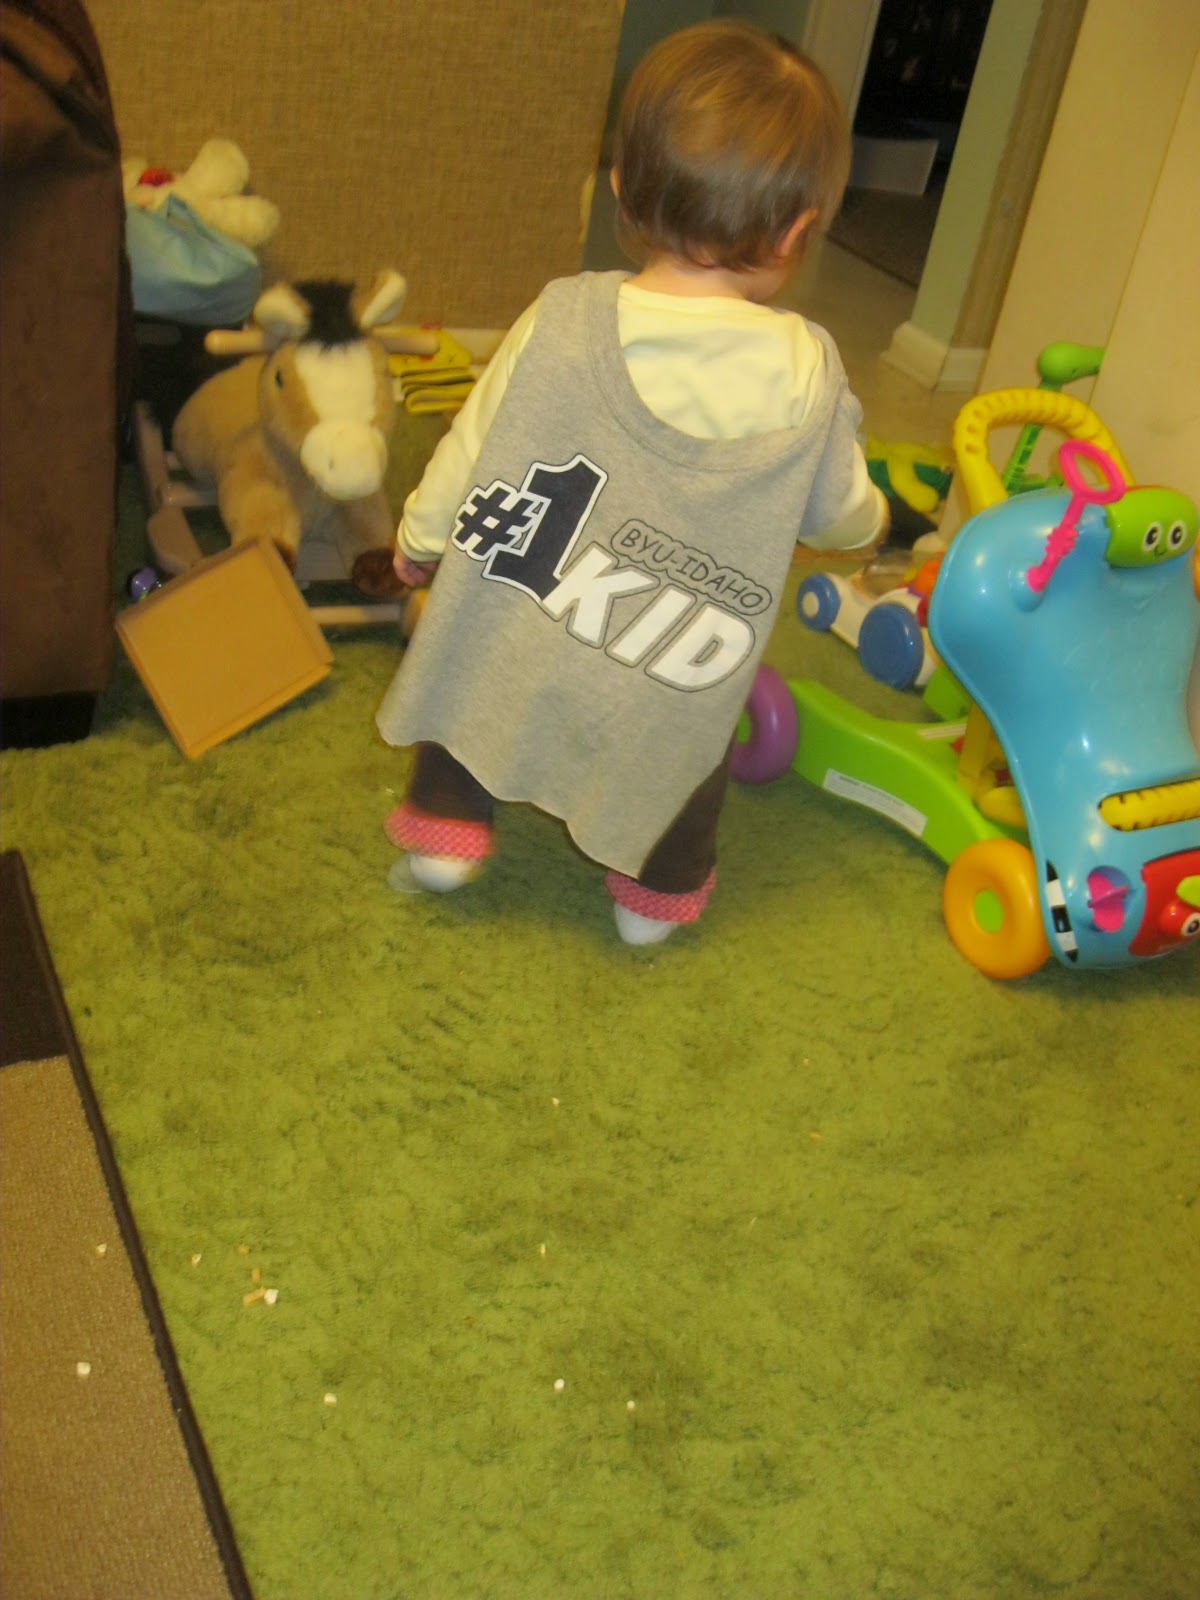
What kid doesn't like to walk around in a cape?
This is an old T-shirt I bought in my young cheesy freshman college days, it says "BYU-Idaho, #1 Kid," I bought in the baby/kind section of the bookstore, in the largest size they possibly had so it would still fit me. Well, I think now it is more fitting for an actual kid :)

Then again, much apologies, for my horrible step by step photo skills. But the next step all you do is cut off the front (or back, which ever side you don't want to keep. I kept the front since it had the words, but if I were to paint my own design for the cape, I would probably keep the back for a nice clean back to paint a fun super hero logo, so do what works best for your project).
Also cute off the arms, and however short or long you want the cape to be. I cut off a few inches on the bottom so she wouldn't trip on it, but if you have older kids, you might not need to do this part.
Then lastly, make sure you keep the neck part intact, so that you have easy way to put over you kids head and have the cape hang on them. If you have a really stretched out neck, or just a big neck in general, but a little child's neck, you can probably cut the neck part in front and either use Velcro or tie the two pieces for a more snug cape.
Sorry if those directions aren't as clear, maybe one of these days I will draw out more detailed instructions how to do this, or maybe I will just make another cape, and paint the next one, but with much better detailed directions. To be continued.... :)

So go make your kids day and make them a fun cape (it won't cost you a penny! Because we all know you have tons of T-shirts stashed in closet that you won't miss one for fun project!), I am sure they'll love it!
Thanks again for stopping by and don't forget to join in on the giveaway, I know you won't regret it!!
Until next time!


Looks like fun and she is so cute :)
ReplyDeleteso cute! Great idea for when we have a boy and he is into superheroes! :)
ReplyDelete